
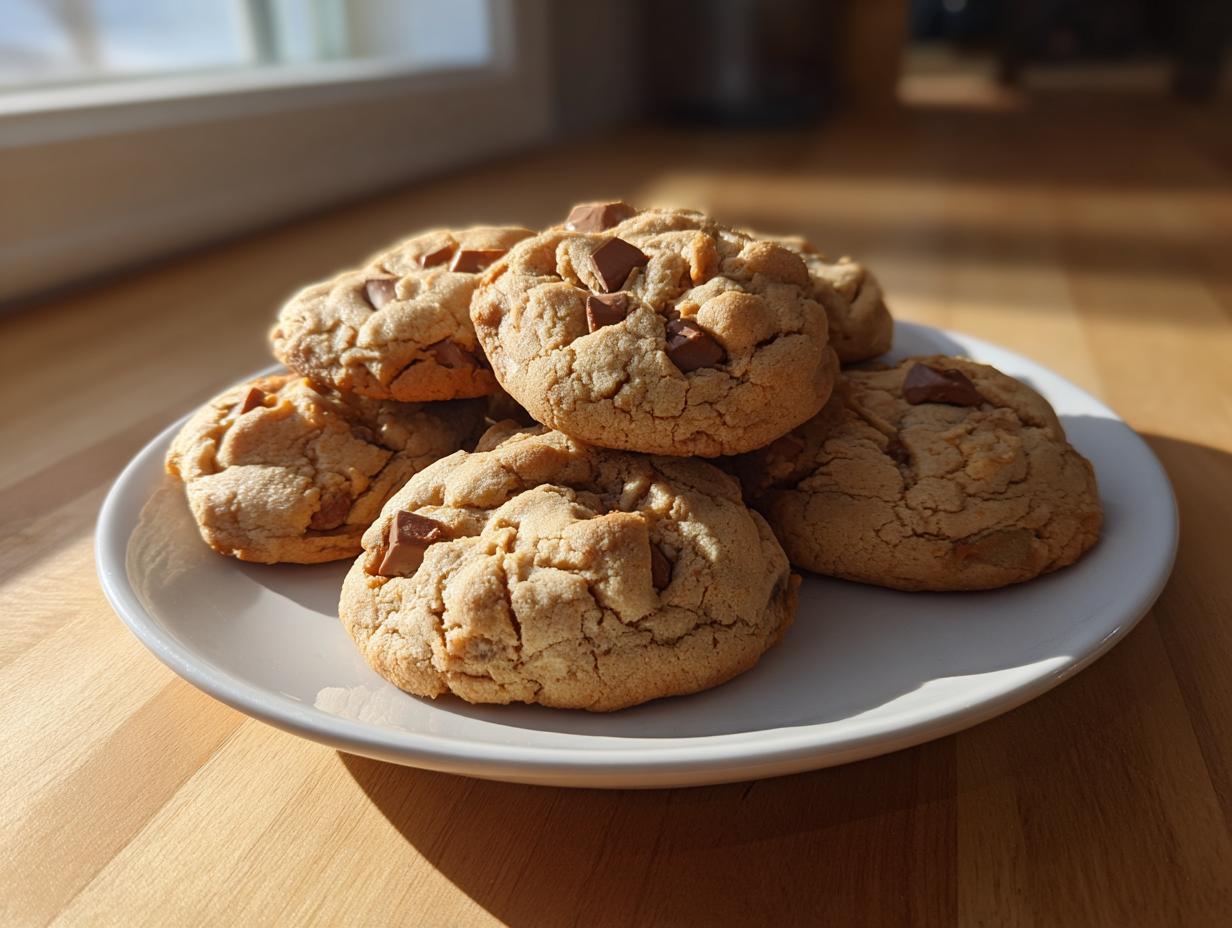
Sometimes, I get this intense craving for a real, bakery-fresh Italian pastry—you know, that rich, creamy filling and hint of bright citrus. But honestly? Filling hundreds of cannoli shells is just not how I want to spend my afternoon anymore! That’s why I went back to basics, channeling my Grandma Daisy’s spirit of making comforting food achievable. These cannoli cookies are the answer. They take everything wonderful about that Sicilian dessert—the creamy ricotta, the sweet chocolate chips—and bake it straight into a cookie. Truly, these are the best easy cannoli cookies because they give you that authentic flavor without any of the fuss. It’s what real, joyful baking is all about!
- Why You Will Love These Easy Cannoli Cookies
- Gathering Ingredients for Authentic Cannoli Cookies
- Step-by-Step Guide to Making Perfect Cannoli Cookies
- Expert Tips for Flavorful Cannoli Cookies
- Variations on Classic Cannoli Cookies
- Serving Suggestions for Your Italian Cookies
- Storage and Make Ahead Tips for Cannoli Cookies
- Frequently Asked Questions About Ricotta Cookies Recipe
- Nutritional Snapshot of These Dessert Cookies
Why You Will Love These Easy Cannoli Cookies
I promise you, you won’t be able to stop at just one of these beauties. They are the perfect way to bring a taste of Italy to your table without getting overwhelmed by assembly. They bake up fast too—we’re talking minimal time for maximum flavor payoff here!
- They are unbelievably quick to mix up—perfect for last-minute dessert cookies moments.
- The texture is everything: soft, slightly cake-like, but totally satisfying.
- We pack in real ricotta, orange zest, and mini chocolate chips for that signature flavor blast.
- They hold up beautifully on a party platter or cookie exchange tray!
Gathering Ingredients for Authentic Cannoli Cookies
When you’re aiming for that unmistakable Sicilian desserts flavor, the ingredients are where the magic starts. My Grandma Daisy always said, “Give me good, real food, and I can make anything taste like home.” For these cannoli cookies, the star is definitely the ricotta. If you don’t drain it properly, your dough will turn into a puddle, and we absolutely don’t want that!
Trust me on this one; taking the extra time to remove the excess liquid from the dairy makes all the difference in getting that perfect, slightly chewy cookie structure. You can find more of my favorite ways to use fresh dairy in my guide on sweet and savory ricotta applications.
Essential Components for the Cannoli Cookies Dough
Here’s what you need to gather up. Keep everything at room temperature—especially that butter and egg! It helps everything incorporate smoothly.
- 1 cup unsalted butter, softened
- 1 cup granulated sugar
- 1 large egg (room temp is best!)
- 1 teaspoon vanilla extract
- 1 teaspoon orange zest (freshly grated, please!)
- 1/2 cup whole milk ricotta cheese, drained well
- 2 3/4 cups all-purpose flour
- 1 teaspoon baking powder
- 1/2 teaspoon salt
- 1/2 cup mini chocolate chips, plus extra for topping
Step-by-Step Guide to Making Perfect Cannoli Cookies
Now for the fun part! With your ingredients ready—and I hope your ricotta is super dry!—we can put this whole batch together in about 32 minutes total, including bake time. That’s why I love these cannoli cookies for busy evenings. The real secret here isn’t just the ingredients themselves, but how gently we combine them once the flour comes out.
Mixing the Creamy Base for Your Cannoli Cookies
Start by getting your butter and sugar light and fluffy; use that stand mixer or a hand mixer to whip them until they look pale and airy. We need those air bubbles in there! Next, beat in that egg, the vanilla, and that wonderful orange zest. You’re building the flavor foundation right now. Finally, gently stir in that well-drained ricotta cheese we talked about. We want it smooth, not greasy or separated. If your ricotta was properly drained, this step is a breeze!
Forming and Baking the Best Cannoli Cookies
In a separate bowl, quickly whisk your flour, baking powder, and salt together so it’s all distributed nicely. Now, add those dry ingredients to the wet mixture, but listen to me: mix on low speed until it *just* comes together. Seriously, do not overmix, or we lose that tender texture! Gently fold in your mini chocolate chips so they don’t break up too much. Drop rounded tablespoons onto parchment-lined sheets, giving them about 2 inches of space. Pop them into your 350°F oven for just 10 to 12 minutes. You want edges that are just starting to turn golden, but the centers should still look a little soft when you pull them out. That’s the key to amazing easy cookie recipes!
Expert Tips for Flavorful Cannoli Cookies
When I first tried making these, I didn’t understand why mine seemed a little flatter than I wanted. It all came down to moisture control! These cannoli cookies are meant to have that soft, almost cake-like interior, which is different from the shell, right? We aren’t trying to mimic the shattering crispness of fried pastry here; we are capturing that comforting creamy filling taste in cookie form. Following these little wisdom nuggets from the kitchen archives ensures you get the taste without the texture disappointment. If you want to see how I handle texture in a different baked good, check out my guide on the best sugar cookie recipe for no spread!
Ricotta Drainage: The Secret to Great Cannoli Cookies
If you skip draining the ricotta, you’re essentially adding liquid heavy cream to your cookie dough, and nobody wants that! I insist you use a fine-mesh sieve lined with a couple of layers of cheesecloth. Let it sit over a bowl in the fridge for at least 30 minutes. If you’re in a huge rush, you can gently press down on it, but patience pays off. Removing that excess water prevents unnecessary spreading and guarantees your dough holds that perfect, slightly pillowy mound shape while baking. It’s the single most important non-negotiable step for authentic flavor delivery in these cannoli cookies.
Variations on Classic Cannoli Cookies
One of the lovely things about using a classic flavor profile is how easily you can tweak it to make it your own! While the base recipe for these cannoli cookies nails that iconic ricotta and chocolate flavor, don’t be afraid to experiment a little. These Italian cookies are so forgiving, and sometimes a little twist is exactly what you need for a cookie exchange or just to keep things interesting on a weekend baking spree.
Adding Nuts and Citrus Zest to Your Dessert Cookies
If you’ve ever been to a true Italian bakery, you know that texture is just as important as flavor. The classic topping often involves crushed pistachios, and we can absolutely bring that crunch inside the cookie itself! If you want to try a pistachio variation—which pairs beautifully with that hint of orange zest already in the dough—just swap out a quarter cup of those mini chocolate chips for about 1/4 cup of finely chopped pistachios. They add a gorgeous color and a fantastic bite.
Don’t skip that orange zest, either! My secret to making these taste truly like authentic Sicilian desserts is using fresh zest. It doesn’t just add flavor; it wakes up the ricotta and makes the whole cookie feel brighter and lighter. It’s what separates a good cookie from a great one, in my opinion. If pistachios aren’t your jam, you can find other wonderful, nutty recipes, like my recipe for moist pistachio bread, which uses similar complementary flavors!
Serving Suggestions for Your Italian Cookies
These beautiful Italian cookies are instant hits just as they are, but if you want to make them look extra festive for a party or holiday spread, a little decoration goes a long way. They disappear fast any time I put them out, so don’t stress about making them too fancy!
Once they are completely cool, you have two amazing finishing options. For a classic, elegant look, just dust them lightly with powdered sugar—it mimics the look of a snow dusting and adds just a touch more sweetness. Or, if you want that visual pop you often see online, melt a little extra chocolate and drizzle thin ribbons across the tops. They’re perfect for any seasonal tray, and you can find more ideas for making your festive baking shine in my guide to holiday baking cookies!
Storage and Make Ahead Tips for Cannoli Cookies
Good news! These gorgeous cannoli cookies are fantastic for planning ahead. If you decide to whip up a double batch—which you absolutely should, trust me—you can store the unbaked dough in the refrigerator, covered tightly, for up to two days. When you’re ready to bake them later, just pull them out and use them right away!
Since they are cookie-based and not a filled pastry, they also freeze beautifully. Scoop the dough onto a parchment-lined baking sheet, flash freeze until solid, then transfer them to a freezer-safe bag. When you want fresh cookies, just toss them onto a sheet and add about two extra minutes to the standard baking time. These are perfect for my guide on make ahead cookies!
Frequently Asked Questions About Ricotta Cookies Recipe
It’s funny how many questions pop up once you start baking something new, even if it is inspired by a classic! I’ve pulled together the most common things I hear about making these cannoli cookies successfully. Hopefully, this helps you feel confident before you even turn the oven on!
If you’re looking for other things to make during a busy week, you might enjoy browsing my list of quick weeknight dinner ideas!
Can I substitute the ricotta cheese in these cannoli cookies?
This is the question I get most often regarding our Ricotta cookies recipe! Look, the defining flavor here is that creamy ricotta, so I strongly advise against swapping it out if you truly want that authentic cannoli taste. If you absolutely must substitute, mascarpone is the closest in texture, but it tends to be higher in fat and might yield a slightly richer, less tangy cookie. Remember, regardless of what you use, draining it well is the key to keeping these creamy filled cookies from spreading!
How do I achieve a crispier texture like a traditional cannoli shell?
That’s a great question, and it touches on expectations! These are absolutely cookies, not fried shells. We are aiming for that soft, cloud-like interior of the cannoli filling wrapped in a tender cookie layer. If you really want a firmer bite, you can try baking them for an extra minute or two, watching them *very* closely. Pull them out just as the edges start to look a tiny bit more browned. If you bake them until the center looks totally firm, they will get quite dry once cooled down.
Nutritional Snapshot of These Dessert Cookies
I always keep this part brief because, honestly, when you’re making something this delicious, you don’t really want to think about the numbers too hard! These estimates are based on the full ingredient list above and are meant to give you a general idea. Remember, every kitchen has slightly different products, so these are just a good guideline for these delightful dessert cookies.
Here’s a quick look at what’s inside one of these wonderful cannoli cookies:
- Serving Size: 1 cookie
- Calories: Around 180
- Sugar: Approximately 15g
- Fat: About 10g (including 6g saturated fat)
- Carbohydrates: Roughly 21g
- Protein: About 3g
Don’t forget that these values don’t account for any extra chocolate drizzle you might decide to add on top! Enjoy every bite!
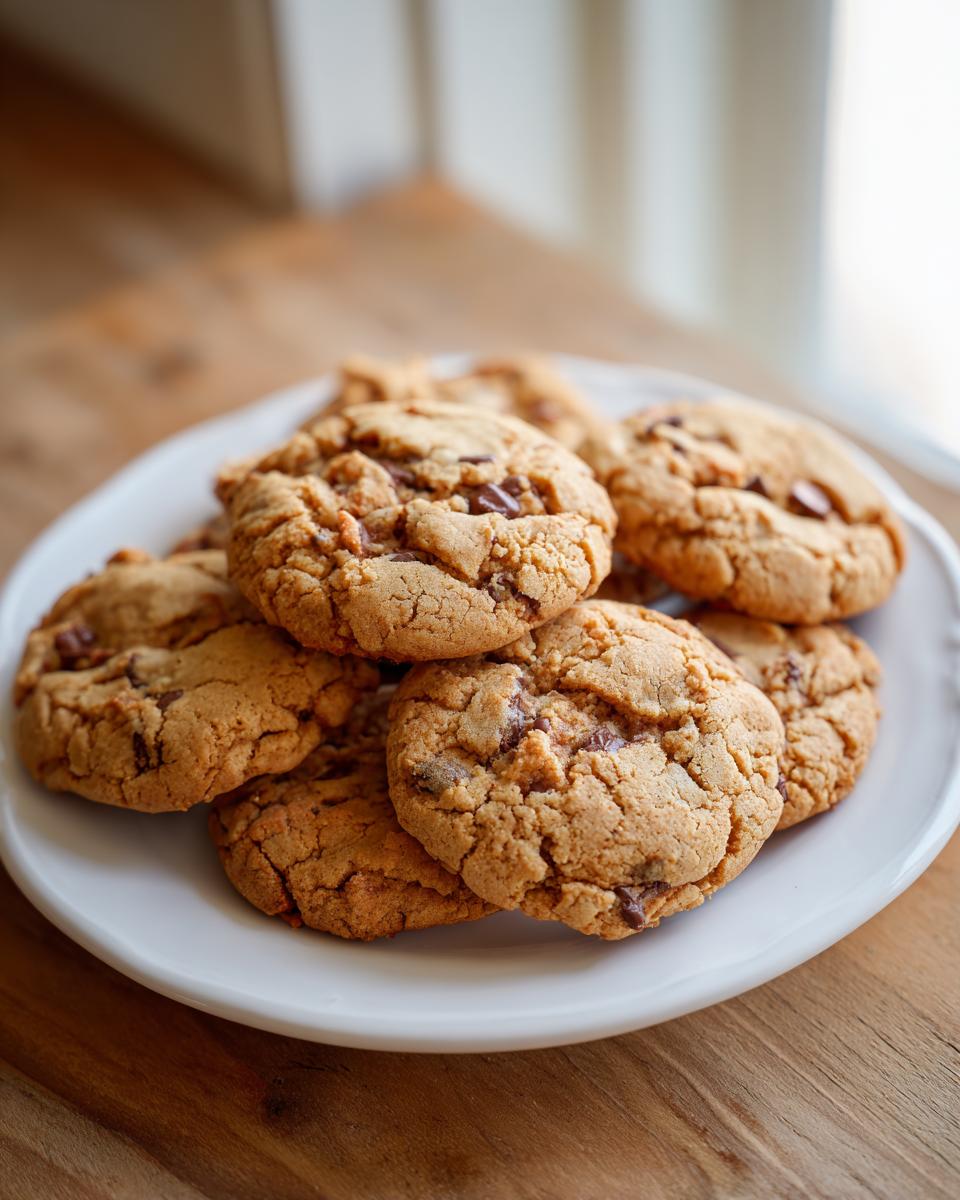
PrintEasy Cannoli Cookies with Ricotta Filling and Chocolate Chips

Make these simple cannoli cookies that capture the creamy ricotta flavor and chocolate chip mix of the classic Italian pastry. This recipe is quick and perfect for holiday baking or any gathering.
- Prep Time: 20 min
- Cook Time: 12 min
- Total Time: 32 min
- Yield: About 24 cookies 1x
- Category: Dessert
- Method: Baking
- Cuisine: Italian
- Diet: Vegetarian
Ingredients
- 1 cup unsalted butter, softened
- 1 cup granulated sugar
- 1 large egg
- 1 teaspoon vanilla extract
- 1 teaspoon orange zest
- 1/2 cup whole milk ricotta cheese, drained well
- 2 3/4 cups all-purpose flour
- 1 teaspoon baking powder
- 1/2 teaspoon salt
- 1/2 cup mini chocolate chips, plus extra for topping
Instructions
- Preheat your oven to 350°F (175°C). Line baking sheets with parchment paper.
- In a large bowl, cream together the softened butter and sugar until light and fluffy.
- Beat in the egg, vanilla extract, and orange zest until combined.
- Mix in the well-drained ricotta cheese until smooth.
- In a separate bowl, whisk together the flour, baking powder, and salt.
- Gradually add the dry ingredients to the wet ingredients, mixing on low speed until just combined. Do not overmix.
- Gently fold in the 1/2 cup of mini chocolate chips.
- Drop rounded tablespoons of dough onto the prepared baking sheets, leaving about 2 inches between each cookie.
- Bake for 10 to 12 minutes, or until the edges are lightly golden. The centers should still look soft.
- Let the cookies cool on the baking sheets for 5 minutes before transferring them to a wire rack to cool completely.
- Once cool, you can optionally drizzle the tops with melted chocolate or dust with powdered sugar before serving.
Notes
- Drain your ricotta cheese thoroughly using a fine-mesh sieve lined with cheesecloth for at least 30 minutes to prevent the cookie dough from becoming too wet.
- For a pistachio variation, substitute 1/4 cup of the mini chocolate chips with finely chopped pistachios.
- You can make the dough up to 2 days ahead and store it covered in the refrigerator. Add 1-2 minutes to the baking time if baking from cold.
Nutrition
- Serving Size: 1 cookie
- Calories: 180
- Sugar: 15g
- Sodium: 95mg
- Fat: 10g
- Saturated Fat: 6g
- Unsaturated Fat: 4g
- Trans Fat: 0g
- Carbohydrates: 21g
- Fiber: 0.5g
- Protein: 3g
- Cholesterol: 35mg