
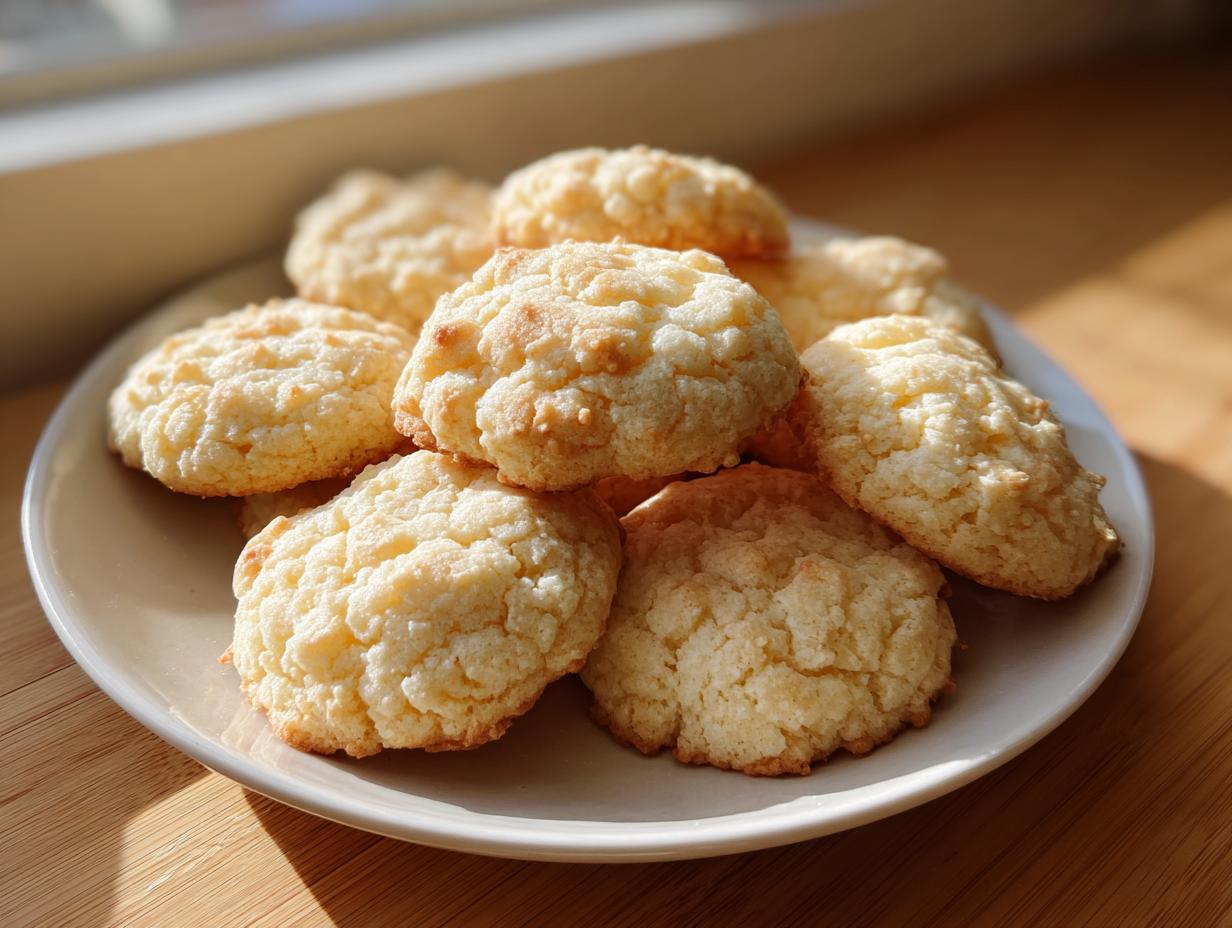
Every single baker on earth has been on that desperate search, haven’t they? You know the one—you’re looking for the absolute best sugar cookies. Not the flat, sad, crispy discs that spread into one giant mess on the baking sheet, but the ones that are perfectly thick, soft in the middle, and chewy around the edges. I spent years trying to nail that elusive balance.
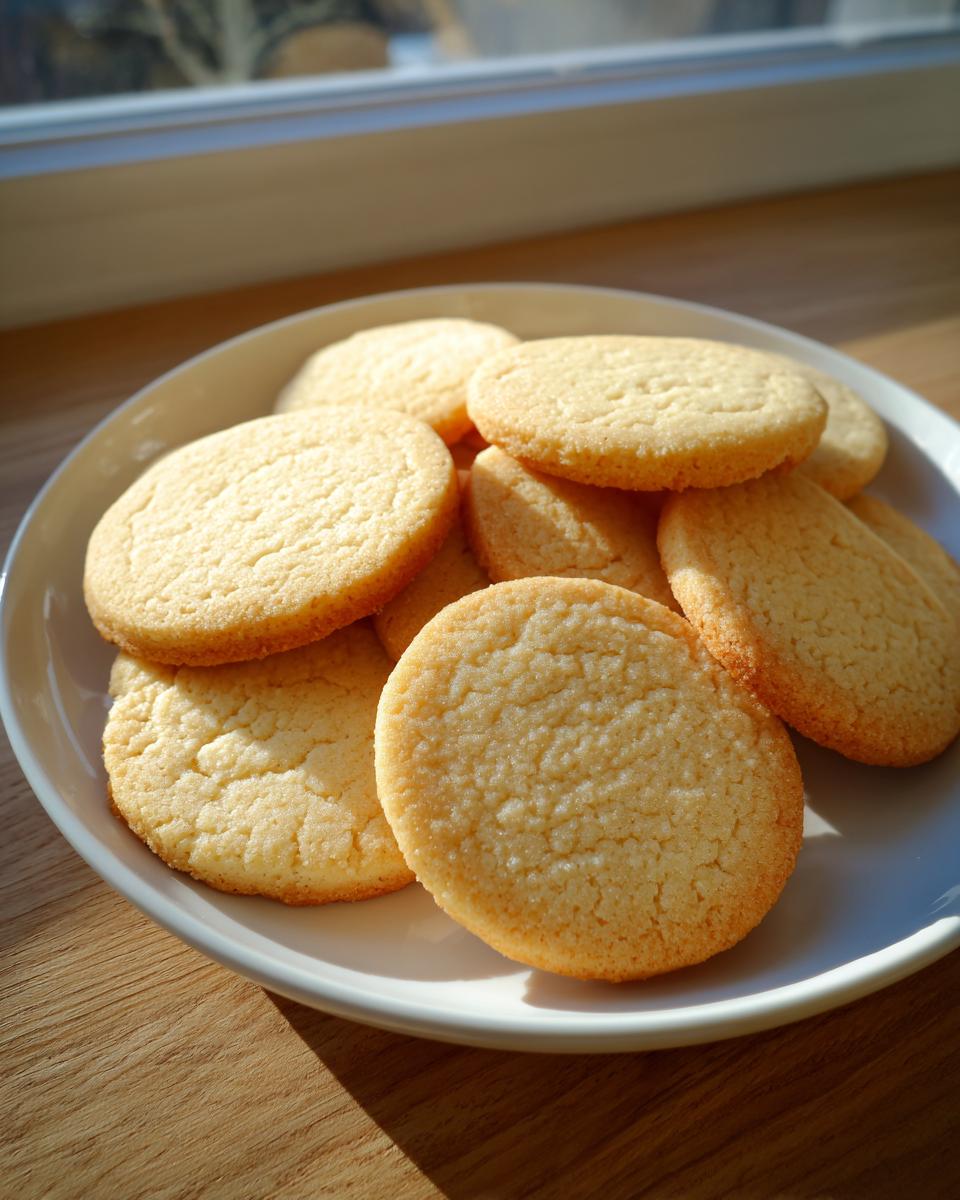
When I finally came back to my grandmother Daisy’s kitchen principles—simple ingredients, honest work—it clicked. This recipe isn’t fancy, trust me, but it delivers exactly what you need: dreamy, soft and chewy cut-out sugar cookies that never spread, no matter how detailed your cutter is. They are my little piece of home, made simple for your busy life.
- Why These Are the Best Soft and Chewy Cut-Out Sugar Cookies
- Gathering Ingredients for Your Sugar Cookies
- How to Make Sugar Cookies That Hold Their Shape
- Tips for Success with Your Cut Out Sugar Cookies
- Making Holiday Sugar Cookies Festive
- Storage and Reheating Instructions for Classic Sugar Cookie Recipe
- Frequently Asked Questions About Sugar Cookies
- Estimated Nutritional Data for These Sugar Cookies
- Share Your Sweet Treat Recipes
Why These Are the Best Soft and Chewy Cut-Out Sugar Cookies
I know you’ve been burned before by recipes promising chewy deliciousness only to deliver a thin wafer. That’s not happening here. These sugar cookies are the real deal, built on a foundation of technique that guarantees stellar results every single time you bake them. They just work!
- They are genuinely soft and chewy—that perfect melt-in-your-mouth sensation without crumbling apart.
- Crucially, they are the definition of no spread sugar cookies. You cut a star, you get a perfectly shaped star back from the oven.
- They are versatile enough for a quick weeknight treat or complex holiday sugar cookies. Find a friend who loves soft, chewy treats like me here: peanut butter blossoms are up next!
Achieving Perfect Cookie Texture
It all comes down to two things, really. First, we cream that butter and sugar until it’s practically light as air—that’s where the softness comes from! But the second secret? Chilling is non-negotiable. Chilling the dough locks everything into place, ensuring you keep that perfect cookie texture we are aiming for.
Simple Homemade Cookies for Any Occasion
You don’t need fancy equipment or five hours of free time to make truly incredible cookies. If you’re looking for easy sugar cookies that feel special, this is it. Whether you need beautiful holiday sugar cookies for gifting or just a simple sweet recipe for an afternoon craving, these homemade sugar cookies fit the bill without any fuss. They are my go-to simple baking recipes.
Gathering Ingredients for Your Sugar Cookies
Before we even dream of rolling out dough, we need to make sure our ingredients are ready to play nice together. For this batch of phenomenal cookies, you’re going to need a good cup of unsalted butter, softened—and I mean *softened*, not melted, that’s a cardinal sin here! We’ll use a cup and a half of regular granulated sugar. Eggs must be large, we need two of those, plus a nice teaspoon of vanilla extract for richness. For the dry stuff, we’re looking at four cups of all-purpose flour, one teaspoon of baking powder, and just a half teaspoon of salt to keep things balanced.
Ingredient Notes and Substitutions
Listen, the butter temperature is vital for those beautiful, creamy beginnings, so make sure it’s soft enough to dent easily but hasn’t started to get greasy. Also, please check that baking powder container; if it’s been lurking in the back of your pantry since last Thanksgiving, toss it. Old leavening means flat cookies, and we hate flat cookies! If you want to elevate these just a touch for something special—maybe for those upcoming holiday sugar cookies—try swapping out half the vanilla for almond extract. That little hint of almond really makes the vanilla pop! If icing is in your future, you’ll want to make sure you have the perfect royal icing recipe ready to go once these cool down completely.
How to Make Sugar Cookies That Hold Their Shape
Okay, now we get down to the real magic. This is where we turn simple ingredients into those beautiful, thick sugar cookies that bake up exactly how you pictured them. Following these steps ensures you get that perfect, bakery-style look without any sad spreading!
Mixing the Dough for Perfect Sugar Cookies
First, get that mixer going and cream your butter and sugar until it’s fluffy and pale—that light airiness is what helps keep them soft. Then, slowly beat in the eggs, one at a time, and stir in that vanilla. Next, whisk together your dry ingredients separately. When you add the flour mixture into the wet stuff, you MUST mix on low speed and stop mixing the second you see no more white streaks. If you overmix the dough, you activate too much gluten, and suddenly you’re making biscuits instead of soft sugar cookies!
The Essential Chill Time for Cut Out Sugar Cookies Recipe
Don’t you dare skip this next part! Once combined, divide that beautiful dough into two flat disks, wrap them up tight, and stick them in the fridge for at least two whole hours. Two hours! This step is the secret sauce for cut out sugar cookies recipe success; it firms up the fat so they are happy to sit still while they bake. If your kitchen runs warm, or if you’re handling the dough a lot, I always pull the rolled-out shapes onto the baking sheet and pop them back in the fridge for ten minutes before they even *think* about hitting the oven. That extra chill time locks in the shape for those no spread sugar cookies.
Baking and Cooling Your Sugar Cookies
Preheat your oven to 375 degrees Fahrenheit. Bake those perfect shapes for about 8 to 10 minutes. You’re looking for very light golden brown edges—seriously, that’s it. If you wait until they look fully browned, they’ll be hard! For that melt-in-your-mouth texture, it’s better to pull them slightly early. Let them sit on the hot pan for five minutes so they firm up a bit before you move them onto a rack to cool completely. If you need other great butter-based recipes to practice your technique, check out my easy butter cookies!
Tips for Success with Your Cut Out Sugar Cookies
I’ve covered the basics, but sometimes our kitchens throw us a curveball, right? So, let’s talk troubleshooting, because I want every batch of your sugar cookies to be a total win. These little tips are what moved my batch from “pretty good” to absolutely stellar—the kind of bakery style sugar cookies everyone begs for.
If you followed directions and your dough still seems a little soft when you go to roll it out, don’t panic and dump in more flour! More flour equals a tougher cookie, and we want soft, chewy sugar cookies. Instead, take that dough disk, wrap it again, and stick it in the freezer for 15 minutes. That quick chill will firm up the exterior enough for clean cuts.
Another thing I learned the hard way: don’t press your cutters straight down and then pull straight up. Rock them back and forth just a tiny bit as you lift. That slight movement helps release them cleanly from the surface far better than a simple vertical pull. This helps maintain those beautiful edges we worked so hard to chill!
And while we are talking about texture, if you are aiming for that melt-in-your-mouth quality, make sure you are using proper measurements for your leavening agent. Too much baking powder will result in a puffier, cake-like cookie, not the chewy sugar cookie we want. I found that being precise with the salt and powder keeps that classic flavor profile perfect. If you need more inspiration on soft cookies, you have to try my recipe for iced oatmeal cookies next—they are wonderfully chewy!
Making Holiday Sugar Cookies Festive
So you have flawlessly shaped, perfectly baked sugar cookies cooling on the rack. Now comes the best part, right? Making them look ready for the holiday table! Whether you celebrate Christmas, Hanukkah, or just a mid-winter celebration, making these cookies festive elevates them from simple sweet treat recipes to cherished memories.
For me, the secret to beautiful holiday sugar cookies isn’t professional piping skills; it’s using a reliable, simple icing. You absolutely must let the cookies cool completely before you start—and I mean *completely*. If there’s any warmth left, your beautiful royal icing will just slide right off! If you are new to icing, I have a fantastic piece of guidance on how to make icing that dries hard, which is essential for stacking and gifting.
Keep it simple if you just want a quick win. A simple swipe of brightly colored glaze (just powdered sugar, milk, and food coloring!) looks amazing and takes five minutes. If you have the kids helping, stick to sprinkles, sanding sugars, or small candies pressed onto a thin layer of wet icing. That way, it’s fun, kid friendly baking ideas are fulfilled, and you don’t worry about perfect lines.
If you want a really classic Christmas cookie look, try dipping just the edges of the shape into a bowl of colored sugar instead of covering the whole cookie. It gives it a lovely sparkle! And remember, even if you’re not decorating, these are still fantastic served plain as satisfying dessert recipes for parties; a simple dusting of sparkling sugar looks elegant enough! For more general inspiration on creating gorgeous holiday sugar cookies, check out this guide on perfect sugar cookies.
Storage and Reheating Instructions for Classic Sugar Cookie Recipe
Alright, you’ve baked the absolute best sugar cookie recipe—they’re soft, they’re chewy, and maybe they look like tiny pieces of art now. The last thing you want is for them to stiffen up or go stale before everyone gets a chance to enjoy them! Proper storage is key to maintaining that lovely bakery style sugar cookies quality we worked so hard for.
If your cookies are undecorated, or if you used a simple sprinkle topping that’s fully dried, they are the easiest to store. Just stack them gently in an airtight container. Keep them right there on the counter at room temperature. Don’t put them in the fridge! Cold air is enemy number one for soft cookies; it just sucks the moisture right out. They should stay perfectly soft and chewy for a good four or five days like this.
Now, if you went all out with thick royal icing, you need to let that icing set up completely—I mean rock solid—before you even think about stacking or storing them. Once they’re dry, store them in a single layer if you can, or use parchment paper squares between each layer to keep the decoration from sticking to the cookie above it. Again, room temperature only!
What if you find a few leftovers a week later and they’ve firmed up just a tiny bit? Don’t toss them! You can easily revive that soft texture. Just pop a cookie (or a small stack) into the microwave for about 5 to 8 seconds. It warms up the butter just enough to bring back that wonderful fresh-from-the-oven chewiness. Trust me, it’s the perfect trick for enjoying your classic sugar cookie recipe leftovers!
Frequently Asked Questions About Sugar Cookies
I totally get it; sometimes you just need a quick answer before you dive back into the flour bag! We’ve covered so much ground on making these easy sugar cookies perfect, but here are a few little things folks always ask me about so you can stop worrying and start baking.
Can I skip chilling the sugar cookie dough?
Oh, honey, please don’t! I’m putting my foot down on this one. If you skip chilling the sugar cookie dough, you are absolutely inviting disaster if you’re using cookie cutters. Chilling is non-negotiable because it solidifies the butter into tiny, hard pieces. When they hit the heat, those little pieces melt slowly, keeping the cookie thick and preventing spreading. Skip the chill, and you’ll end up with puddle cookies instead of those perfect cut out shapes.
How do I get bakery style sugar cookies texture?
To get that beautiful bakery style sugar cookies texture—that balance between sturdy enough to hold icing but still soft inside—you need to focus on two main points. One: really take your time creaming the butter and sugar until it’s noticeably lighter and fluffier; this whips in the necessary air. Two: pull them out of the oven slightly *before* you think they are done. If they look perfectly golden brown, they are already too crisp. A little pale, slightly underbaked center guarantees that melt in your mouth result! If you’re looking for another simple recipe that delivers on texture, you might enjoy these easy 3-ingredient butter cookies, too!
Are these cookies too complicated for kid friendly baking ideas?
Not at all! While the chilling step requires grown-up patience, the actual mixing is super fun for kids because it’s mostly just dumping ingredients in a bowl. Once the dough is chilled, rolling it out and using fun cookie cutters is one of the best kid friendly baking ideas for the holidays. They can handle the decorating afterward, which is where the real messy fun begins!
Estimated Nutritional Data for These Sugar Cookies
Now, I always tell folks that when you’re baking rich, delicious treats like these, we aren’t really looking at the nutrition label, are we? We’re looking at happiness! However, since Grandma Daisy always insisted on knowing what we were putting into our bodies (even baked goods!), I ran the numbers for you. Please remember this is an estimate based on the recipe yield of about three dozen cookies, and it can change based on precise ingredient brands and how thick you roll out your dough.
Think of this information as just a little bonus detail—a way to feel slightly better about sneaking that second one! These are just sweet treat recipes meant to be enjoyed, after all.
Here are the rough estimates per single sugar cookie:
- Calories: Approximately 150
- Total Fat: Around 7g
- Carbohydrates: Roughly 20g
- Sugar Content: About 12g
As you can see, they have a decent amount of simple sugar, which is where all that wonderful flavor comes from! If you are managing macros or sticking to specific diets, keep that sugar content in mind, but for a classic homemade cookie, these numbers are quite reasonable for a wonderfully satisfying, soft sugar cookie.
Share Your Sweet Treat Recipes
You have the blueprint now for what I truly believe are the greatest soft and chewy sugar cookies out there. Honestly, the best part of baking isn’t just eating them—it’s connecting over the creations! I just love seeing how you all decorate these. Did you go classic red and green for the holidays? Did you use fun shapes for a birthday party?
Please, once you’ve made a batch, come back and leave a rating and a quick comment telling me how they turned out for you. Knowing that this recipe, pulled straight from Daisy’s simple kitchen wisdom, inspires your own wonderful kid friendly baking ideas is the biggest compliment you could give me. It keeps the legacy going!
If you tried them and loved them, share a photo on social media and tag me—I promise I’ll stop what I’m doing to admire your beautiful work! And if you are looking for another simple sweet recipe right now to fill the house with good smells, I highly recommend trying out my classic French apple tart next for a slightly different kind of sweet treat. Happy baking, and don’t forget to check out these easy sugar cookies too for more inspiration!
PrintThe Best Soft and Chewy Cut-Out Sugar Cookies
This recipe delivers soft, chewy sugar cookies that hold their shape perfectly for decorating. You get bakery-style results with simple steps, making them ideal for holidays or any sweet treat occasion.
- Prep Time: 30 min
- Cook Time: 10 min
- Total Time: 160 min
- Yield: 3 dozen 1x
- Category: Dessert
- Method: Baking
- Cuisine: American
- Diet: Vegetarian
Ingredients
- 1 cup unsalted butter, softened
- 1 1/2 cups granulated sugar
- 2 large eggs
- 1 teaspoon vanilla extract
- 4 cups all-purpose flour
- 1 teaspoon baking powder
- 1/2 teaspoon salt
Instructions
- In a large bowl, cream together the softened butter and granulated sugar until the mixture is light and fluffy. This step helps create the perfect cookie texture.
- Beat in the eggs one at a time, mixing well after each addition. Stir in the vanilla extract.
- In a separate bowl, whisk together the flour, baking powder, and salt.
- Gradually add the dry ingredients to the wet ingredients, mixing on low speed until just combined. Do not overmix.
- Divide the dough in half, flatten each half into a disk, wrap tightly in plastic wrap, and chill in the refrigerator for at least 2 hours. Chilling prevents the sugar cookies from spreading.
- Preheat your oven to 375 degrees Fahrenheit. Line baking sheets with parchment paper.
- On a lightly floured surface, roll out one disk of dough to about 1/4 inch thickness. Use your favorite cookie cutters to cut out shapes.
- Place the cut-out sugar cookies onto the prepared baking sheets, leaving about 1 inch between them.
- Bake for 8 to 10 minutes, or until the edges are lightly golden. For soft sugar cookies, err on the side of underbaking slightly.
- Let the cookies cool on the baking sheet for 5 minutes before transferring them to a wire rack to cool completely before decorating.
Notes
- For the best cut out sugar cookies that hold their shape, chill the dough thoroughly. If your kitchen is warm, chill the cut-out shapes on the baking sheet for 10 minutes before baking.
- If you are making holiday sugar cookies, you can add 1 teaspoon of almond extract with the vanilla for a different flavor profile.
- These are the best sugar cookies for decorating; allow them to cool completely before applying royal icing or buttercream.
Nutrition
- Serving Size: 1 cookie
- Calories: 150
- Sugar: 12g
- Sodium: 85mg
- Fat: 7g
- Saturated Fat: 4g
- Unsaturated Fat: 3g
- Trans Fat: 0g
- Carbohydrates: 20g
- Fiber: 0g
- Protein: 2g
- Cholesterol: 30mg