
When the air gets crisp and the scent of woodsmoke mixes with cinnamon, that’s when my heart calls me back to my grandmother Daisy’s kitchen. City life pulls you in a million directions, but nothing grounds me quite like the simple act of baking something honest for the people I love. If you’re looking for an absolute showstopper for your table this year—something that tastes like autumn heaven without needing three hours of fussy work—then trust me on this one.
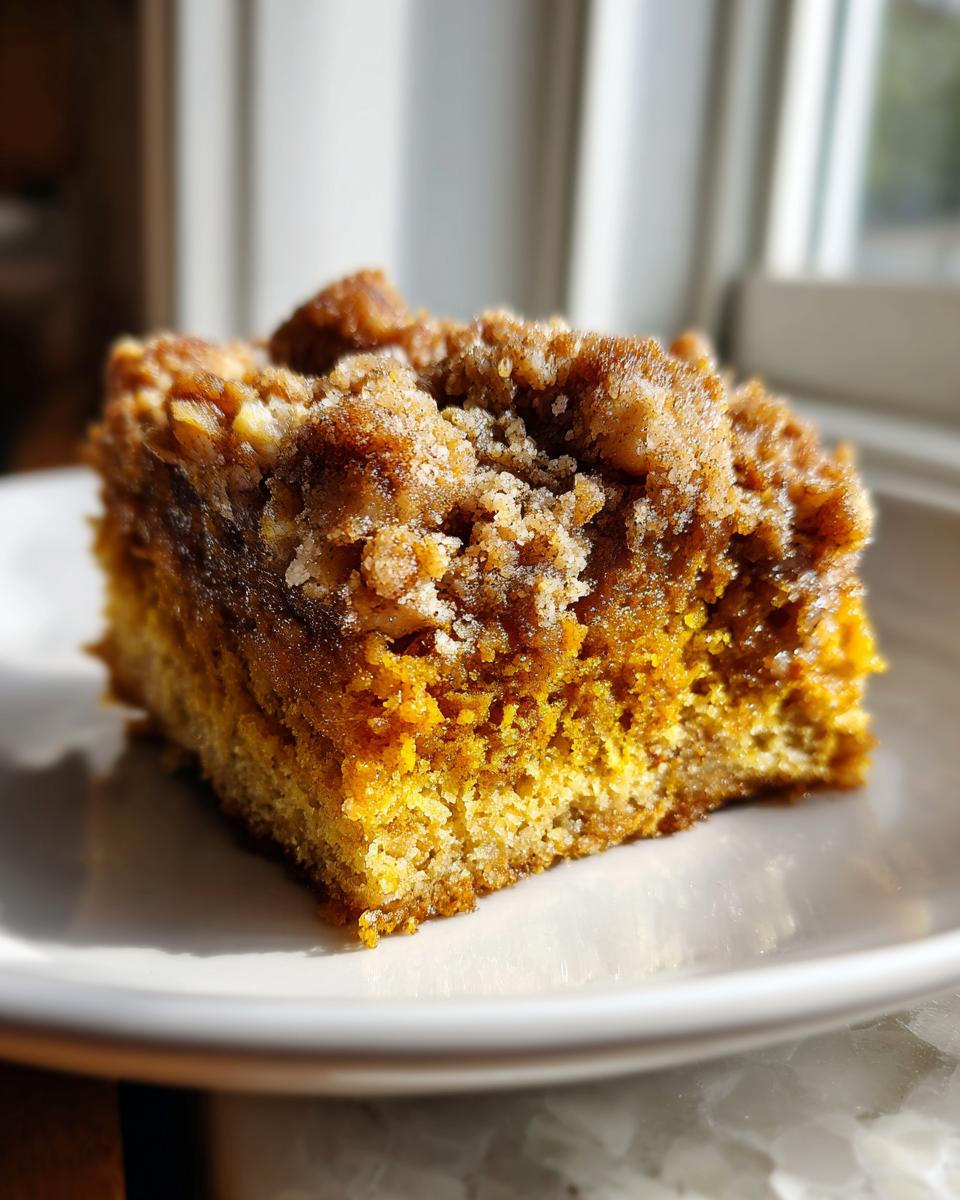
The pumpkin crunch cake is the answer. It looks complex with its layers, but it’s actually one of the easiest, most brilliant layered pumpkin desserts you will ever pull out of the oven. It’s pure comfort, and it’s proof that the best food often comes from the most straightforward methods. I first learned this technique from watching Grandma Daisy, and now I’m sharing it with you, complete with that incredible buttery pecan crunch. Forget fancy techniques; we’re sticking to the good stuff here, starting with a quick, comforting pumpkin base. If you need a hearty side dish while this bakes up, you should certainly try my easy creamy pumpkin soup!
- Why This Classic Pumpkin Crunch Cake is Your New Favorite Easy Fall Baking Recipe
- Ingredients Needed for Your Layered Pumpkin Dessert
- How to Prepare the Easiest Pumpkin Crunch Cake Step-by-Step
- Tips for Achieving the Perfect Crunchy Topping Cake Texture
- Serving Suggestions for this Moist Pumpkin Cake
- Storage and Make-Ahead Instructions
- Frequently Asked Questions About Pumpkin Crunch Cake
- Estimated Nutritional Data for This Seasonal Fall Treat
- Share Your Baking Success
Why This Classic Pumpkin Crunch Cake is Your New Favorite Easy Fall Baking Recipe
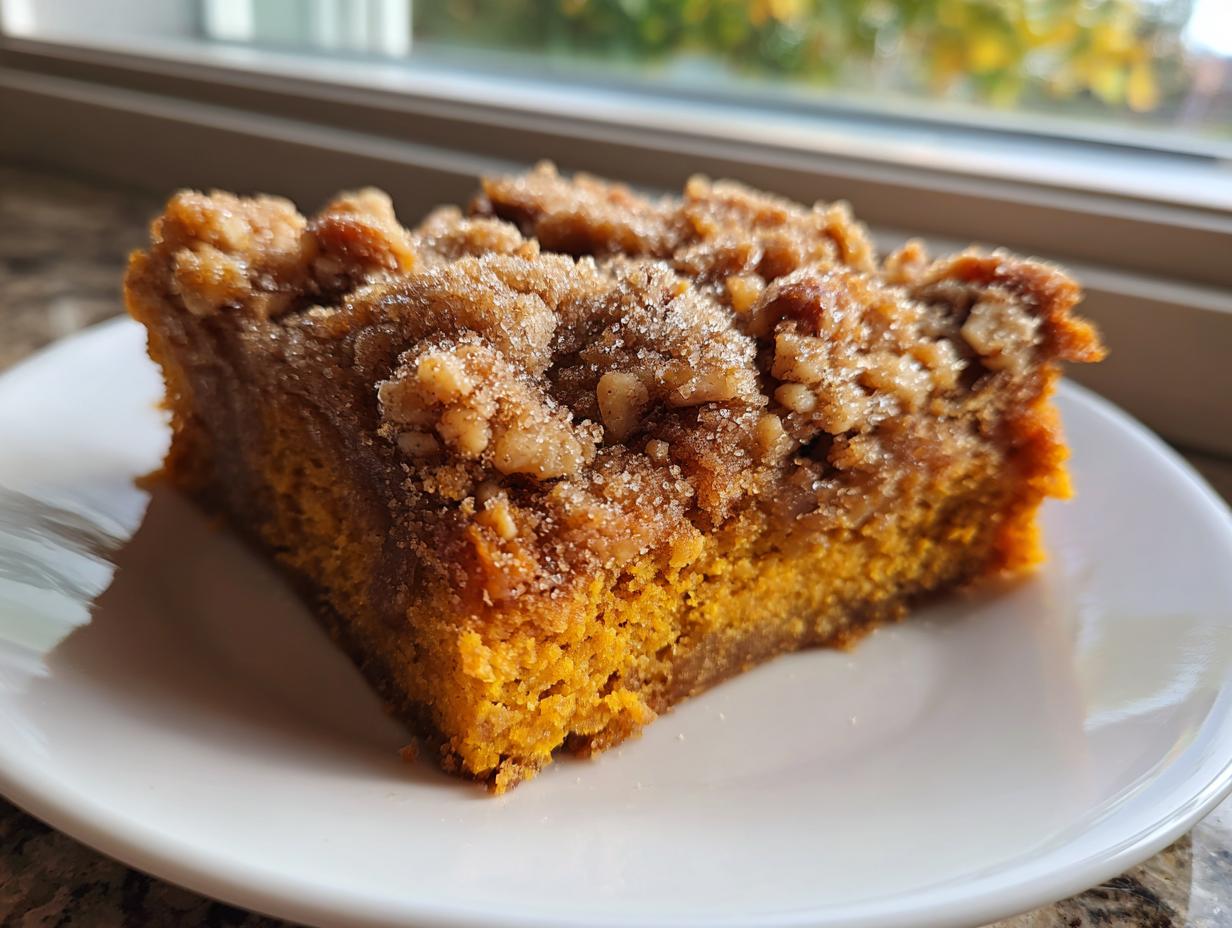
I’ve made plenty of complicated year-round desserts, but when the holidays hit, or when I need a really good pumpkin spice dessert fast, I turn straight to this gem. What makes this **pumpkin crunch cake** so magical? It’s all about that texture contrast. You start with a wonderfully moist pumpkin cake base—seriously, it tastes almost like pie filling—and then you top it with the crunchiest, buttery pecan streusel imaginable. It truly lives up to the claim of being a key Thanksgiving cake idea.
This recipe is engineered for speed and success, which is why I keep coming back to it when life gets busy. It’s the definition of easy fall baking. Seriously, you mix it right in the pan, and you’re done assembling in about 15 minutes before it heads into the oven. It’s the dream scenario for anyone hosting a big crowd, which is why I stress its ease in my guide to making easy desserts for crowds.
Key Features of This Simple Pumpkin Bake
- It relies on yellow cake mix, cutting prep time way down—no creaming butter or mixing dry ingredients separately here!
- The texture is unmatched: creamy and soft underneath the substantial, buttery, crunchy topping.
- It’s built to serve a lot of people without needing to be layered or frosted fussily.
Ingredients Needed for Your Layered Pumpkin Dessert
The beauty of this **pumpkin crunch cake**? It starts with things you probably already have floating around your pantry right now. Seriously, this isn’t one of those recipes where you need to run to three different specialty stores. Grandma Daisy believed in kitchen staples, and so do I. We’re essentially making a rich, spiced pumpkin custard layer and then topping it with all the good stuff that turns into that incredible crunchy topping cake layer.
Here’s the lineup for what you need to pull together this ultimate Thanksgiving cake idea:
- 1 box yellow cake mix (Yes, the boxed kind! Don’t skip this, it’s crucial for the texture!)
- 1 can (15 oz) pumpkin puree (Make sure it’s puree, not pie filling!)
- 1 can (12 oz) evaporated milk
- 3 large eggs
- 1 1/2 cups sugar (This is split between the base and the topping, so don’t mix it all at once!)
- 1 teaspoon cinnamon
- 1/2 teaspoon salt
- 1 cup pecans, chopped
- 1 cup butter, melted
- Whipped topping or vanilla ice cream, for serving (This is non-negotiable for serving, in my opinion!)
Ingredient Notes and Substitutions for the Best Pumpkin Crunch Cake
Okay, let’s talk specifics because a few ingredients here really make or break the dish. Using the yellow cake mix is key; it dissolves slightly into the wet mixture while creating that beautiful crust on top. If you’re out of pecans, definitely swap them for walnuts—it works just as well for that pecan crunch dessert factor. Some folks even add a bit of toffee if they are feeling extra festive!
But listen closely to me about the evaporated milk. You must use evaporated milk, not heavy cream or regular regular milk. That thicker consistency is what helps the pumpkin layer set up properly in the oven without turning soupy. That evaporated milk is what guarantees you end up with that beautiful, almost pie-like base in your **pumpkin crunch cake**. Trust me on this one; it’s part of Daisy’s secret sauce for a perfect, moist pumpkin cake.
How to Prepare the Easiest Pumpkin Crunch Cake Step-by-Step
This is where the magic happens, and honestly, it’s so simple you’ll wonder why you haven’t made this **pumpkin crunch cake** forever. Before we even start mixing, preheat your oven to 350°F (175°C) and grease up a 9×13 inch baking dish really well. Grandma Daisy always said that a well-greased pan is the first line of defense against anything sticking! If you love pumpkin but aren’t sure about baking right now, I have a great recipe for easy no-bake pumpkin fluff dip to try first.
First, we make the pumpkin base. In a big bowl, whisk together your pumpkin puree, evaporated milk, eggs, 1 1/2 cups of that sugar, cinnamon, and salt until it’s smooth and everything looks friendly. Pour this glorious wet mixture right into your prepared baking dish. This is your foundation for a truly moist pumpkin cake experience. Then comes the non-negotiable rule: Do NOT stir!
Assembling the Layers of Your Pumpkin Crunch Cake
Once the pumpkin layer is settled in the pan, we build upward, and we do it gently. Take that dry yellow cake mix and sprinkle it evenly over the top. I mean *evenly*. Then, mix up your pecans with the remaining sugar—that’s the other half cup—and sprinkle that right over the dry cake mix. This is the very heart of the buttery pecan topping that everyone raves about! If you want to see how a fantastic result looks, check out this inspiration from another great recipe.
Now for the final touch before baking: the butter drizzle. Take your cup of melted butter and drizzle it slowly and carefully all over the entire surface. You want to cover every speck of that dry cake mix you can. I use a fork to gently ensure it gets distributed a bit, but we are not mixing or stirring the layers together, remember? This layering is what sets this apart as a true crunchy topping cake marvel.
Baking Times and Testing for Doneness in Your Quick Pumpkin Recipe
Slide that beauty into the preheated oven. The baking time generally settles around 50 to 60 minutes. Now, you’re looking for visual cues—the topping should be turning a lovely golden brown, and the center needs to look set. It shouldn’t jiggle wildly when you tap the pan. If the edges of the topping look done but the very center seems a bit soft, give it five more minutes. This layered dessert needs that time to solidify!
Tips for Achieving the Perfect Crunchy Topping Cake Texture
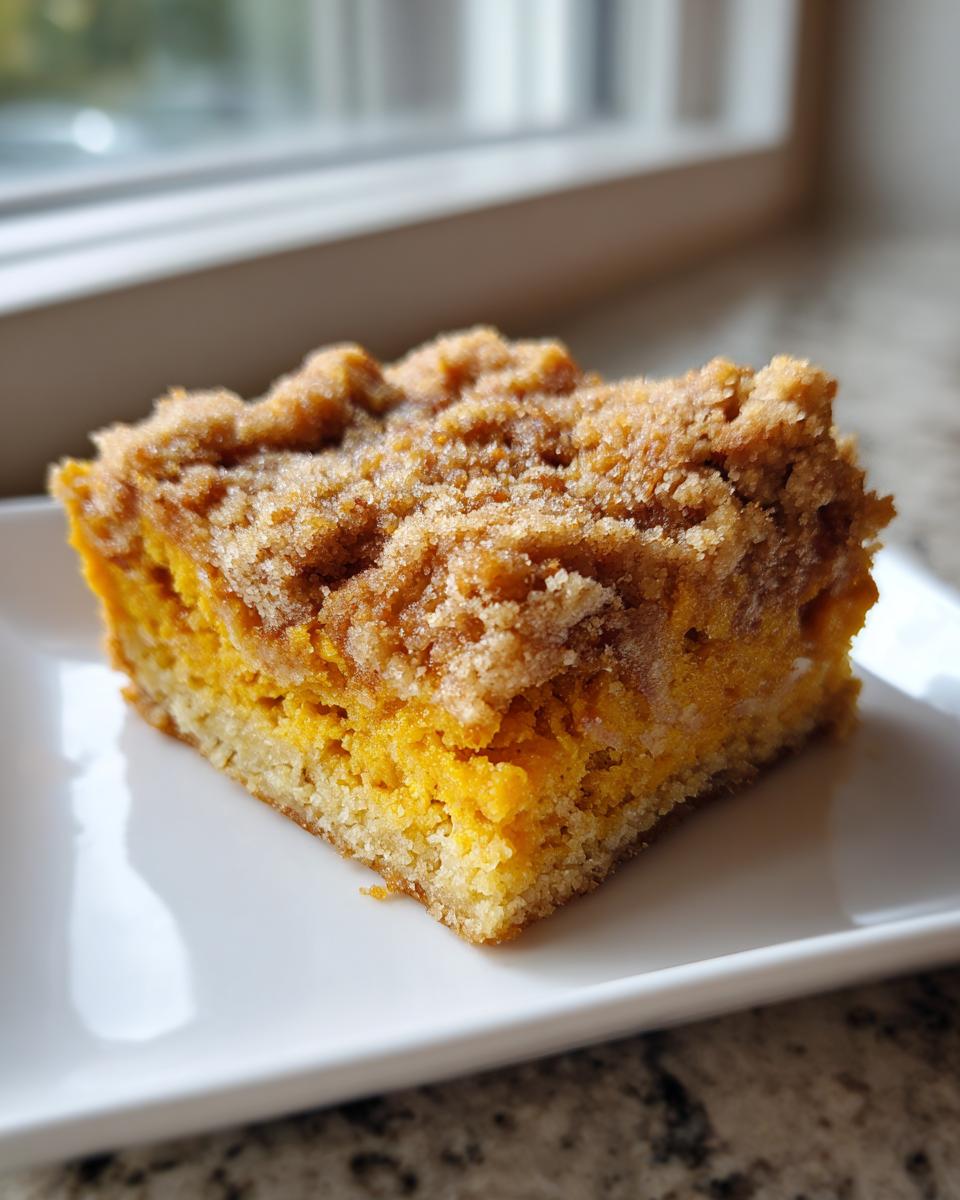
This pumpkin crunch cake lives or dies by that glorious top layer, so let’s talk texture. The goal here is a bottom that’s soft, moist, and spiced, contrasted sharply with a top that eats like a buttery pecan cluster. Don’t worry—it’s totally achievable, even for a quick pumpkin recipe!
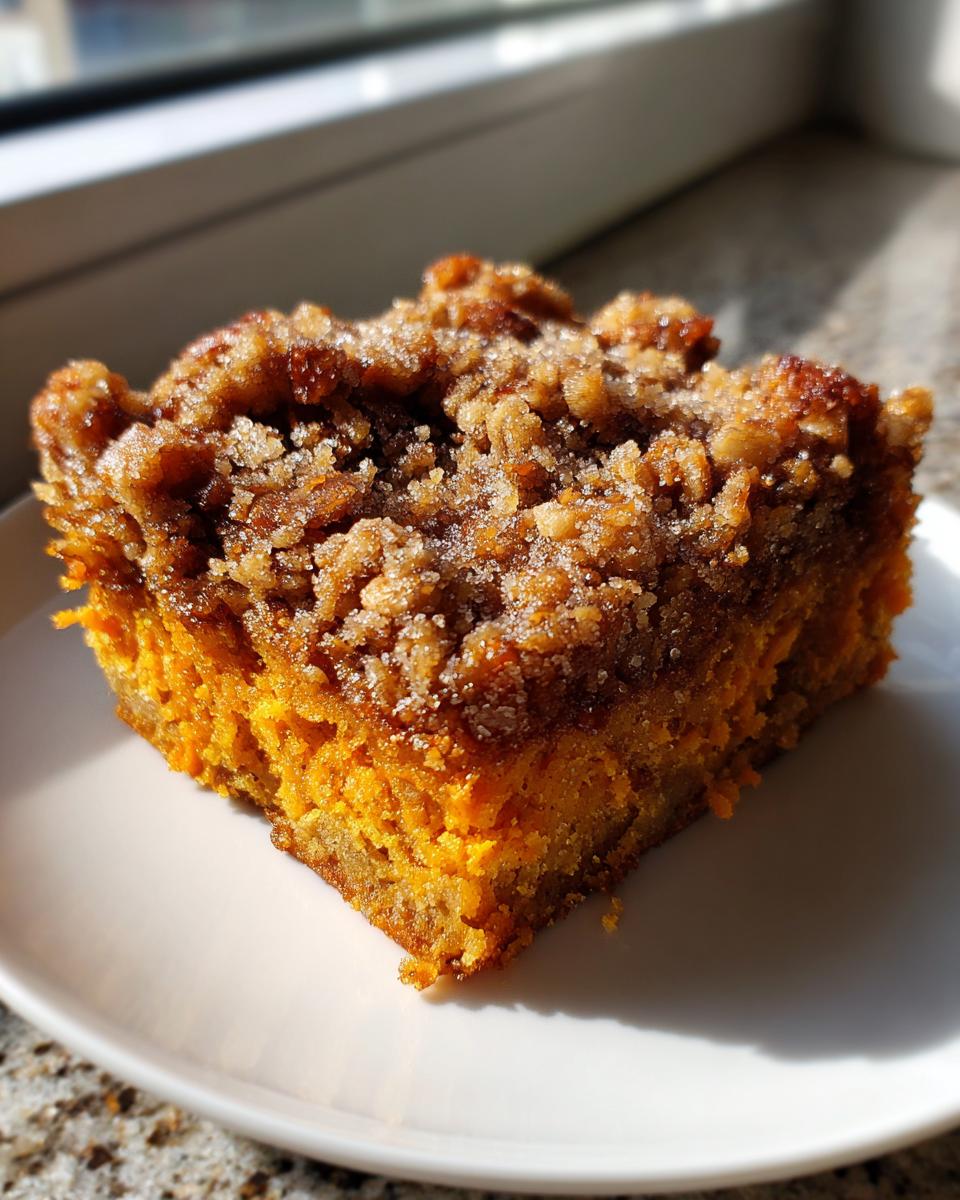
The biggest secret weapon for that signature crunch is the way you handle the butter. You absolutely must drizzle that full cup of melted butter evenly over *everything* before it goes into the oven. Make sure you get it to the edges! That melted fat soaks down just enough into the dry cake mix to cook it into that incredible brittle, golden crust. I learned early on that skipping just a bit of butter leads to a dull, soggy top instead of that perfect snap we’re after.
To keep the base moist while the top gets its crunch on, don’t over-bake. The moment that topping looks deeply golden, and the center no longer wobbles like jelly, it’s time to pull it out. Remember, as it cools slightly, that pumpkin base is still firming up. Think about what you’d add to melted butter if you were making my easy melt-in-your-mouth butter cookies—that rich, coating quality is what you need here to secure your **crunchy topping cake** success.
And here is another simple trick for maximizing that texture contrast: I always let the cake cool on the counter for at least 30 minutes after taking it out of the oven before serving or covering it. If you seal the warmth in right away, the condensation can prematurely soften that beautiful topping. A little patience right at the finish line ensures you nail that contrast every single time. You deserve that satisfying crunch!
If you want to see how this layering holds up beautifully, you can check out this inspiration on achieving that streusel perfection. It’s all about that final butter drizzle!
Serving Suggestions for this Moist Pumpkin Cake
Okay, we’ve done the hard work—the mixing, the layering, the patience waiting for that glorious crunch to form. Now for the best part: deciding how to serve this gorgeous moist pumpkin cake! Honestly, because this pumpkin spice dessert has that amazing texture already built in, you don’t need to do much to it. It truly stands alone beautifully.
My absolute favorite, the way Grandma Daisy always insisted we eat it, is slightly warm. Serve up a square while it’s still just warm from the cooling rack alongside a big scoop of good quality vanilla ice cream. That melting creaminess against the warm, spicy pumpkin base and the crisp topping? It’s heaven. It creates the perfect temperature contrast, and trust me, it’s worth setting aside a few minutes just to let it take the chill off.
If you’re setting this out for a holiday buffet, serving it at room temperature works perfectly fine too. The crunch stays crisp, and it’s easier for guests to manage on their plates. When serving at room temp, a big dollop of freshly whipped topping (none of that canned stuff unless you’re absolutely desperate!) is perfect. The light airiness of the cream balances the richness of the butter and pecans on top.
I know some folks like to get fancy and use a frosting here, but for this particular cake, I usually skip it. The beauty of this recipe is that the top layer *is* the topping.
However, if you simply *must* have frosting in your life, you can always whip up a simple vanilla buttercream. If you need a good blueprint for that, I always rely on my classic vanilla buttercream frosting recipe—just don’t spread it too thickly, or you’ll hide that gorgeous pecan crunch we worked so hard to achieve!
Storage and Make-Ahead Instructions
This is a big question, especially around the holidays when we are trying to get ahead of the game, right? The good news about this **pumpkin crunch cake** is that it holds up really well. Since this isn’t a fluffy layer cake with delicate frosting, you have a little more flexibility here.
If you make this the day before you plan to serve it—which I sometimes do because fall weekends are packed—it’s perfectly safe and still delicious. But here’s the catch: the crunch tends to soften just a tiny bit overnight. It’s still amazing, mind you, but that crackle won’t be quite as sharp as if you eat it the day it comes out of the oven. If you want maximum crunch, bake it the morning of your gathering.
When storing leftovers, you need to cover the dish well. If you leave it uncovered, the exposed topping will get stale fast. I usually use plastic wrap, making sure it doesn’t quite touch the top layer, or I transfer the slices to an airtight container. You can keep it covered on the counter at cool room temperature for about two days. Seriously, it stays incredibly moist thanks to that pumpkin base!
Can you put it in the fridge? Yes, you can. Once refrigerated, it will firm up quite a bit, especially the pumpkin layer. If you store it in the fridge, make sure you pull it out at least an hour before serving—maybe even two if your kitchen is cold. Letting it come back closer to room temperature really helps bring back that lovely soft texture we are looking for in this simple pumpkin bake. Storing it well means you practically have dessert figured out for the next day!
Frequently Asked Questions About Pumpkin Crunch Cake
When you’re trying out a new favorite like the pumpkin crunch cake, I always get a few questions popping up. It’s smart to ask! We want to make sure this amazing dessert turns out perfectly for you, whether it’s for a big holiday spread or just a cozy Tuesday night treat. Here are a few things people often ask me about achieving that perfect layered pumpkin dessert.
Can I use walnuts instead of pecans in this recipe?
Oh, absolutely! Don’t stress if your pantry is short on pecans or if you just prefer the flavor of walnuts—they are a fantastic swap. When I mention pecans in the recipe, I’m really aiming for that robust, nutty flavor that complements the spice, and walnuts do that job beautifully. Just chop them to a similar size, and you’ll get that same satisfying, buttery pecan topping. It’s still the best kind of crunchy topping cake!
Is this considered a Thanksgiving cake idea or a year-round dessert?
While this recipe screams fall gatherings and is definitely my go-to centerpiece for my Thanksgiving cake ideas list, I think it’s too good to save just for a season! If you love a good moist pumpkin cake, why wait until November? It uses simple pantry elements, so if you suddenly get a craving for a simple pumpkin bake in February, go for it! It brings that warm, cozy feeling no matter what the billboard outside is advertising.
What is the difference between this and a pumpkin dump cake?
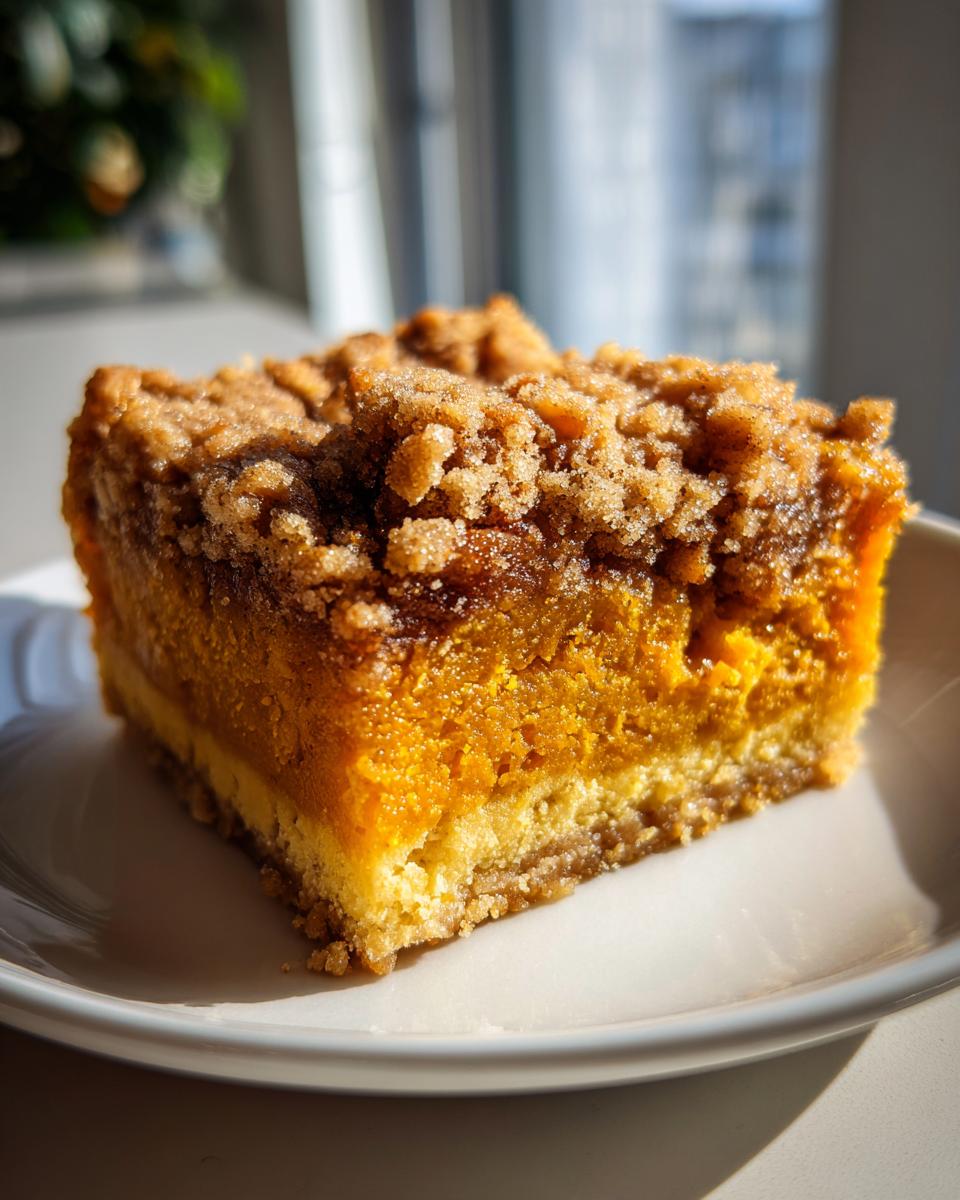
That’s a super thoughtful question, as they can look similar when they come out of the oven! The main difference lies underneath that crunch. With a true dump cake, you literally just dump the ingredients in layers without mixing the base. This recipe, however, requires you to mix the pumpkin, eggs, milk, and sugar thoroughly first to create a smooth, custard-like pumpkin layer. That pre-mixing of the wet base is what helps this pumpkin crunch cake set into distinct layers that slice cleanly, rather than blending completely into a spoonable pudding.
Estimated Nutritional Data for This Seasonal Fall Treat
Now, I know some folks are hyper-focused on the macros, even when we’re talking about a slice of pure fall joy like this **pumpkin crunch cake**. I always bake with the philosophy that food should make you happy first, but for completeness, here is what the numbers generally look like based on the standard ingredients we use.
Remember, these figures are just estimates, as they depend heavily on the specific brand of cake mix, the exact amount of butter absorbed, and how large your slice turns out to be. This is meant to be a guide, not a strict dietary breakdown. Enjoy it without worry—it’s a holiday treat, after all!
- Serving Size: 1 slice
- Calories: 450
- Fat: 25g
- Saturated Fat: 12g
- Trans Fat: 0g
- Unsaturated Fat: 13g
- Carbohydrates: 55g
- Sugar: 45g
- Protein: 5g
- Sodium: 350mg
- Fiber: 2g
- Cholesterol: 50mg
See? It’s rich, it’s sweet, and it’s worth every single calorie when paired with that fresh whipped topping. Don’t stress the sugar content when you see what kind of pure happiness this delicious **seasonal fall treat** brings to your table!
Share Your Baking Success
I’ve given you everything I know—all of Grandma Daisy’s wisdom woven into this incredibly easy **pumpkin crunch cake** blueprint. Now, it’s your turn to bring this beauty out of my kitchen and onto your table!
Honestly, seeing your interpretations of this recipe is the best part of running Daisy’s Recipes. Did you use walnuts? Did you serve it with your favorite caramel sauce drizzled over the vanilla ice cream? Did you make it for a huge crowd at a tailgate or just for a quiet Sunday afternoon?
Please, leave a rating below! Clicking those stars helps other home cooks see just how reliable and delicious this **simple pumpkin bake** is. And definitely drop a comment telling me what you loved most about that buttery pecan crunch. Every story you share brings light back to the lessons I learned in Daisy’s kitchen so long ago.
When you’re looking for your next rewarding bake, remember this recipe proves that simple ingredients, handled with care, always make the best memories. If you’re already itching for your next sweet creation, take a peek at my collection of delicious dessert recipes. Happy baking, friends!
PrintEasy Pumpkin Crunch Cake
Make this simple, layered pumpkin crunch cake for a crowd-pleasing fall dessert. It features a moist pumpkin base and a buttery pecan streusel topping.
- Prep Time: 15 min
- Cook Time: 60 min
- Total Time: 75 min
- Yield: 12 servings 1x
- Category: Dessert
- Method: Baking
- Cuisine: American
- Diet: Vegetarian
Ingredients
- 1 box yellow cake mix
- 1 can (15 oz) pumpkin puree
- 1 can (12 oz) evaporated milk
- 3 large eggs
- 1 1/2 cups sugar
- 1 teaspoon cinnamon
- 1/2 teaspoon salt
- 1 cup pecans, chopped
- 1 cup butter, melted
- Whipped topping or vanilla ice cream, for serving
Instructions
- Preheat your oven to 350°F (175°C). Lightly grease a 9×13 inch baking dish.
- In a large bowl, mix the pumpkin puree, evaporated milk, eggs, 1 1/2 cups of the sugar, cinnamon, and salt until combined. This forms your pumpkin layer.
- Pour the pumpkin mixture into the prepared baking dish.
- Sprinkle the dry yellow cake mix evenly over the pumpkin layer. Do not stir.
- In a separate small bowl, mix the chopped pecans with the remaining 1/2 cup of sugar. Sprinkle this mixture over the dry cake mix.
- Slowly drizzle the melted butter evenly over the top layer, covering the cake mix and pecans.
- Bake for 50 to 60 minutes, or until the topping is golden brown and the center is set.
- Let the cake cool slightly before serving. Serve warm or at room temperature with whipped topping or vanilla ice cream.
Notes
- For an extra crunchy topping, you can substitute 1/2 cup of the pecans with chopped walnuts.
- This is an easy dessert for crowds, perfect for Thanksgiving gatherings.
- If you prefer a cream cheese frosting over whipped topping, prepare a simple batch and spread it over the cooled cake.
Nutrition
- Serving Size: 1 slice
- Calories: 450
- Sugar: 45g
- Sodium: 350mg
- Fat: 25g
- Saturated Fat: 12g
- Unsaturated Fat: 13g
- Trans Fat: 0g
- Carbohydrates: 55g
- Fiber: 2g
- Protein: 5g
- Cholesterol: 50mg