
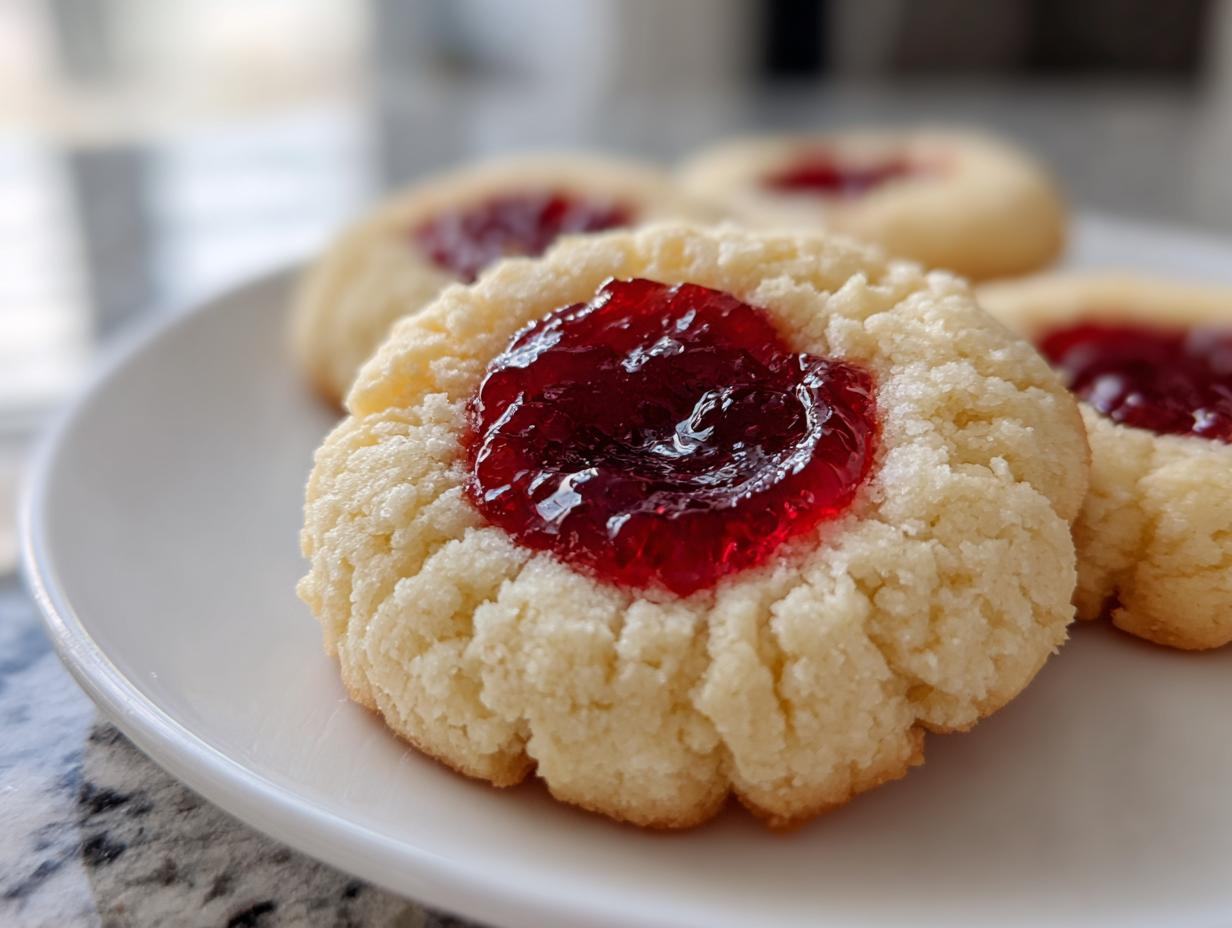
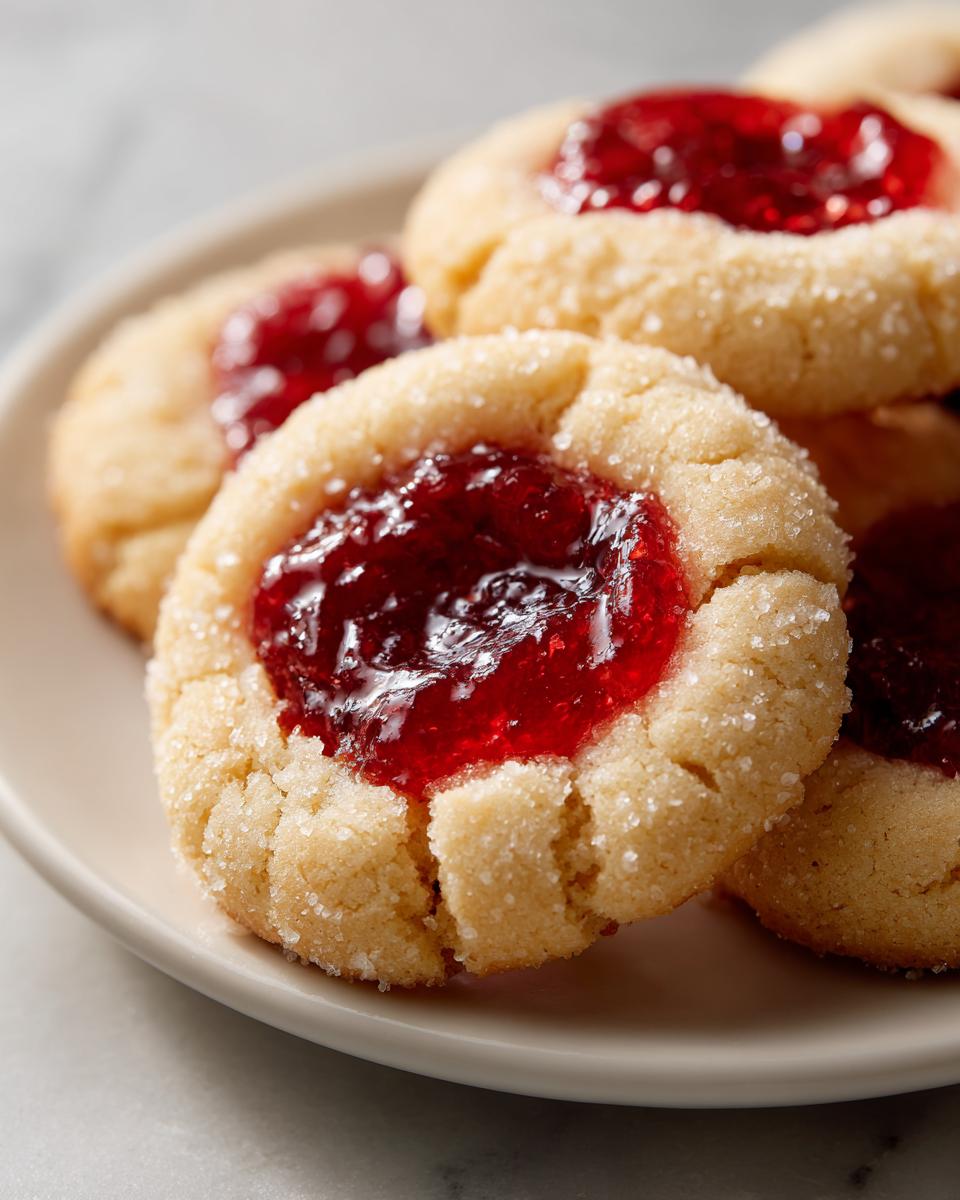
There is something so comforting about the smell of baking cookies, isn’t there? It pulls me right back to Grandma Daisy’s kitchen—that screened-in porch where dusty light slanted across the floor. We’re kicking off our journey back to those simple days with a truly classic bake: thumbprint cookies. Forget fussy techniques; these little jewels rely on a delightfully buttery shortbread base that just melts in your mouth. I’m sharing my tried-and-true recipe for Classic Raspberry Thumbprint Cookies today. Trust me, making these reminds me exactly why Daisy’s straightforward, traditional cookie recipes are the best legacy she could have left me. I hope visiting this site, my little corner of the internet, brings you that same feeling of home.
- Why This Easy Thumbprint Cookie Recipe is a Keeper
- Gathering Ingredients for Your Raspberry Thumbprint Cookies
- How to Prepare Your Tender Cookie Dough for Thumbprint Cookies
- Baking Perfect Thumbprint Cookies: Shaping and Filling
- Tips for Success with Homemade Thumbprint Cookies
- Variations on Traditional Cookie Recipes
- Storage and Make Ahead Holiday Cookies Instructions
- Frequently Asked Questions About Thumbprint Cookies
- Estimated Nutritional Data for Classic Thumbprint Cookies
Why This Easy Thumbprint Cookie Recipe is a Keeper
When I started baking again, I needed recipes that were forgiving but still tasted like they took all day. This easy thumbprint cookie recipe delivers exactly that. It’s foolproof, which is why I think it’s one of the best thumbprint cookies out there.
- The structure is pure buttery shortbread cookies—they break apart perfectly in your mouth.
- It’s designed for a beautifully tender cookie dough that doesn’t fight you when you’re shaping it.
- The chilling time is short, meaning you go from mixing to baking faster than most holiday treats!
Simple Ingredients for Classic Jam Filled Cookies
Honestly, the ingredient list is short, which I love. You likely have everything already! We only use pantry staples, which proves you don’t need fancy extracts to make a stunning cookie. Because the flavor profile is so simple, you absolutely must use real, good-quality butter here. That fat content is what keeps these classic jam filled cookies so luxurious.
Perfect for Holiday Cookie Recipes and Gifting
If you’re hitting up a cookie swap, make a double batch immediately. Everyone expects something grand at parties, but a perfect, simple cookie always stands out more. I remember making these last year for a cookie exchange right before Christmas, and they were gone first! They truly are a fantastic, quick cookie recipe for gifting.
Gathering Ingredients for Your Raspberry Thumbprint Cookies
Alright, let’s get organized before we even think about turning on the mixer. For this straightforward recipe, we need clarity—especially since we are aiming for that perfect, buttery base! Grab your one cup of unsalted butter; make sure it’s truly softened, not melted, okay?
You’ll see the granulated sugar listed twice in the recipe, and that’s intentional! We need one half-cup for the dough itself to get that lovely sweetness woven in. Then, that last quarter-cup is crucial; it’s for rolling the dough balls in before they get their signature dent. Don’t skip that sugar coat—it gives the finished cookie a little sparkle and crunch.
For the filling, I’ve gone with classic raspberry jam, but feel free to use your favorite! I personally love the bright taste of raspberry against the rich, buttery melt of the shortbread. Just make sure your jam isn’t super runny, or you’ll have a bit of a mess when it bakes!
How to Prepare Your Tender Cookie Dough for Thumbprint Cookies
Now we get to the fun part, turning those humble ingredients into the most amazing dough you’ve ever worked with. The secret sauce here, like many of my favorite recipes, is patience during the initial combining stage. If you want that perfect, tender cookie dough that doesn’t spread into thin sad pancakes in the oven, listen close!
Mixing the Buttery Shortbread Base
In your mixing bowl, get that softened butter and the first measure of sugar creamed together. You want it genuinely light and fluffy—think pale yellow and airy, not just slightly combined. Then, add the egg yolk and vanilla. Don’t rush this aeration! Once that’s mixed, we gently bring in the flour and salt. Here is where I preach: stop mixing the second you see it start to come together into a shaggy mass. Seriously, stop the mixer! Overmixing develops gluten, and gluten steals that melt-in-your-mouth quality we want for these buttery shortbread cookies. Dump the dough out onto some plastic wrap when it just barely holds its shape.
Chilling the Dough: A Key Step for Thumbprint Cookies
We are going to give this beautiful, somewhat crumbly dough just a quick rest. Wrap it up tight and pop it into the fridge for at least 30 minutes. This chilling time is non-negotiable for making fantastic thumbprint cookies! Why? Because cold dough is easier to handle, it prevents those little balls from spreading too much while baking, and it ensures that the indentation you make stays nice and deep. Think of it like resting a steak—it just calms everything down so the final result is better. You want to visit my post on melt-in-your-mouth cookies if you want to see how I handle butter differently for other recipes, but for these, chilling is king!
Baking Perfect Thumbprint Cookies: Shaping and Filling
Alright, the dough is cold, and your oven is humming along nicely at 350°F. This phase is where these simple balls of dough transform into beautiful thumbprint cookies! First thing’s first: set up a little assembly line. You need those chilled dough balls, the shallow dish with that second measure of sugar, and your prepared baking sheet lined with that parchment paper I always rave about.
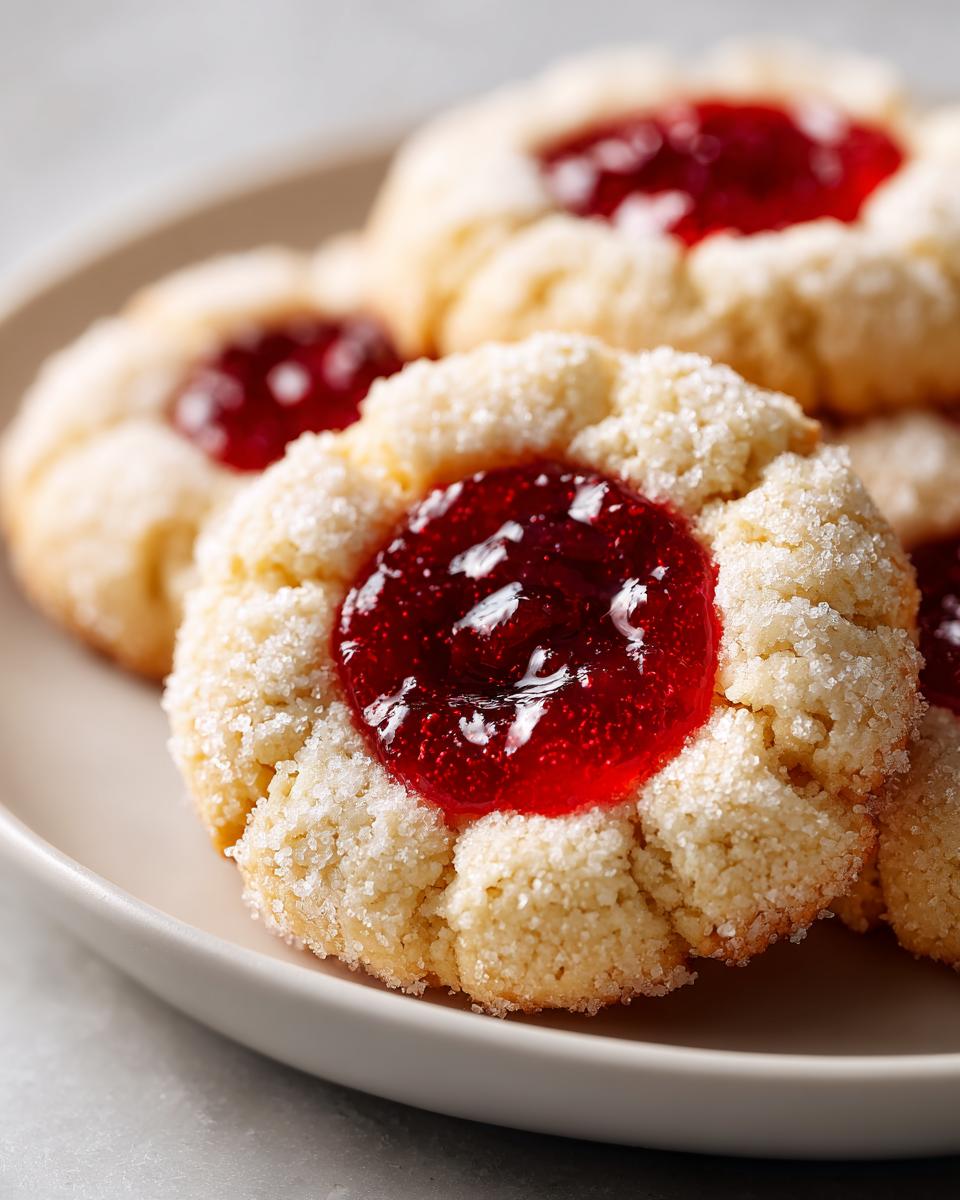
Roll each cold dough ball until it’s nicely rounded, then give it a good tumble in the sugar. You want that sugar to really stick! This coating not only adds decoration but helps keep the edges from getting too crisp.
Achieving the Perfect Cookie Indentation Tip
This is the defining moment for our classic jam filled cookies! After sugaring, place the ball on the sheet. Now, here’s the crucial cookie indentation tip: Use your thumb to press down firmly but gently right in the center. You want to create a good, deep well that will hold that jam filling without tearing through the bottom of the dough. If the dough starts to crack around the edges, don’t panic, just pinch it back together gently! If you look closely at the amazing results shown by others, like those pictured in this shortbread guide, you’ll see exactly how deep that indent should be.
Baking and Cooling Your Classic Jam Filled Cookies
Once you’ve filled every little well with about half a teaspoon of raspberry jam—and I mean *just* before they go into the oven, so the jam doesn’t completely melt out—it’s time to bake. They only need about 12 to 15 minutes. You’ll know they’re done when the edges are just starting to look lightly golden. Pull them out! Do not move them yet! Let them set up on the hot baking sheet for five minutes before gently moving them over to a wire rack to cool completely. Trust me; moving them too soon means you’ll end up with cookie bottoms divorced from their jam tops!
Tips for Success with Homemade Thumbprint Cookies
Even though this recipe for thumbprint cookies is wonderfully simple, I’ve learned a few secrets over the years to make sure they come out perfect every single time, just like Grandma Daisy intended. We don’t want any baking disasters on our watch!
The biggest thing I preach about is the jam—don’t fill those little wells until the oven is hot and you are ready to bake. If the jam sits in the dough for too long, it can start to draw out moisture or even bubble up and overflow everywhere. Trust me, filling right before they go into the heat keeps the jam perfectly set inside that tender cookie cradle.
Also, remember how I mentioned freezing these a bit? It’s a fantastic trick for make ahead holiday cookies. If you make the dough balls, freeze them solid, and then bake them directly from frozen, you get an even better shape because they won’t spread at all. If you want a deeper dive into freezing doughs, I talk about that method in my post on freezing cookie doughs!
Variations on Traditional Cookie Recipes
We adore the classic raspberry jam version, but honestly, this buttery base is just begging for a little dress-up! If you’re looking to mix things up on your holiday tray, you have plenty of options here. Don’t feel tied down just to the fruit jam; experimenting makes baking fun!
Making Chocolate Thumbprint Cookies or Iced Thumbprint Cookies
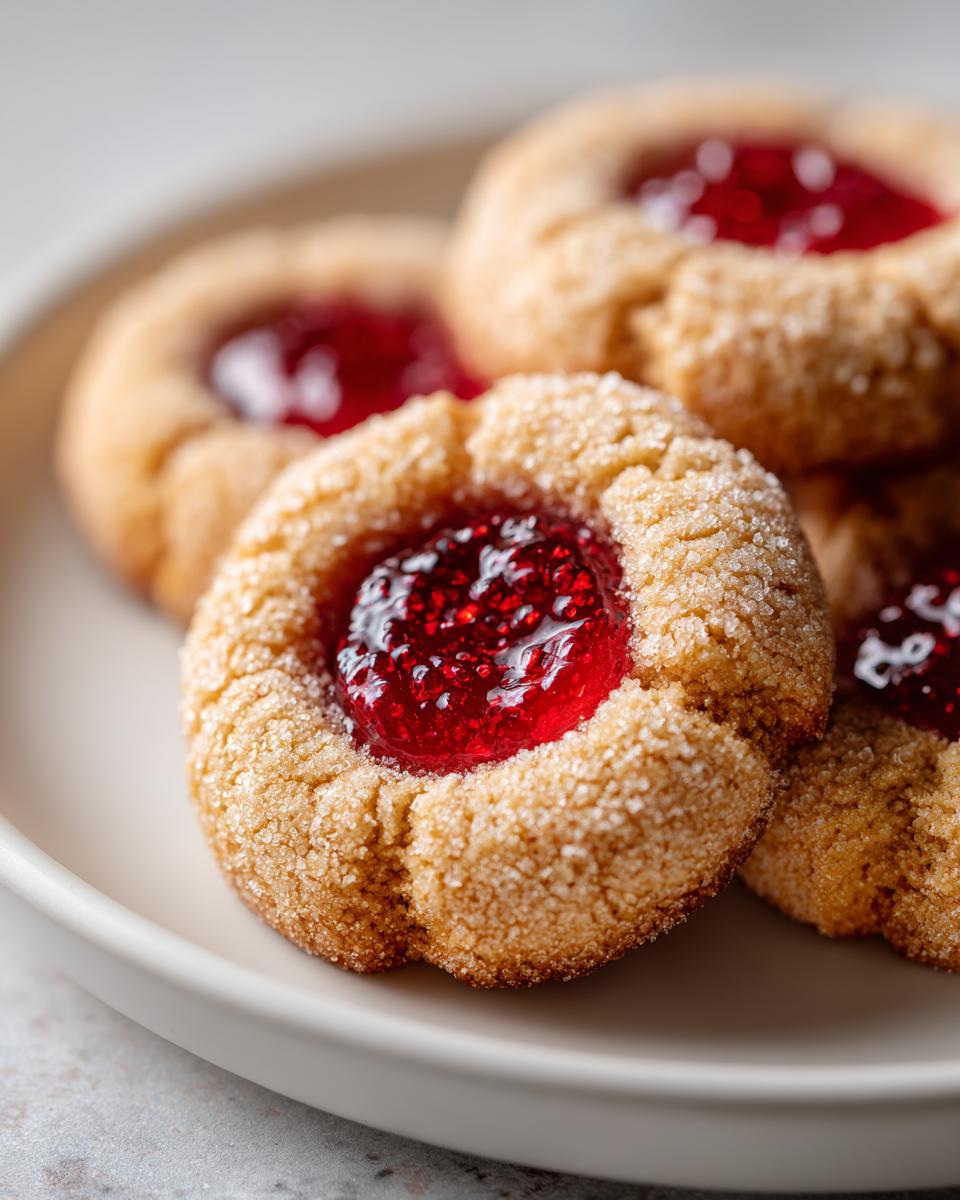
For those die-hard chocolate fans, you can easily turn these into deep, dark chocolate treats. Just take about a quarter cup of your flour out and swap it for unsweetened cocoa powder. It’s a super simple switch for marvelous chocolate thumbprint cookies!
If you don’t want to mess with the dough, you can always pivot after they bake. Once they cool completely, drizzle them with a thin vanilla icing or a chocolate ganache. These turn into beautiful iced thumbprint cookies overnight and are just as lovely for gifting. They look amazing next to the jam ones! If you are curious about the fudgiest chocolate recipe I have, take a peek at my Oreo brownie guide, though these cookies are much lighter, of course.
And, based on what I see others making, you can check out this amazing approach to true chocolate versions if you want a richer base!
Storage and Make Ahead Holiday Cookies Instructions
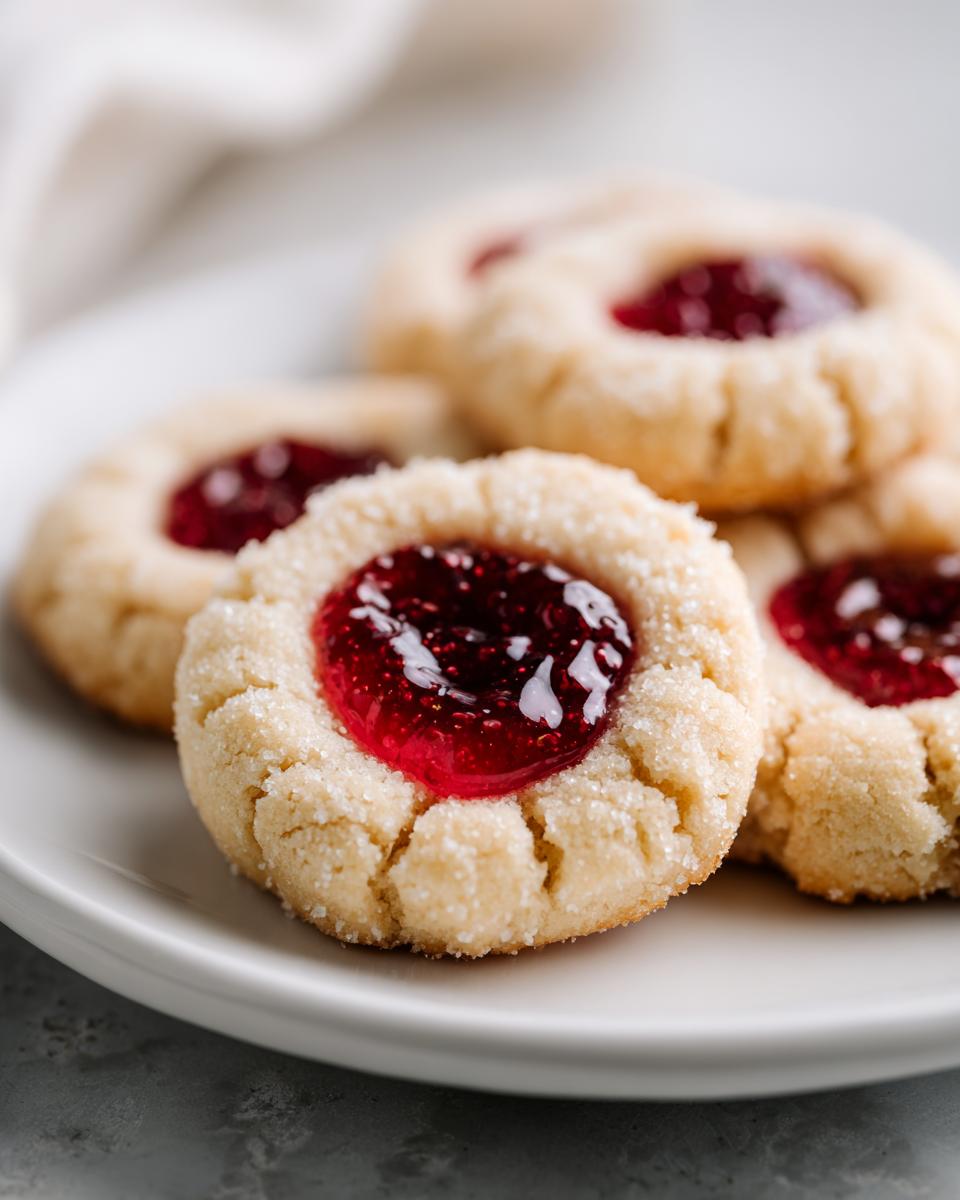
We’ve baked the perfect batch of thumbprint cookies, but now what? If you’re making these way ahead for a big holiday event, you need a good plan! Storing them is simple: keep them in a single layer in an airtight container at room temperature. They stay fresh beautifully for nearly a week because of that lovely jam center.
If you want to get way ahead, remember that incredible trick I mentioned earlier? Mix the dough, roll the balls, sugar them, and then pop them right onto a tray into the freezer until they are rock solid. You can then transfer those frozen rounds into a zip-top bag! When you’re ready to bake, just pull out what you need and place them straight onto the sheet—no need to thaw. It makes those busy holiday baking days so much easier. Check out my detailed guide on make ahead holiday cookies for more pointers if you’re planning your Christmas baking schedule!
Frequently Asked Questions About Thumbprint Cookies
Can I use a different jam in these easy thumbprint cookie recipe?
Absolutely, you can! That’s the beauty of using this easy thumbprint cookie recipe; the dough is such a wonderful, neutral canvas. Raspberry is my favorite because that tartness cuts through the richness of the butter, but apricot jam is phenomenal here too—it gives a lovely bright, almost tangy flavor. If you prefer something sweeter, strawberry is always a winner! Just try to use a good quality preserve that isn’t too thin so it stays put in the well.
Why did my thumbprint cookies spread while baking?
Oh, this is a common frustration, but it’s almost always about temperature control! If your thumbprint cookies spread out into flat saucers, it usually means two things: either your butter was too warm when you mixed the dough, or—more likely—you skipped that crucial chilling time! When the dough balls hit the hot oven, the butter melts out too fast if it’s warm, causing things to flatten. That 30 minutes in the fridge really helps them hold their gorgeous shape.
Are these considered simple dessert cookies for beginners?
Yes, 100%! I really believe these count as some of the most welcoming and simple dessert cookies for someone who is just starting out. You’re not folding egg whites or worrying about complex layers. It’s cream, add, chill, roll, press, and bake. The steps are so straightforward, and even if your indentations aren’t perfectly identical, they still taste like heaven. They are wonderful practice for getting comfortable with butter-based doughs!
Estimated Nutritional Data for Classic Thumbprint Cookies
Now, listen, I’m a baker, not a nutritionist! These numbers are just estimates based on standard measurements for rich, buttery shortbread cookies made with raspberry jam. Remember, the quality of your butter and the amount of jam you lovingly spoon in will change these figures a tiny bit. This data is based on a serving size of one cookie, which yields us 24 total cookies from the whole batch.
I certainly don’t worry about this too much when I’m making traditional cookie recipes for the holidays, but I figured some of you might appreciate having a general idea of what’s in these sweet afternoon treats:
- Calories: Approximately 135 per cookie
- Fat: Around 8 grams (Remember a lot of that is the wonderful butter!)
- Carbohydrates: About 15 grams
- Protein: Roughly 2 grams
This is why these buttery sugar cookies are best enjoyed in moderation alongside a big, hot cup of coffee. Don’t stress the details too much—just enjoy that melt-in-your-mouth goodness!
PrintClassic Raspberry Thumbprint Cookies
Make these buttery shortbread thumbprint cookies filled with sweet raspberry jam. This easy recipe is perfect for holiday cookie swaps or simple afternoon treats.
- Prep Time: 20 min
- Cook Time: 15 min
- Total Time: 50 min
- Yield: 24 cookies 1x
- Category: Dessert
- Method: Baking
- Cuisine: American
- Diet: Vegetarian
Ingredients
- 1 cup unsalted butter, softened
- 1/2 cup granulated sugar
- 1 large egg yolk
- 1 teaspoon vanilla extract
- 2 cups all-purpose flour
- 1/4 teaspoon salt
- 1/2 cup raspberry jam (or your favorite jam)
- 1/4 cup granulated sugar for rolling
Instructions
- In a large bowl, cream together the softened butter and 1/2 cup of sugar until light and fluffy.
- Beat in the egg yolk and vanilla extract until combined.
- In a separate bowl, whisk together the flour and salt. Gradually add the dry ingredients to the wet ingredients, mixing on low speed until a soft dough forms. Do not overmix.
- Wrap the dough in plastic wrap and chill in the refrigerator for at least 30 minutes.
- Preheat your oven to 350°F (175°C). Line baking sheets with parchment paper.
- Place the remaining 1/4 cup of sugar in a shallow dish.
- Scoop the chilled dough into small balls, about 1 inch in diameter. Roll each ball in the sugar until coated.
- Place the sugared dough balls on the prepared baking sheets, leaving space between them.
- Use your thumb or the back of a small measuring spoon to press a deep indentation into the center of each cookie ball. This is your cookie indentation tip for a perfect well.
- Fill each indentation with about 1/2 teaspoon of raspberry jam.
- Bake for 12 to 15 minutes, or until the edges are lightly golden.
- Let the cookies cool on the baking sheets for 5 minutes before transferring them to a wire rack to cool completely.
Notes
- For the best results and to prevent the jam from bubbling over, fill the indentations just before baking.
- If you want a more traditional look, you can roll the dough balls in finely chopped nuts before rolling them in sugar.
- These homemade thumbprint cookies freeze well before baking; place them on a tray, freeze until solid, then transfer to a freezer bag.
Nutrition
- Serving Size: 1 cookie
- Calories: 135
- Sugar: 9
- Sodium: 45
- Fat: 8
- Saturated Fat: 5
- Unsaturated Fat: 3
- Trans Fat: 0
- Carbohydrates: 15
- Fiber: 0
- Protein: 2
- Cholesterol: 25