
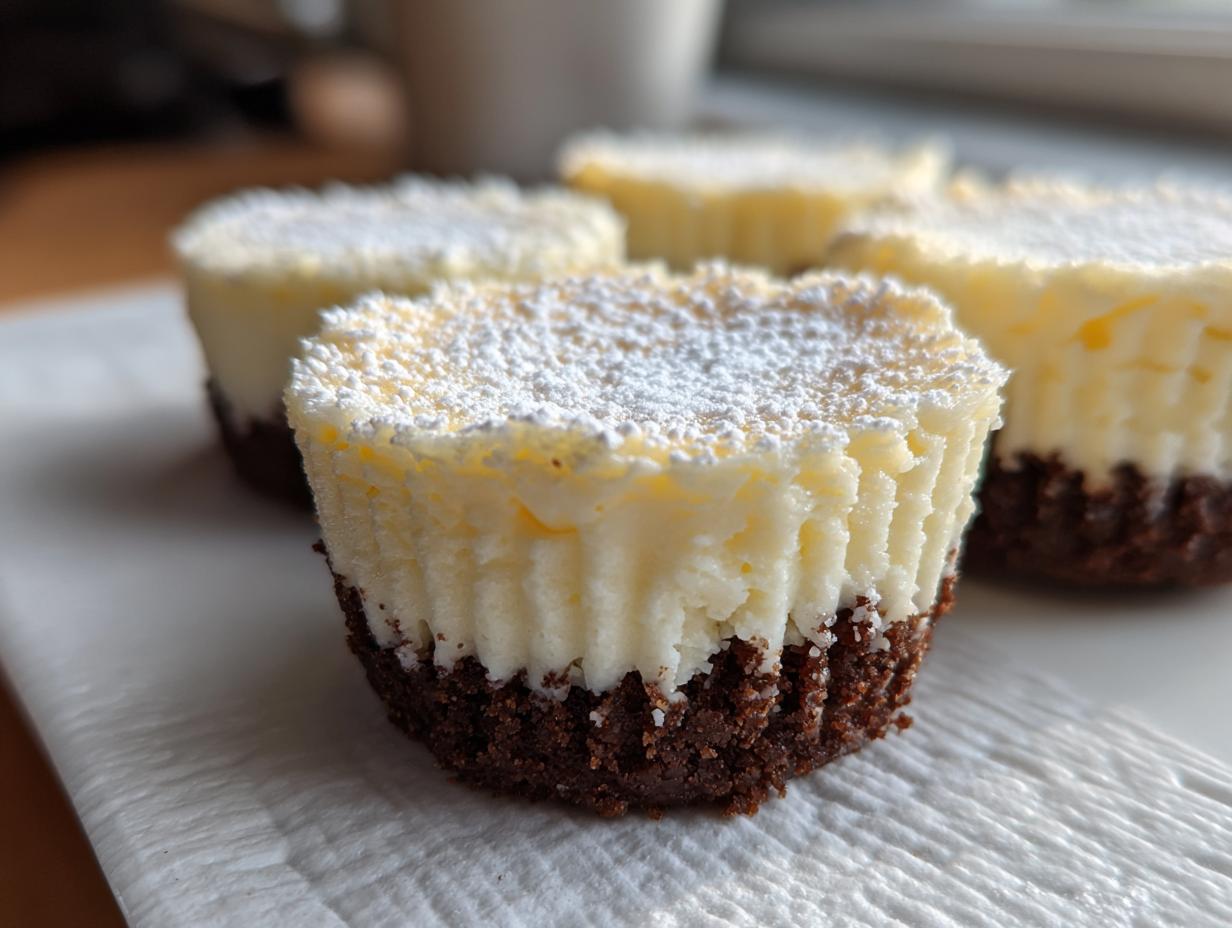
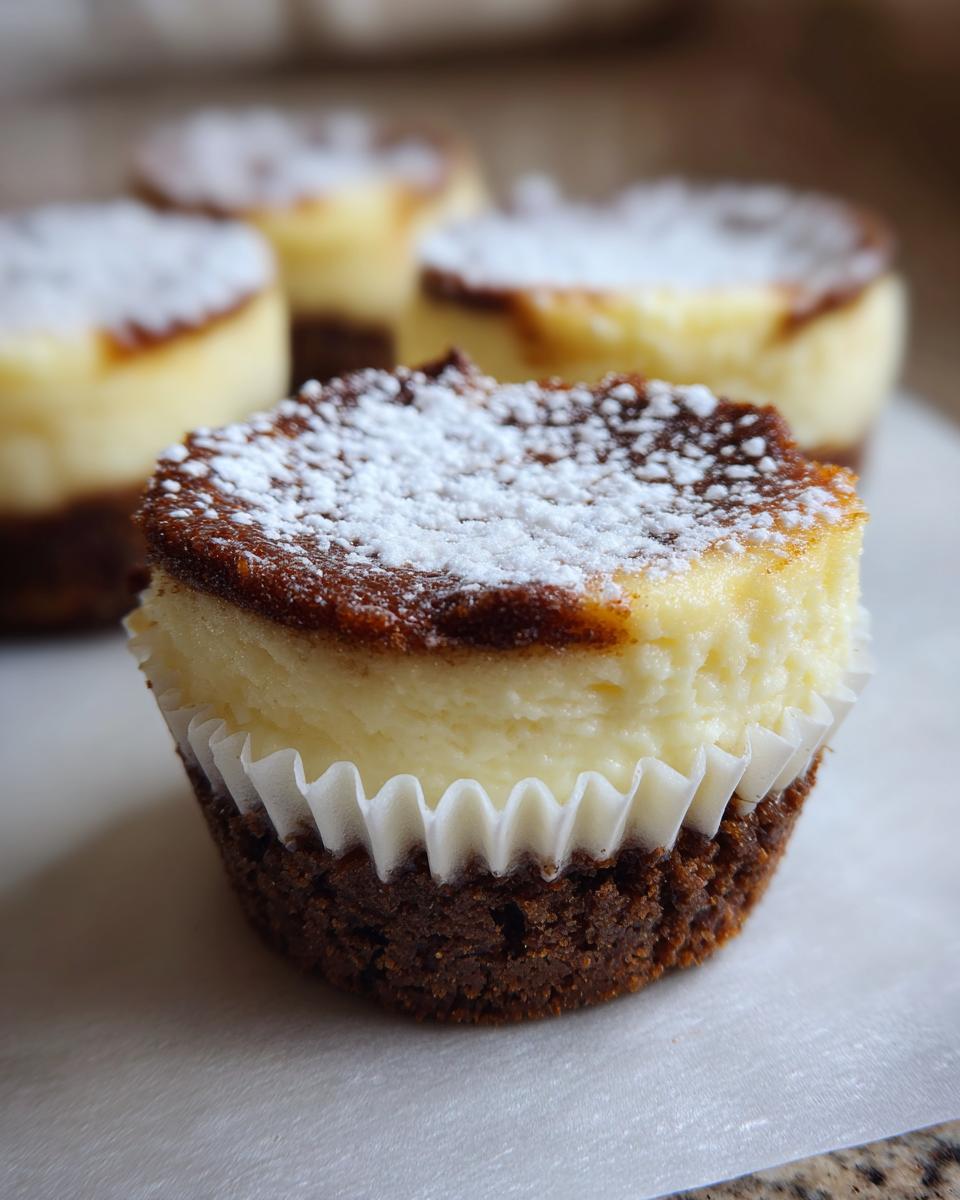
Oh, who has time to sit around waiting for a giant cheesecake to cool? Not me! Honestly, nothing beats having a perfect, individual dessert ready to grab when that craving hits, or when unexpected guests pop over. That’s why I’m so excited to share this recipe for the Easy No-Bake Mini Cheesecake Bites. Trust me when I say this is the best mini cheesecake you will make all year—and you don’t even need to turn on the oven! This comes directly from the philosophy my Grandma Daisy taught me: making incredible food doesn’t need to be complicated. I took that love for simple, reliable food, just like Amelia did, and turned it into this wonderfully creamy, bite-sized treat. It’s truly an instant classic for any party, or just for Sunday night!
If you want to see more of the simple, classic recipes that inspired this—the ones that always bring people together—you can check out my general delicious dessert recipes collection.
- Why This Easy Mini Cheesecake Recipe Works So Well
- Gathering Ingredients for Your Creamy Mini Cheesecakes
- Step-by-Step Instructions for the Quick Cheesecake Recipe
- Tips for Success with Your Mini Cheesecake Bites
- Creative Mini Cheesecake Toppings Ideas
- Storing and Serving Your Bite Sized Cheesecake Treats
- Frequently Asked Questions About Mini Cheesecake
- Estimated Nutritional Data for This Mini Cheesecake Recipe
- Share Your Mini Cheesecake Creations
Why This Easy Mini Cheesecake Recipe Works So Well
The reason I keep coming back to these little gems is pure practicality, mixed with incredible flavor, of course! They tick every box when I need a fast, impressive dessert. Forget waiting around for the oven to preheat or worrying about cracks on the surface. These are built for speed and perfect texture straight out of the fridge.
The Appeal of No Bake Mini Cheesecakes
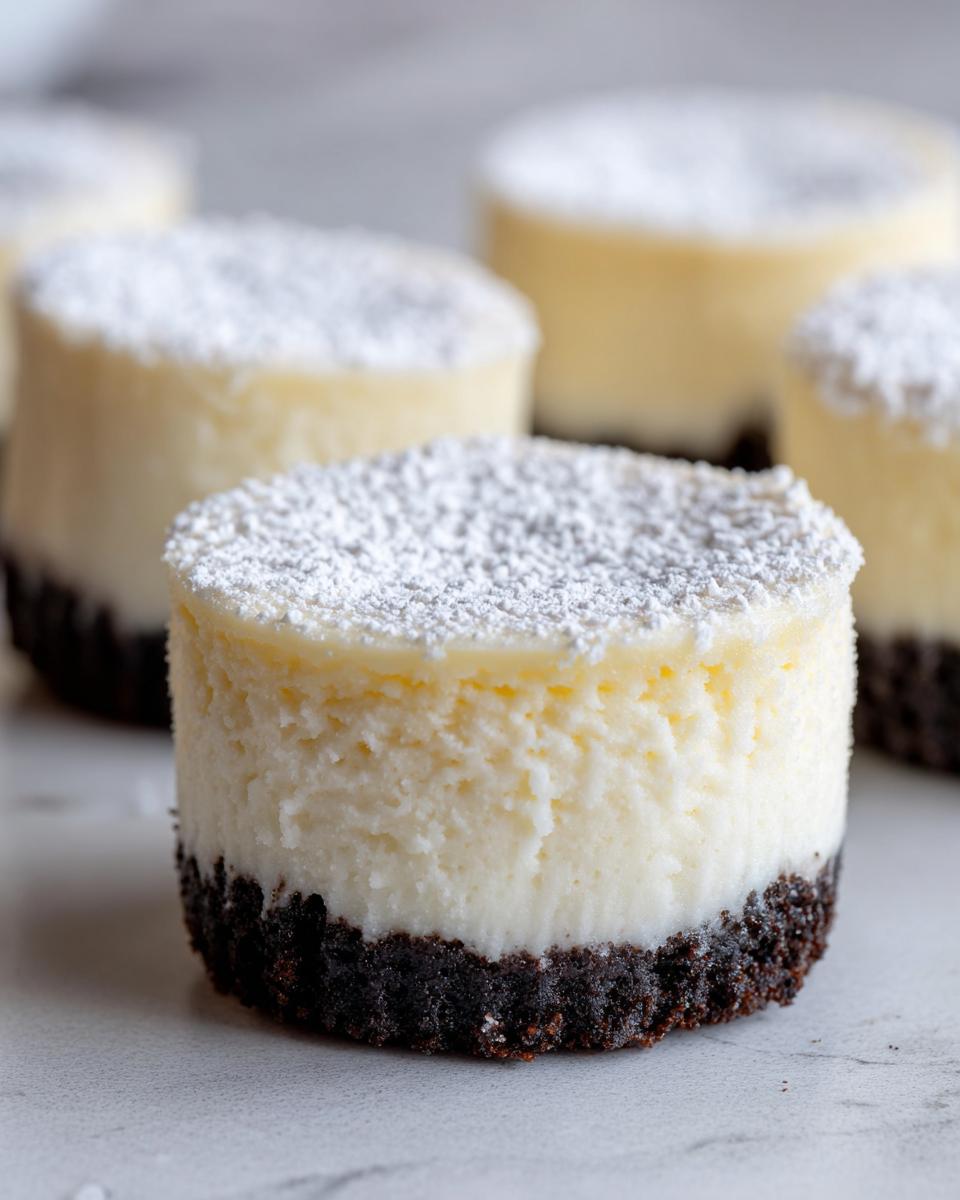
When you opt for No Bake Mini Cheesecakes, you skip all the baking drama, which is a huge win for me in the summer months. We get that luxurious, dense, and incredibly creamy mini cheesecakes texture we all dream about, but without any chance of them drying out. It’s just mixing, pressing, and chilling. That’s the beauty of ditching the heat!
Ideal for Party Desserts Individual Portions
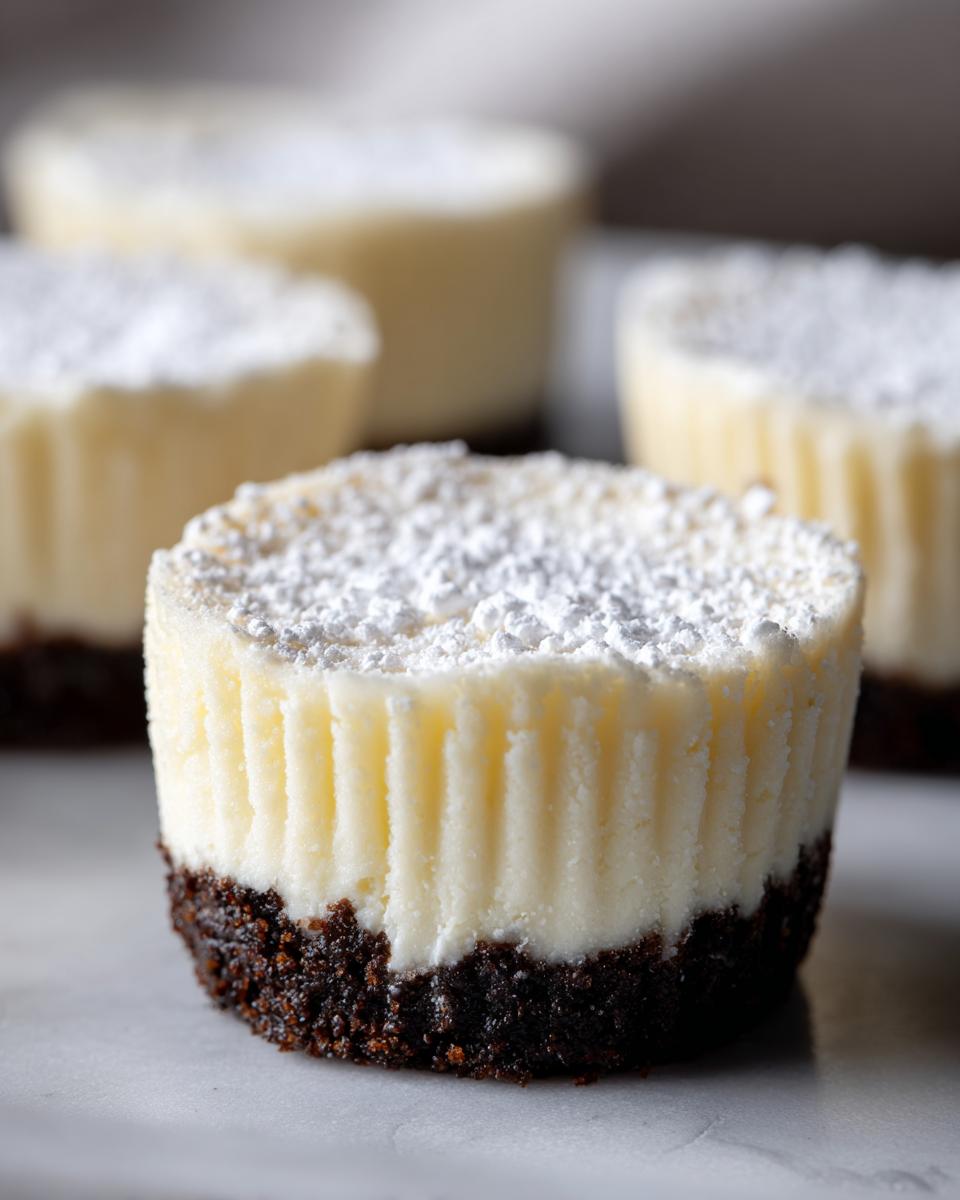
These are absolutely genius if you’re planning a gathering. Because they are already perfectly portioned dessert bites, you don’t need a knife or any little plates! They look so neat lined up, making them the ultimate Party Desserts Individual Portions. Everyone can just grab one or two without messing up the rest of the batch. So easy!
Gathering Ingredients for Your Creamy Mini Cheesecakes
Okay, let’s get everything lined up on the counter before we start mixing. For no-bake treats, having everything ready—what we call mise en place—is even more important because things move fast once you start beating that cream cheese! Remember what I said about texture? You absolutely must use full-fat cream cheese here if you want those creamy mini cheesecakes like mine. Anything less just won’t give you that rich, decadent mouthfeel. You’ll need just a few simple things for the base and the filling, and you probably have most of them right now. How easy is that for such a spectacular dessert?
Graham Cracker Crust Cheesecake Mini Components
For the base, which we want nice and firm—that’s your Graham Cracker Crust Cheesecake Mini foundation—you’ll need 1 1/2 cups of graham cracker crumbs, 1/4 cup of regular granulated sugar, and 6 tablespoons of unsalted butter that’s perfectly melted. Just mix until it looks like wet sand, that’s the perfect texture for pressing down!
Filling for the Best Mini Cheesecake Bites
Now for the star of the show, the filling for the Best Mini Cheesecake Bites! Grab 16 ounces of that softened, full-fat cream cheese—I mean soft enough that your finger leaves a deep dent. Plus, 1 cup of powdered sugar, 1 teaspoon of vanilla extract, and 1/4 cup of heavy cream. The heavy cream is what makes them so delightfully light and fluffy after chilling.
Step-by-Step Instructions for the Quick Cheesecake Recipe
Now that we have everything ready on the counter, let’s get these little desserts assembled! It really is a quick process, but sticking to the order is key to getting that fantastic texture right away. Remember, we aren’t getting out the baking sheets for this one, so timing is all about the cooling!
Preparing the Graham Cracker Crust Cheesecake Mini Base
First things first, line up your 12-cup standard muffin tin with those pretty paper liners. That’s step one done! Next, mix up your crust ingredients—the crumbs, the sugar, and the melted butter—until everything looks like damp brown sugar. Now, press about a tablespoon and a half of that mixture firmly into the bottom of each liner. You really need to pack it down tight so it doesn’t crumble later. Pop the whole tin right into the freezer while we whip up the next part!
Creating the Filling for Creamy Mini Cheesecakes
While the bases are chilling out, grab your mixer for the filling. Beat that softened cream cheese until it’s completely smooth and scrape down the sides so there are zero lumps lurking! Then, add your powdered sugar and vanilla. Mix that on low first so the sugar doesn’t make a cloud in your kitchen, then bump the speed up until it’s beautifully blended. Finally, pour in the heavy cream and beat it for just about two minutes until it gets light and fluffy. Stop mixing right then—seriously, don’t overmix it, or you lose that amazing creamy texture we are aiming for!
Assembling and Chilling Your Individual Cheesecake Desserts
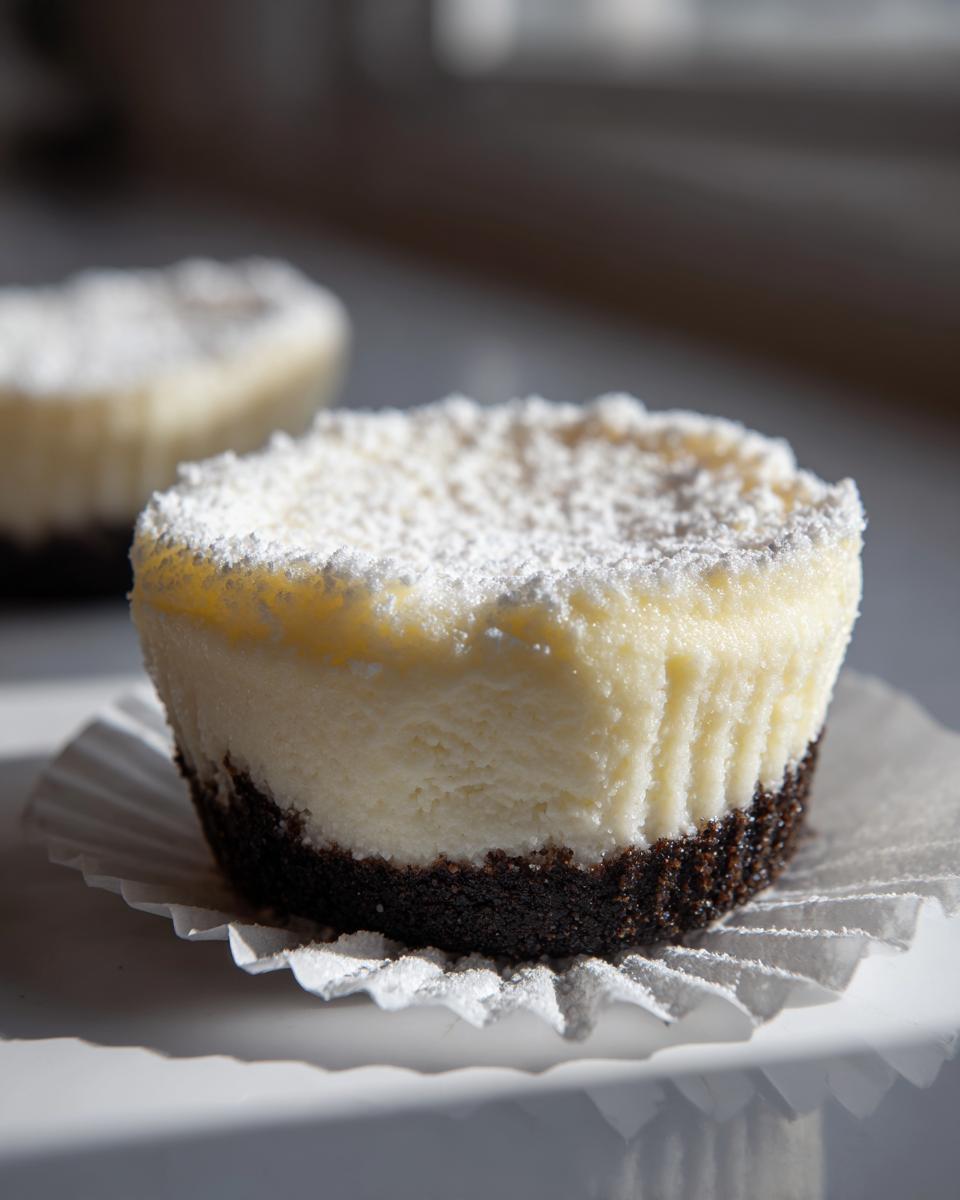
Time to put it all together! Carefully spoon or pipe that airy filling right on top of your chilled crusts until they are all evenly filled up. These are your perfect Individual Cheesecake Desserts now, but they aren’t ready yet! Everything needs to firm up properly. You have to let them refrigerate for at least four long hours. I usually just make them the morning before a party. Once they are completely firm, you just peel off the paper liner, and that’s it—ready to serve! If you want to check out how I do dips and fluff recipes that are just as easy, take a peek at my pumpkin fluff dip post.
Tips for Success with Your Mini Cheesecake Bites
Even though this is a no-bake recipe, there are tiny, sneaky things that can throw off the texture we worked so hard to achieve! Since this recipe is about reliability—that genuine connection to a perfect outcome—I want to share the little tricks I learned writing this down. It’s all about temperature and how long you let your mixer run. Don’t worry, though; even if you mess up a step slightly, these are still going to taste fantastic!
Achieving the Perfect Texture in Your Mini Cheesecake
My number one texture rule is temperature. Your cream cheese needs to be truly soft, like room temperature soft, not just ‘left on the counter for ten minutes’ soft! That ensures no lumps sneak into your mini cheesecake filling. Also, when you add that heavy cream, stop mixing as soon as it looks fluffy. If you keep going, it gets grainy instead of that smooth, luxurious bite we’re going for.
Baking Option: Transitioning to New York Style Mini Cheesecake
Now, listen up, because sometimes I crave that classic oven tang. If you want a New York Style Mini Cheesecake instead, you can absolutely bake these! You just need to make a few small tweaks. After filling the liners, skip the fridge and pop them into a 325°F oven for about 15 to 18 minutes. Just watch until they are set, then cool them down completely before chilling. It’s a quick change for a totally different, but still delicious, experience!
If you’re looking for another simple, creamy recipe that always impresses, check out my easy creamy garlic sauce recipe—it proves simple ingredients can make huge flavors!
Creative Mini Cheesecake Toppings Ideas
The best part about these mini cheesecake bites? They are the perfect blank canvas! Even if you are just running late and have nothing fancy, a dusting of powdered sugar is divine. But if you want to elevate these simple cheesecake desserts for a real showstopper, you have to play with toppings. Thinking about Mini Cheesecake Toppings Ideas should almost be as fun as making the bites themselves. You can totally tailor these little desserts to any party theme or flavor palate you have going on!
Fruit Topped Mini Cheesecakes and Lemon Curd
Nothing brightens up a rich, creamy cheesecake like something tart and fresh! I just adore making fresh strawberry compote to spoon over the top of these Fruit Topped Mini Cheesecakes. If you want something tangy, a spoonful of lemon curd cuts through the richness perfectly. It’s so simple but just tastes elegant, doesn’t it?
Decadent Mini Desserts: Chocolate and Caramel Drizzles
If you’re aiming for pure indulgence and want to cross over into the world of Decadent Mini Desserts, you need chocolate or caramel. I always keep a jar of ganache ready! Just melt some chocolate chips with a little heavy cream—or even grab my easy chocolate mousse—and drizzle it over. A little salted caramel sauce makes these irresistible. Seriously, everyone flocks to the caramel ones first! You can find some other amazing topping ideas over at Hungry Happenings.
Storing and Serving Your Bite Sized Cheesecake Treats
Since these are no-bake, proper storage is key to keeping that wonderfully creamy mini cheesecakes texture intact. You absolutely must keep these sealed up tight in an airtight container in the refrigerator. Don’t just leave them uncovered! They are happiest sitting in the cold for up to four days; any longer and the crust might start getting a little soft, which is a shame.
When it’s time to serve your Bite Sized Cheesecake Treats, just pull them out about fifteen minutes before you want people to dig in. That little bit of warmth makes them taste even richer! Never try to microwave these, please—that will just turn them into soup! Keeping them chilled is what guarantees that perfect, sturdy bite every single time.
Frequently Asked Questions About Mini Cheesecake
It’s funny, even with the clearest instructions, folks always have a few nagging questions when it comes to their favorite desserts! I get it; you want your mini cheesecake to be perfect. I’ve pulled together some of the things people ask me most often about getting the crust right, handling the filling, and just how long you can keep these treats around (spoiler: not long enough!).
Can I make the crust ahead of time for this mini cheesecake?
Oh, absolutely! That’s a pro move, especially if you’re planning a big spread. You can totally press the crust mixture into the liners and pop that whole tin right into the freezer. It keeps perfectly for up to a week ahead of time. Just make sure they are frozen solid before you layer the cold filling on top!
What is the best way to get the filling out of the muffin tin?
The paper liners are your total heroes here! As long as you use those, lifting them out is easier than peeling tape. If, somehow, you decided to skip the liners, you need to make sure they are completely chilled—rock solid! Once fully chilled, you can gently peel the paper away. If you didn’t use liners at all, use a tiny offset spatula to carefully scoop them out by getting it right under the crust bottom. Be gentle!
How long do these No Bake Mini Cheesecakes last in the fridge?
Since we aren’t baking them, they stay super fresh! These No Bake Mini Cheesecakes are genuinely at their absolute best within the first two days. You can push it to three or maybe four days, but they must be stored tightly covered so they don’t absorb any funky fridge smells. Honestly, though, mine never last that long!
If you’re looking for another simple, rich appetizer that’s easy to handle at parties, you have to check out my recipe for creamy pub-style beer cheese dip. It’s shockingly easy!
Estimated Nutritional Data for This Mini Cheesecake Recipe
Hey, I know some of you big bakers like to keep track of everything, so here are the estimated numbers for one of these gorgeous mini cheesecake bites. Please remember these are just ballparks—they change depending on if you use regular sugar versus a substitute or what kind of berries you pile on top when you add your toppings later!
- Serving Size: 1 bite
- Calories: 250
- Total Fat: 16g
- Saturated Fat: 10g
- Total Carbohydrates: 23g
- Protein: 4g
This is just for the basic crust and filling before you load up on chocolate drizzle or extra fruit, so keep that small detail in mind when you’re planning your day!
Share Your Mini Cheesecake Creations
Alright, friends, that’s it! You’ve made it through the best, super simple, no-bake mini cheesecake recipe I have to offer. Now for the best part—I genuinely want to see what you came up with on your counters! Did you stick to the plain yumminess, or did you go totally wild with toppings?
Please, please, please, leave me a comment down below! Tell me how they turned out, what your family thought, and most importantly, what topping combination you ended up loving the most. Your feedback is what keeps Daisy’s Recipes feeling like a real kitchen where we all share our successes (and maybe our little fails, too!).
If you managed to snap a picture of your beautiful batch of bite sized cheesecake treats, tag me on social media! I love seeing your work! If you need anything at all—maybe a question about ingredient swaps or you just want to cheer me on—you can always get in touch through the contact page. Happy baking, or rather, happy chilling!
PrintEasy No-Bake Mini Cheesecake Bites
Make creamy, individual cheesecake bites without turning on your oven. This simple recipe is perfect for parties or quick desserts.
- Prep Time: 20 min
- Cook Time: 0 min
- Total Time: 4 hr 20 min
- Yield: 12 servings 1x
- Category: Dessert
- Method: No Bake
- Cuisine: American
- Diet: Vegetarian
Ingredients
- 1 1/2 cups graham cracker crumbs
- 1/4 cup granulated sugar
- 6 tablespoons unsalted butter, melted
- 16 ounces full-fat cream cheese, softened
- 1 cup powdered sugar
- 1 teaspoon vanilla extract
- 1/4 cup heavy cream
Instructions
- Line a 12-cup standard muffin tin with paper liners.
- Combine graham cracker crumbs, 1/4 cup granulated sugar, and melted butter in a bowl. Mix until the crumbs are evenly moistened.
- Press about 1 1/2 tablespoons of the crust mixture firmly into the bottom of each paper liner. Place the tin in the freezer while you prepare the filling.
- In a large bowl, beat the softened cream cheese with an electric mixer until smooth. Scrape down the sides.
- Add the powdered sugar and vanilla extract to the cream cheese. Beat on low speed until combined, then increase speed to medium and beat until smooth.
- Pour in the heavy cream. Beat on medium speed until the mixture is light and fluffy, about 2 minutes. Do not overmix.
- Spoon or pipe the cheesecake filling evenly over the chilled crusts.
- Refrigerate the mini cheesecakes for at least 4 hours, or until firm.
- Remove liners before serving. Top with your choice of fruit, chocolate sauce, or caramel.
Notes
- For a firmer crust, chill the crust mixture for 10 minutes before pressing into the liners.
- Use full-fat cream cheese for the best creamy texture.
- If you want a New York Style Mini Cheesecake, use an electric mixer to beat the filling longer until it is very smooth, and bake at 325°F for 15-18 minutes, then cool completely before chilling.
- Topping ideas include fresh berries, lemon curd, or a simple chocolate drizzle.
Nutrition
- Serving Size: 1 bite
- Calories: 250
- Sugar: 18
- Sodium: 150
- Fat: 16
- Saturated Fat: 10
- Unsaturated Fat: 6
- Trans Fat: 0
- Carbohydrates: 23
- Fiber: 1
- Protein: 4
- Cholesterol: 55