
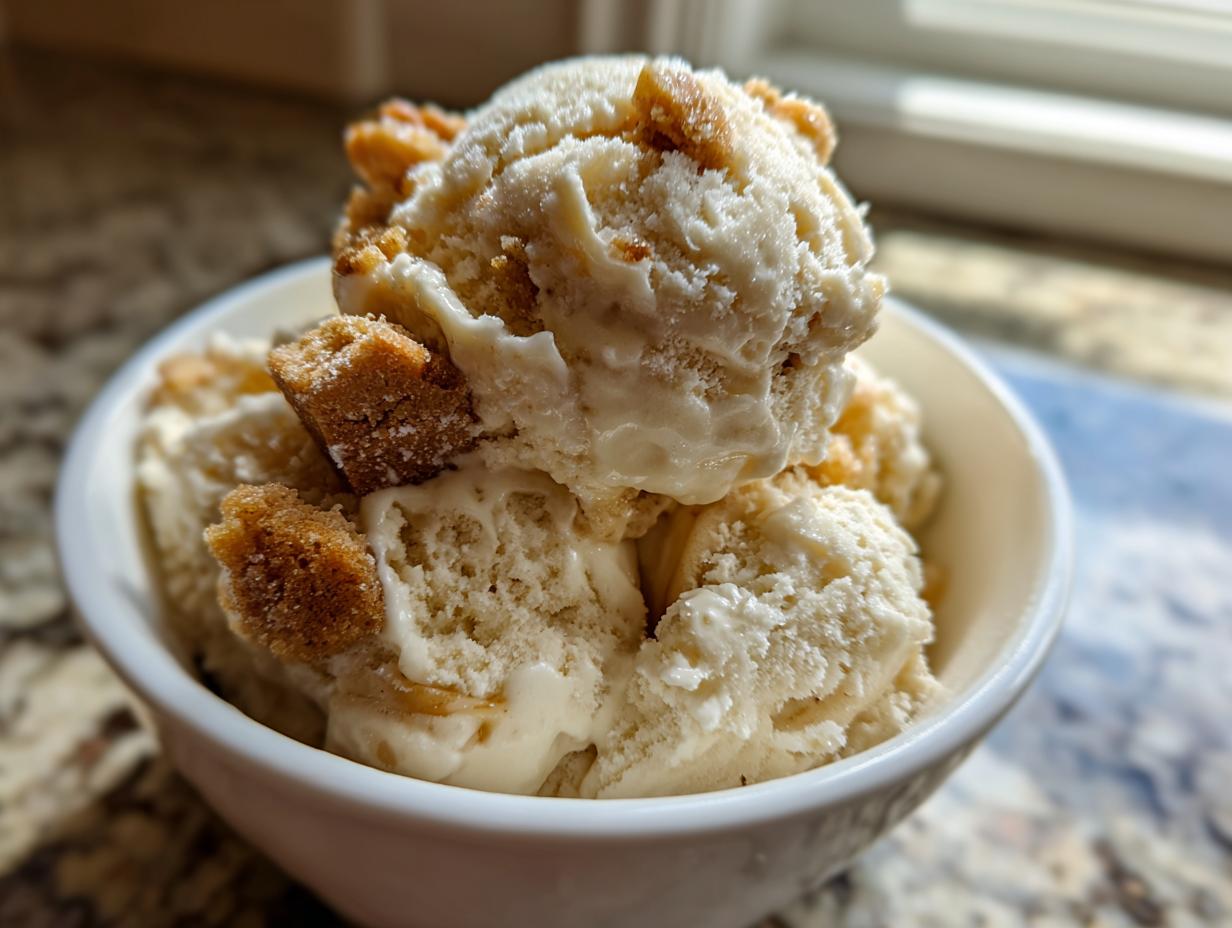
When two amazing things combine, like a warm slice of pie and a hot summer day, you just know it’s going to be special. That’s exactly what happened when I perfected this apple pie ice cream recipe. Honestly, it takes everything comforting about that classic, baked dessert—the spiced apples, the buttery crunch—and swirls it right into the creamiest base you can imagine. This isn’t just flavored ice cream; it’s a full experience! It reminds me so much of the simple, honest food my grandmother, Amelia Rosewood, used to make. She taught me that even the best treats should start with just a few good ingredients, and that philosophy shines through here. If you need the best dessert recipes for fall, trust me, this is the one you’ll be making all year round.
- Why This Homemade Apple Pie Ice Cream Recipe Works So Well
- Gathering Ingredients for Your Apple Pie Ice Cream
- How to Make Apple Pie Ice Cream: Step-by-Step Instructions
- Variations on the Best Apple Pie Ice Cream Recipe
- Making No Churn Apple Pie Ice Cream
- Tips for Success with Your Apple Pie Ice Cream
- Storing and Serving Your Homemade Apple Pie Ice Cream
- Frequently Asked Questions About Apple Pie Ice Cream
- Nutritional Estimates for This Frozen Apple Pie Dessert Idea
Why This Homemade Apple Pie Ice Cream Recipe Works So Well
When you try to mash a baked dessert into a frozen treat, things can go very wrong. Soggy apples or rock-hard crust pieces ruin the whole scoop! But this apple pie ice cream recipe cuts through all that fuss. We treat the components separately so they each shine when they hit the churner.
- We aren’t just throwing raw apples in there; they get cooked down until they’re perfectly tender, just like in a real pie filling!
- We use both sugars—white and brown—to give that deep, molasses background note that makes fall baking so special.
- The crust pieces are added right at the very end, sealing in that buttery crunch.
Achieving the Perfect Spiced Apple Pie Ice Cream Flavor
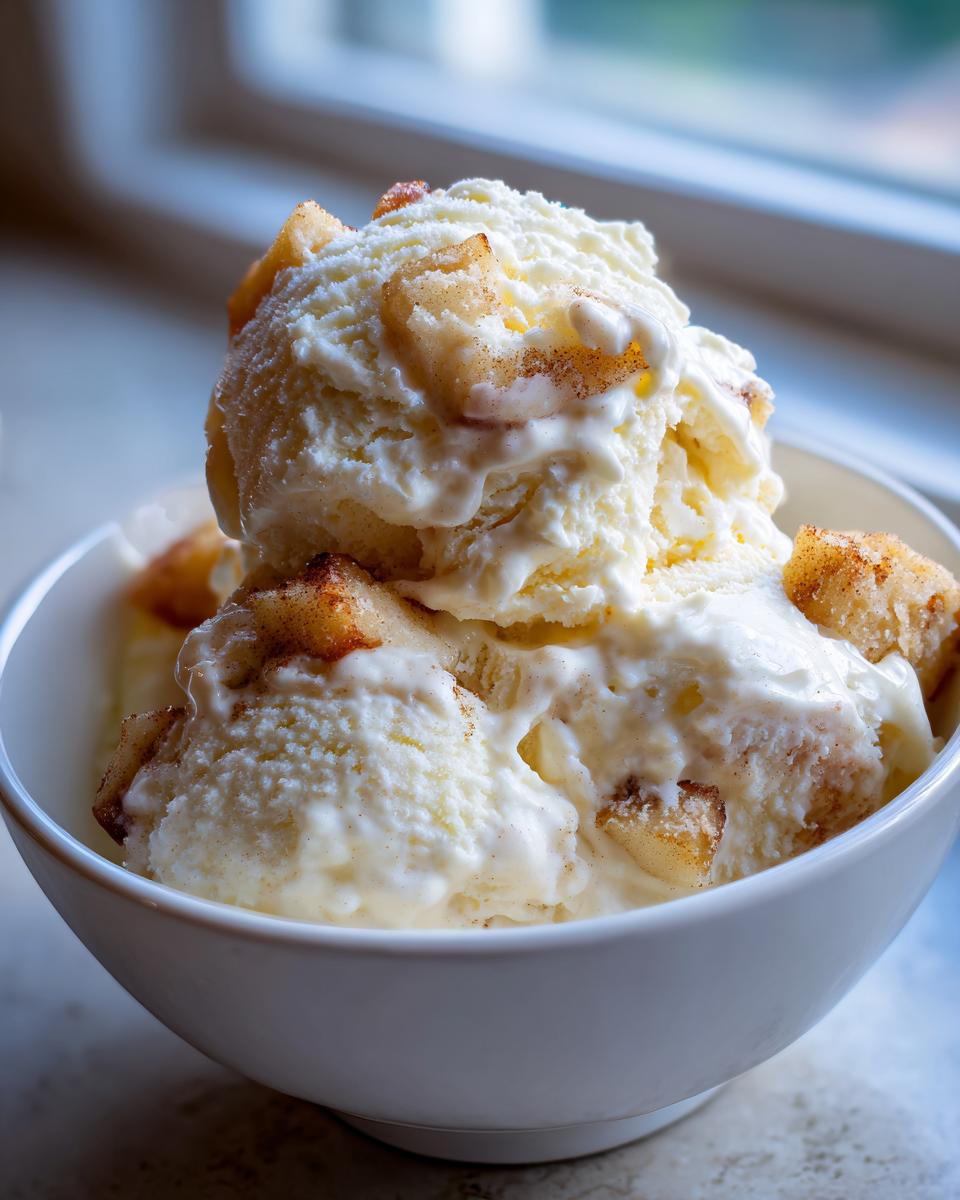
The secret to a truly iconic dessert flavor is balance. We want that comforting warmth from the spices—cinnamon and nutmeg—to hit you first. Pairing that with the slight tang from tart apples keeps the whole thing from tasting heavy or overly sweet. This careful balance is what makes our spiced apple ice cream base taste exactly like that first bite of a fresh-baked pie.
Texture Secrets for Ice Cream with Pie Crust Chunks
This is the make-or-break moment! If you add the apples while they are hot or warm, they melt your base instantly, leading to icy results instead of creamy ones. And those crust pieces? They have to be added only when the ice cream is practically finished churning. This keeps your ice cream with pie crust chunks delightfully crisp instead of mushy, giving you that necessary textural contrast.
Gathering Ingredients for Your Apple Pie Ice Cream
Putting together this apple pie ice cream is incredibly straightforward, but the quality of what you start with really matters. I’ve written down exactly what you need for the base, but paying attention to how you prepare the apples and the crust is half the battle won! You need about two cups of heavy cream and a cup of whole milk to get that rich mouthfeel we’re aiming for. Don’t forget the spices—cinnamon and nutmeg are non-negotiable for that classic warmth.
Ingredient Notes and Substitutions for Apple Pie Ice Cream
When it comes to the apples, please use something tart, like a Granny Smith. If you use a sweet apple, the cooked filling will overpower the creamy base and taste muddy. As for the crust, you absolutely can use store-bought pie dough that you bake off yourself! Just make sure you bake it until it’s golden brown and fully crisp before you break it up. If you’re feeling bold, I love adding a drizzle of caramel sauce right when I fold in the filling for a richer flavor, making it closer to a caramel apple pie ice cream!
How to Make Apple Pie Ice Cream: Step-by-Step Instructions
Now we get to the fun part—bringing this amazing apple pie ice cream to life! Remember, success here relies on two things: patience during the chilling phase and precise timing when adding the mix-ins. Don’t rush the base chilling; it needs to be totally cold before it hits the churner or the freezer.
Preparing the Cooked Apple Filling and Crust Pieces
First up, we cook the apples until they are tender—that takes about ten minutes on the stovetop with a little sugar, water, and spice. They need to taste like perfect pie filling! Once they’re soft, pull them off the heat and spread them on a plate. They absolutely MUST chill completely before they ever touch the ice cream mixture. While those cool down, bake your pie dough until it snaps crisply. Break that baked dough into small, bite-sized chunks. I mean small—no one wants to chip a tooth on a giant crust piece!
Churning the Cinnamon Apple Ice Cream Base
Once your base is thoroughly chilled (like, overnight if possible—seriously!), you have two paths. If you have that wonderful machine, pour the mixture in and churn until it looks like soft-serve. If you’re doing the no-machine method, freeze it in a shallow pan for 45 minutes, then whisk it hard, scraping the frozen edges into the middle. Keep repeating that every half hour for about three hours until it’s thick. The goal here is that perfect consistency for your cinnamon apple ice cream.
Folding in the Final Elements for Scoopable Apple Pie Filling Ice Cream
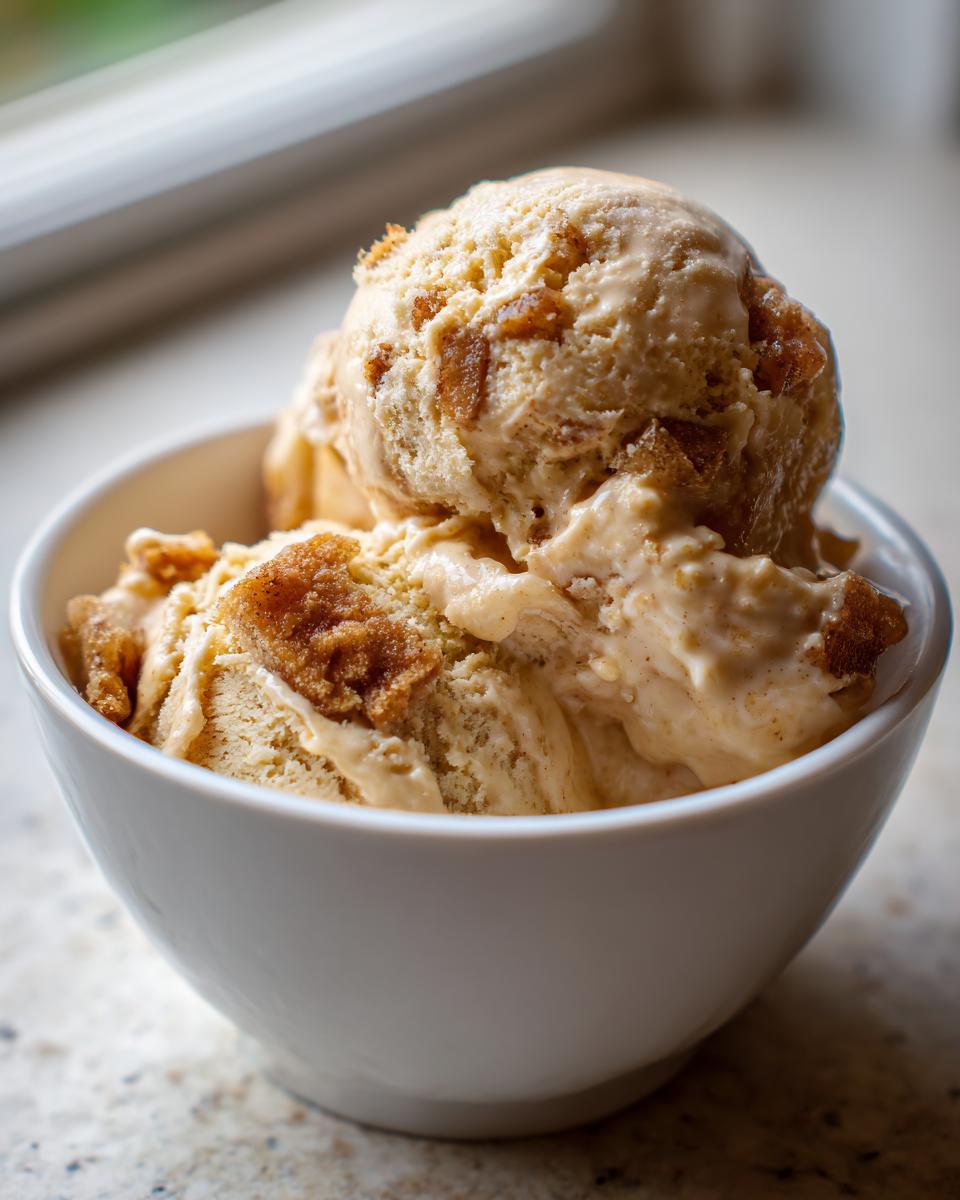
This step is critical for texture! Once the ice cream is almost done churning—it should be thick but still pliable—gently fold in your completely cooled apple filling and those pie crust pieces. If you fold them in too soon or the apples are warm, you’re back to soup city! Once everything is just incorporated, transfer it to a freezer container and let it set for at least four hours. This final freeze locks in those perfect chunks, resulting in beautiful, scoopable apple pie filling ice cream.
Variations on the Best Apple Pie Ice Cream Recipe
Once you master the core apple pie ice cream, you absolutely have to start experimenting! My favorite season to play in the kitchen is fall, and this recipe is the perfect canvas for those cozy, spiced flavors. If you want to go richer, try drizzling in a thick ribbon of good caramel sauce during the last few minutes of churning. That turns it instantly into a decadent caramel apple pie ice cream!
Don’t stop at just the crust, either! If you happen to have my recipe for old-fashioned oat topping lying around, bake that separately and break up the streusel pieces instead of the pie crust. That gives you something totally different—a fantastic apple crisp ice cream flavor that’s wonderfully crumbly and nutty. It’s amazing how a tiny change in the mix-ins can create something brand new!
Making No Churn Apple Pie Ice Cream
I totally get it—not everyone has a dedicated ice cream maker sitting ready to go, and that’s perfectly fine! This apple pie ice cream shines even without the machine. If you’re trying the no churn method, your primary tool is your arm and a good freezer timer. We rely on vigorous whisking to incorporate air, mimicking what the machine does.
After you mix up that perfectly seasoned base, pour that cold mixture right into a shallow, freezer-safe pan. Freeze it for about 45 minutes until the edges start looking frosty. Then, you just whisk like crazy, pulling those frozen bits from the sides into the softer middle. You repeat this every 30 minutes for about 2.5 to 3 hours. This labor of love is what gives you a creamy final product for your no churn apple pie ice cream!
Tips for Success with Your Apple Pie Ice Cream
Even with the best apple pie ice cream recipe, a few little techniques make the difference between good and truly unforgettable. My grandmother always stressed that the small details matter most, especially when you’re dealing with temperature and texture in frozen desserts. Pay attention to these three things, and you’ll have the creamiest results every time!
First and foremost, those cooked apples need to be completely cold—I mean refrigerator cold—before you fold them in. If they are even slightly warm, they will melt down the soft base instantly, and you’ll end up with an icy puddle instead of creamy ice cream.
Also, remember the rule for the crust bits: don’t add them until the last five minutes of churning or right before the final freeze. This is the only way to guarantee those buttery crumbles stay firm and crunchy!
And for flavor depth, don’t be tempted to swap out the brown sugar for white sugar. That molasses in the brown sugar adds the essential, complex flavor that makes this taste like Grandma’s actual pie.
Storing and Serving Your Homemade Apple Pie Ice Cream
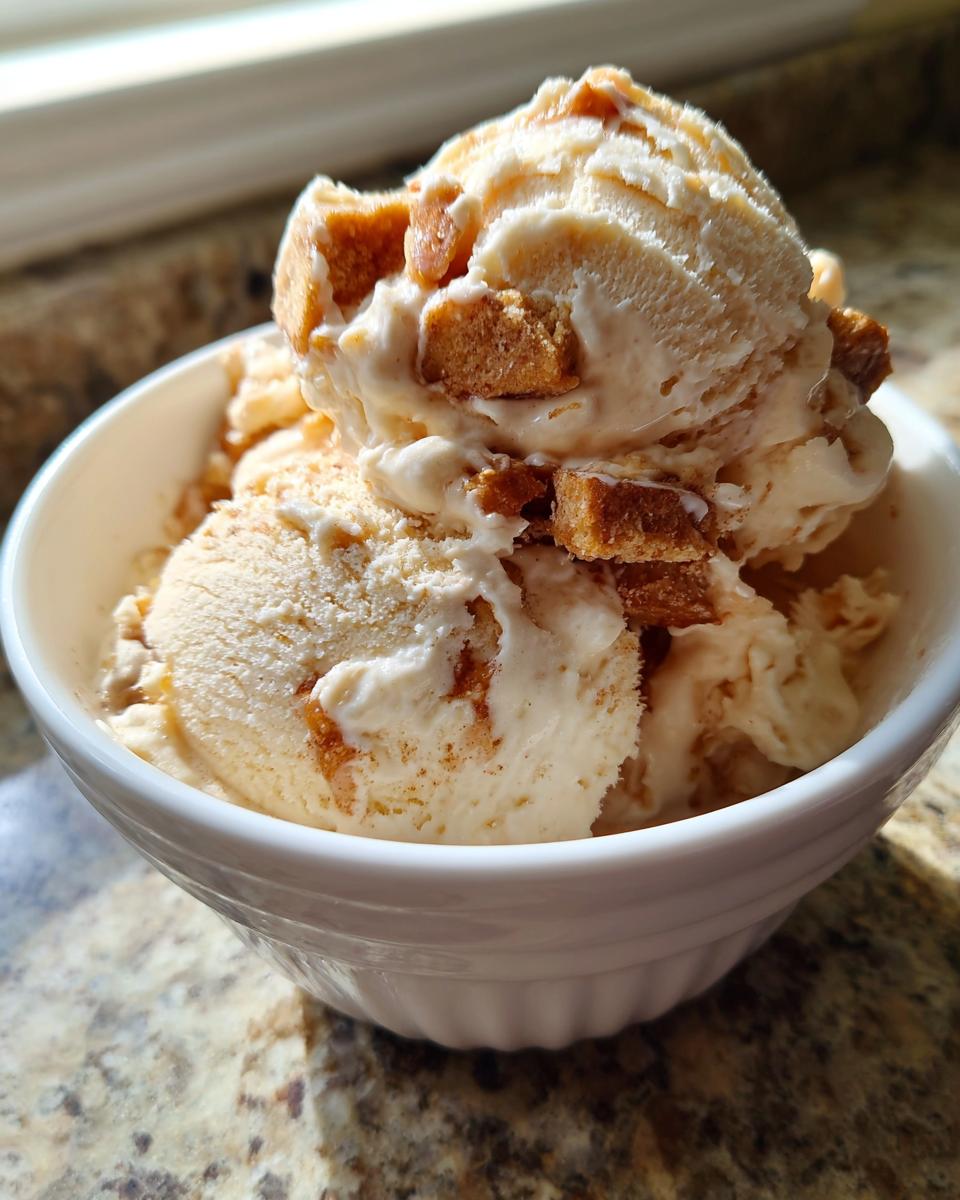
Once your apple pie ice cream is fully hardened—and believe me, it’s tough to wait that long!—you need to store it right. The trick here is an airtight container. I always press a piece of plastic wrap directly onto the surface before putting the lid on; this stops those frustrating ice crystals from forming on the top layer. This ice cream is a star among fall inspired ice cream recipes, but it freezes hard because of that low air content!
When you’re ready to serve those delicious scoops, pull it out on the counter for just five to ten minutes. That short rest lets the creaminess come back just right so you can easily get those perfect swirls of apple and crust.
Frequently Asked Questions About Apple Pie Ice Cream
I always get so many questions after folks try making this recipe for the first time! It’s one of those desserts that seems complicated because it involves baking and freezing, but truly, it’s not bad at all once you know the little tricks. People always want to know how to get that authentic pie taste locked into their frozen treat. Here are some of the common things I hear about my apple pie ice cream recipe.
Can I skip cooking the apples for this apple pie ice cream recipe?
Oh, please don’t! Trust me on this one. If you skip cooking the apples, they will freeze rock-hard in your churner, or they’ll just taste starchy and raw. The whole point of this homemade apple pie ice cream recipe is to mimic that soft, sweet filling. Cooking the apples—even for just ten minutes—allows the sugars and spices to truly infuse into the fruit. That’s where that deep, cozy flavor comes from!
What is the best type of apple for cinnamon apple ice cream?
You want an apple that holds its shape but has a nice, sharp tartness to cut through all that creamy dairy and brown sugar. I swear by Granny Smith; they are the gold standard for baking for a reason! If you use something too sweet, like a Red Delicious, your final product will taste flat or sickly sweet. A good tart apple gives the cinnamon apple ice cream that essential balance.
If you’re interested in digging deep into baking basics, I learned so much from my older posts, like how to make sourdough starter from scratch, just about patience and precise temperature control—skills that definitely transfer right over to making great ice cream!
Nutritional Estimates for This Frozen Apple Pie Dessert Idea
I always want to show you the whole picture here, even if it’s a rich, creamy treat! Since this apple pie ice cream is made with full-fat cream and sugar—it *is* dessert, after all—it definitely lands on the indulgent side. Remember, these numbers are just estimates based on the ingredients I used, and they can change wildly depending on the brand of cream or how much sugar you decide to use in your cooked apples.
For a standard half-cup serving size, you’re looking at roughly 350 calories. This is why we always recommend storing it well; you really only need a small scoop to satisfy that craving! We get about 22 grams of fat, with 13 of those being saturated fat, which is what gives this frozen apple pie dessert idea that luxurious, smooth texture we love so much.
It’s got about 35 grams of carbohydrates, which includes the natural sugars from the milk and the added sugars that make it taste like pie! If you’re looking for other recipes that might fit into a lighter weeknight routine, check out some of my guides on weeknight dinner ideas, but honestly, nothing beats this for a weekend indulgence!
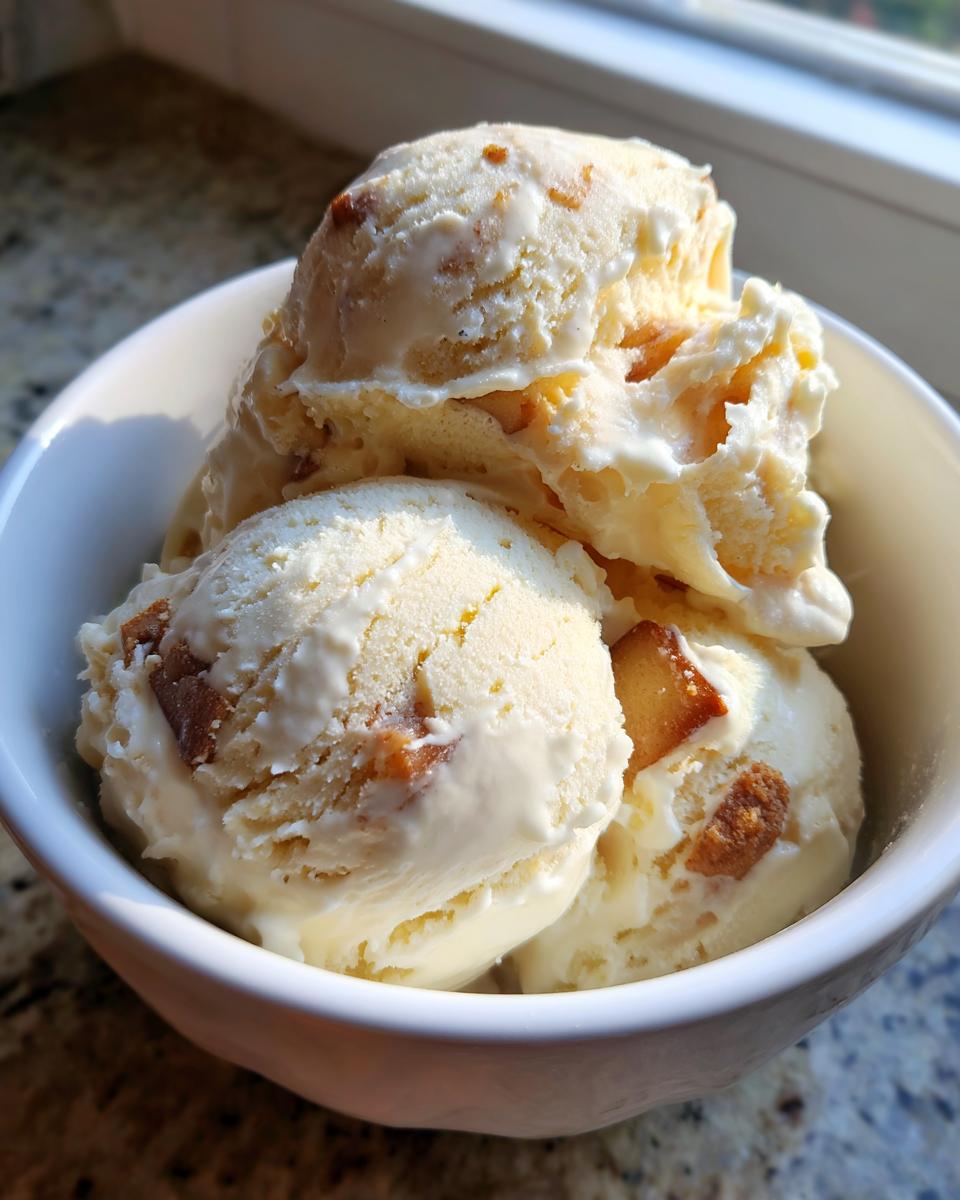
PrintHomemade Apple Pie Ice Cream Recipe

Make creamy, spiced apple pie ice cream at home, complete with tender cooked apples and buttery pie crust pieces mixed into a rich base.
- Prep Time: 20 min
- Cook Time: 15 min
- Total Time: 4 hr 35 min
- Yield: About 1.5 quarts 1x
- Category: Dessert
- Method: Churning
- Cuisine: American
- Diet: Vegetarian
Ingredients
- 2 cups heavy cream
- 1 cup whole milk
- 3/4 cup granulated sugar
- 1/4 cup packed light brown sugar
- 1 teaspoon vanilla extract
- 1/2 teaspoon ground cinnamon
- 1/4 teaspoon ground nutmeg
- Pinch of salt
- 1 cup cooked apple pie filling (diced apples cooked with sugar and spices)
- 1 cup baked, broken pie crust pieces
Instructions
- Prepare the apple filling: Dice 2 medium tart apples. Cook them in a small saucepan with 1/4 cup water, 2 tablespoons brown sugar, 1/2 teaspoon cinnamon, and a pinch of nutmeg until tender, about 10 minutes. Cool completely.
- Prepare the pie crust pieces: Bake one sheet of pie dough until golden brown. Let it cool, then break it into small, bite-sized chunks. Set aside.
- Make the ice cream base: In a large bowl, whisk together the heavy cream, whole milk, granulated sugar, remaining brown sugar, vanilla extract, cinnamon, nutmeg, and salt until the sugar dissolves.
- Chill the base: Cover the mixture and refrigerate for at least 4 hours, or preferably overnight.
- Churn the ice cream (with machine): Pour the chilled base into your ice cream maker and churn according to the manufacturer’s directions until it reaches a soft-serve consistency.
- Churn the ice cream (no machine method): Pour the chilled base into a shallow freezer-safe pan. Freeze for 45 minutes, then remove and vigorously whisk the edges into the center. Repeat this process every 30 minutes for about 3 hours until mostly firm.
- Fold in mix-ins: Gently fold the cooled apple filling and the broken pie crust pieces into the soft ice cream base.
- Final freeze: Transfer the mixture to an airtight container and freeze for at least 4 hours to fully harden before serving.
Notes
- For the best texture, ensure the cooked apples are completely cool before adding them to the base; warm apples will melt the base.
- To prevent the pie crust chunks from becoming soggy, add them in the last 5 minutes of churning or just before the final freeze.
- If you prefer a richer flavor, substitute 1/4 cup of the milk with heavy cream.
Nutrition
- Serving Size: 1/2 cup
- Calories: 350
- Sugar: 35
- Sodium: 50
- Fat: 22
- Saturated Fat: 13
- Unsaturated Fat: 9
- Trans Fat: 0
- Carbohydrates: 35
- Fiber: 1
- Protein: 4
- Cholesterol: 75