
There are days when only ice cream will do, right? But who has the time—or the churning machine—for a proper batch? That’s why I’m so excited to share this secret with you. This isn’t just any frozen dessert; this is the easiest, fastest, vegan banana ice cream you will ever make. We call it ‘Nice Cream,’ and seriously, it’s ready in about five minutes! This entire philosophy—simple, honest food—is what brought me back to the kitchen after years of busy city life, just like my Grandma Daisy taught me. This recipe is grounded in her love for using what you have to make something truly special. You can find more of those heartwarming, trusted recipes at our dessert collection here.
- Why This Easy 3-Ingredient Banana Ice Cream is Your New Favorite
- Gathering Ingredients for Your Banana Ice Cream
- How to Prepare the Best Banana Ice Cream (Nice Cream)
- Expert Tips for Perfect Banana Ice Cream Texture
- Flavor Variations for Your Banana Ice Cream Base
- Making Ninja Creami Banana Ice Cream Adjustments
- Storing and Serving Your Homemade Banana Ice Cream
- Frequently Asked Questions About Banana Ice Cream
- Nutritional Estimate for This Guilt Free Ice Cream
Why This Easy 3-Ingredient Banana Ice Cream is Your New Favorite
I know what you’re thinking: Can something this simple actually taste like real ice cream? I promise you, the answer is a resounding yes! Forget the complicated custard bases or pulling out that bulky ice cream maker. This incredible texture comes from nothing more than frozen fruit blended perfectly. If you are desperate for a truly **vegan ice cream** that hits the spot immediately, this **nice cream recipe** is your ticket.
This is the secret weapon for those hot afternoons when you need instant gratification. It’s one of those genuinely useful kitchen shortcuts, making it the ultimate healthy banana dessert that doesn’t compromise on flavor or creaminess.
Quick Frozen Treat Ready in Minutes
Seriously, this is the definition of a **simple dessert hack**. Once your bananas are frozen—which is the only waiting you’ll do—the active blending time is legitimately under five minutes. That makes it a legitimate **5 minute dessert**! If you need a **quick frozen treat** right now, this is the recipe I turn to every single time. There’s no churning, no tempering, just pure, frozen fruit magic happening right in your food processor.
Naturally Sweet and Guilt Free Ice Cream
This is where my Grandma Daisy would have smiled. You aren’t loading this up with refined white sugar or weird stabilizers. We are relying purely on those beautifully brown, spotty bananas for sweetness. That means this **banana ice cream** is inherently a **low sugar dessert** compared to anything you buy off the shelf. Since it’s naturally dairy-free, it’s also the perfect **guilt free ice cream** solution for everyone wanting to keep things clean and simple.
Gathering Ingredients for Your Banana Ice Cream
The best part about this recipe matching the description of a true 3 ingredient frozen dessert is how few things you actually need to gather! Don’t overthink this part, because simplicity is the key to getting that amazing texture so quickly. Trust me, you only need three items to create this magical base.
Here is exactly what you need on your counter before you start:
- 4 large ripe bananas, peeled and sliced
- 1 tablespoon milk (use a splash of almond or oat milk for that dairy free dessert vibe)
- 1 teaspoon vanilla extract
How to Prepare the Best Banana Ice Cream (Nice Cream)
Getting that perfect, scoopable consistency without a machine takes just a little bit of technique. Since this **banana ice cream** relies entirely on frozen ingredients breaking down, you need the right machinery. If you’re looking for other quick fixes for busy evenings, check out my go-to weeknight dinner ideas!
Freezing Bananas: The Essential First Step for Banana Ice Cream
This is non-negotiable, so listen up! You must have completely rock-solid bananas for this to work. Peel your ripe bananas, slice them up, and get them into a sturdy, freezer-safe bag or container. They need a minimum of six hours in the deep freeze, but honestly, I just throw mine in whenever they are ripe and leave them until I need them. If they aren’t totally solid, you end up with banana mush, not fantastic **homemade banana ice cream**.
Blending to Achieve Creamy Fruit Dessert Perfection
Once they are frozen, toss those chunks into your highest-powered blender or, preferably, a strong food processor. Add in your tiny measured splash of milk and vanilla—that’s it! Now, start blending. It won’t look right at first; it’ll look dry, crumbly, and stubborn. You have to stop frequently, maybe every 15 seconds, and scrape down the sides. Seriously, scrape, scrape, scrape! Keep pushing the frozen bits down toward the blade.
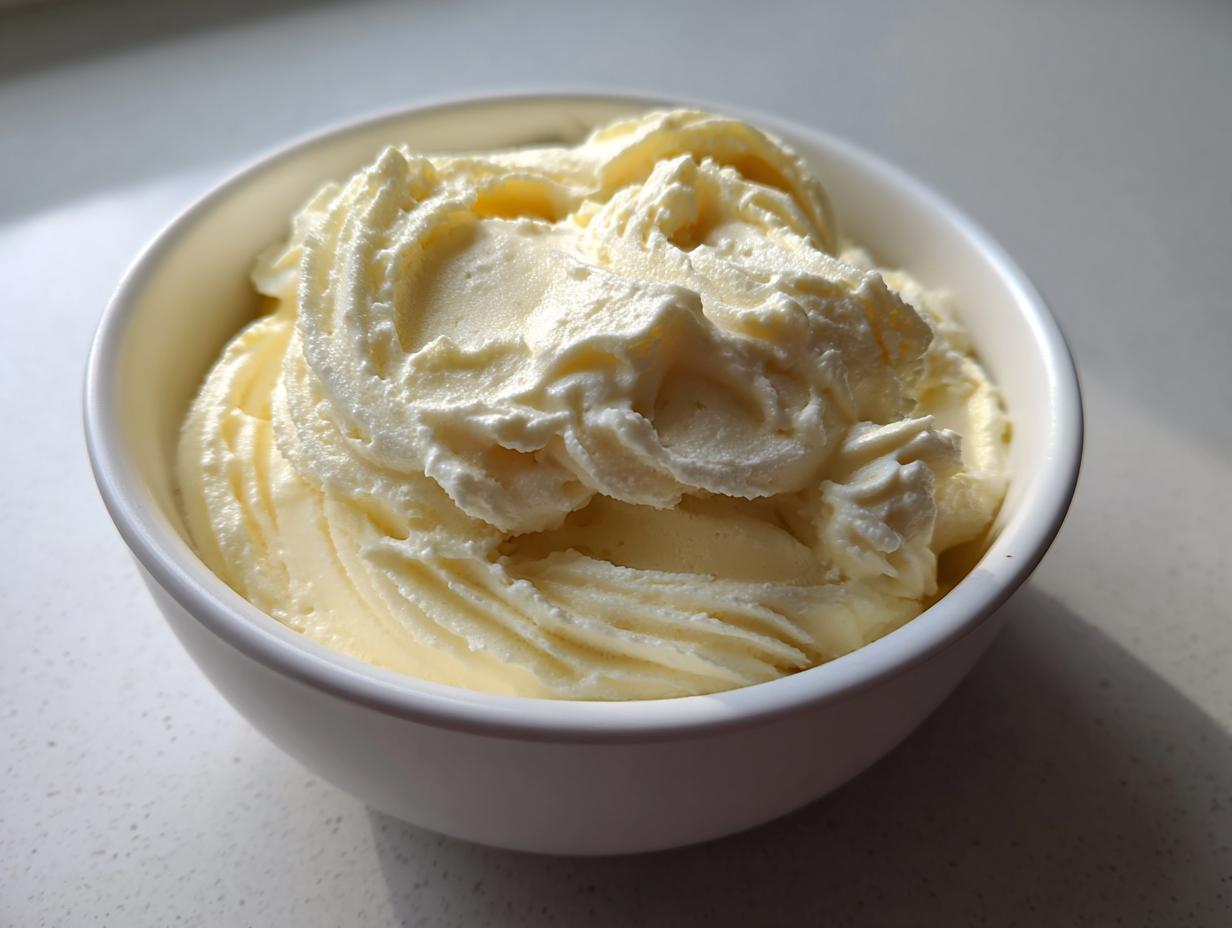
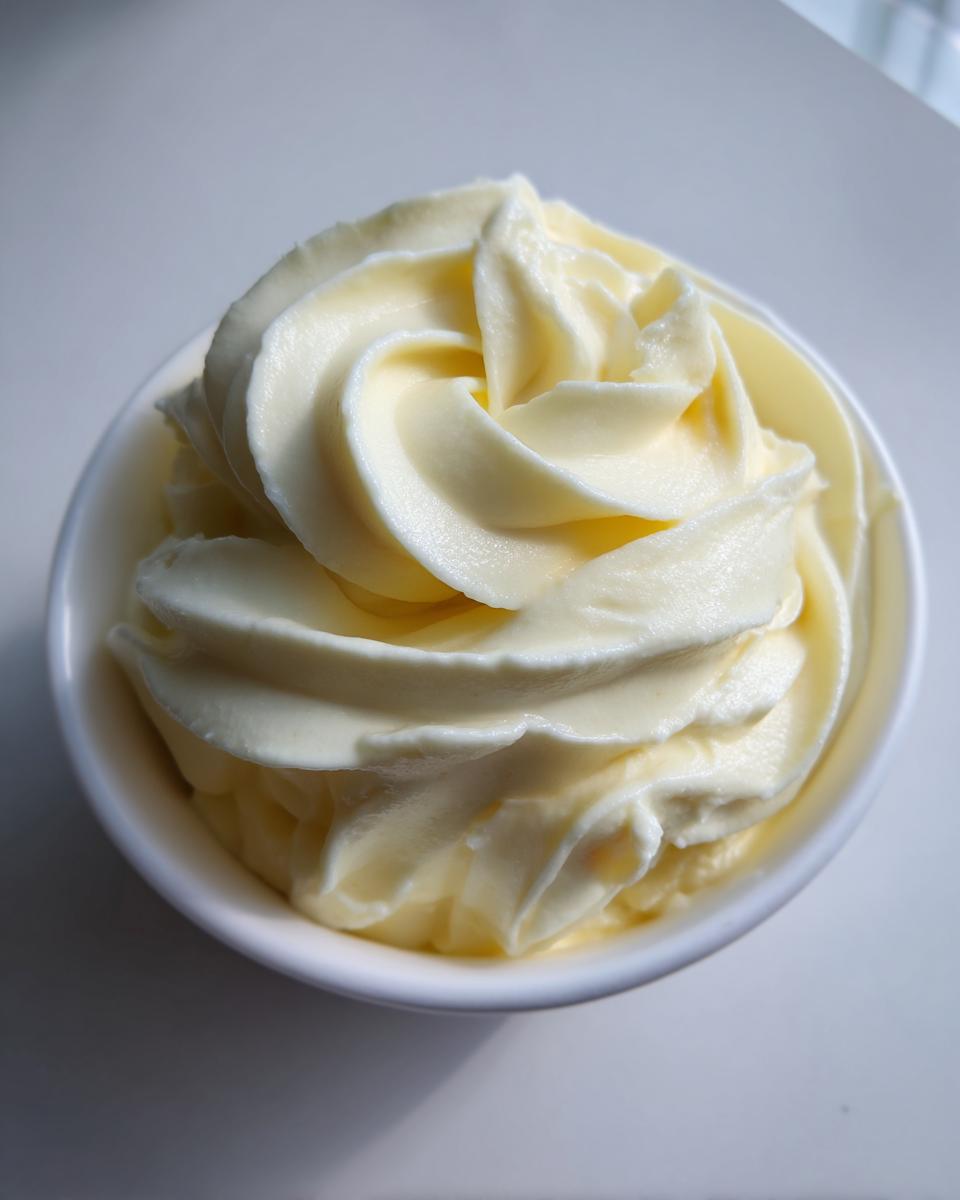
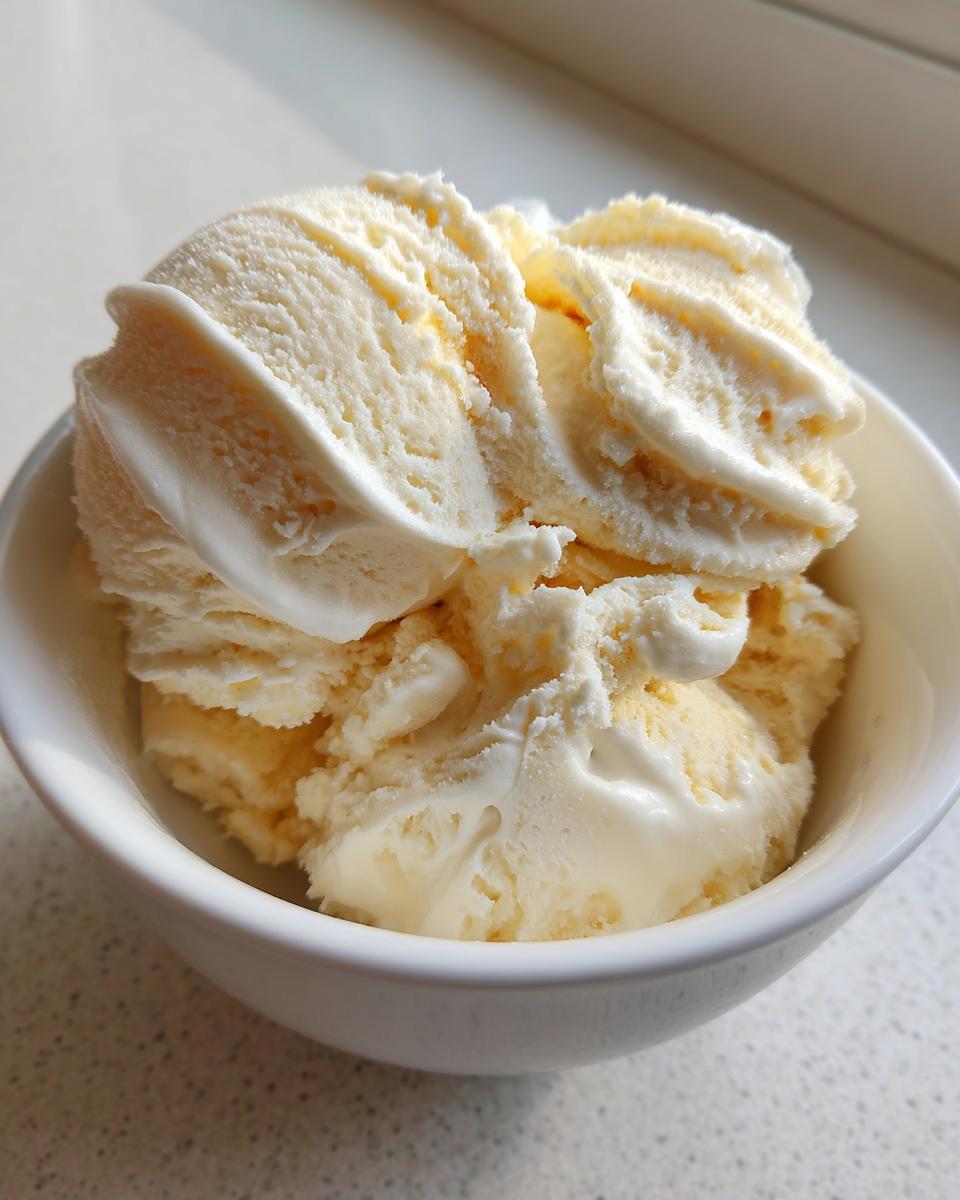
After a few minutes of this process, the texture changes: it goes from crumbly dust to a thick paste, and then, like magic—around the four or five-minute mark—it finally smooths out into that incredible, pillowy soft-serve consistency. That’s your sign that you’ve achieved the ultimate **creamy fruit dessert**!
Expert Tips for Perfect Banana Ice Cream Texture
Even though this is the simplest **banana ice cream** recipe globally, getting that silky smooth texture—the holy grail of **no churn ice cream**—still takes a couple of little insider nudges. My Grandma Daisy always said that intuition matters more than the measurement sometimes. When I was relearning these recipes in my city kitchen, I had to trust my eyes and ears more than a timer.
If you’re struggling with the blending process, it usually comes down to a couple of things. If you want the absolute thickest result possible, I often skip the tablespoon of milk entirely, especially if my blender has a tamper. If you have a high-powered machine with a tamper tool, use it! Push those frozen chunks down into the blades while it’s running. It’s worth checking out recipes like my easy chicken marsala recipe sometime for how technique changes everything, but the banana ice cream rule remains the same: push hard!
Also, remember what I said about ripeness. If your bananas look pale yellow, they’re not sweet enough, and you might end up wanting to add more sweetener later, defeating the purpose of this naturally sweet treat. For this **nice cream recipe**, you want bananas that are already speckled brown. Those extra brown spots mean all the starches have converted to sugar, giving you that rich, satisfying mouthfeel without needing extra fat or dairy.
If your mixture is absolutely refusing to blend and you don’t have a tamper, slowly add milk one *teaspoon* at a time. I mean it—a teaspoon! Adding too much liquid turns your frozen fruit into a smoothie, and smoothies are great, but they aren’t great ice cream!
Flavor Variations for Your Banana Ice Cream Base
Once you have mastered the basic three-ingredient base—which, let’s be honest, is already fantastic—you unlock a whole world of delicious possibilities! This isn’t just a one-trick pony; this **banana ice cream** mix is basically a blank canvas for all your sweet cravings. Even though this is designed to be a fast, **guilt free ice cream**, you can totally dress it up. Need some ideas for what to throw in right alongside the frozen banana chunks? I have a few favorites I return to all the time.
If you are looking for a richer, more decadent experience—maybe for a special evening treat—you can try adding things that make it feel less like a simple fruit whip and more like a true dessert. If you happen to be obsessed with chocolate fudge recipes, you might enjoy checking out the classic Oreo balls recipe sometime for inspiration!
Here are my favorite ways to quickly spin this **nice cream recipe** into something new:
- Chocolate Fix: For a rich chocolate flavor, toss in 2 tablespoons of unsweetened cocoa powder right when you add the milk. Be prepared: you might need an extra teaspoon of liquid, as the cocoa absorbs moisture fast. It turns into the best **creamy fruit dessert** version of chocolate soft-serve!
- Nutty Delight: Peanut butter is my absolute go-to here. Add about 2 tablespoons of creamy peanut butter. It thickens things up nicely and gives you that satisfying, salty-sweet combo everyone loves.
- The Caramel Dream: Now, this one is a little cheating since it actually requires a tiny bit of extra time, but it’s worth the hype if you want that rich flavor profile you’ve seen advertised! To get close to a **caramelized banana ice cream** flavor, briefly sauté your sliced bananas in just a tiny pat of butter and a dusting of brown sugar until they caramelize slightly before freezing them. Pop those caramelized chunks into the blender instead of plain frozen bananas. The flavor payoff is unbelievable!
No matter what you add, remember to blend until silky smooth for the best results!
Making Ninja Creami Banana Ice Cream Adjustments
So, maybe you’ve seen those fantastic, lightning-fast videos featuring the Ninja Creami machine, and you’re wondering if that appliance can help you get that scoopable **banana ice cream** even faster. Since my whole philosophy here revolves around simplicity, I totally get why you’d want to know! While this base recipe is designed as the ultimate no-churn fix, yes, your Creami machine absolutely loves frozen bananas.
The magic of the Creami is that it processes frozen ingredients differently than a standard high-powered blender, often yielding a smoother texture with less effort from you. For the best results when making **ninja creami banana ice cream**, you want to stick to the foundation: completely solid frozen banana chunks.
When using your Creami, you technically only need the frozen fruit. However, I find that for the smoothest spin, putting the fruit base in the pint container with just a tiny splash—maybe a quarter of the amount we used in the blender version—of your preferred milk helps it process beautifully. Remember that the Creami needs some liquid to spin correctly around the paddle.
If you try to run plain frozen bananas alone, you might just end up with a hard, dense disc. We want that ultra-creamy outcome, which is why a tiny bit of moisture is key, even with this powerhouse machine. It really is a fantastic trick for a quick, healthy side treat or when you need that perfect texture from your smoky flavor contrast in a savory dish might be calling your name later.
Storing and Serving Your Homemade Banana Ice Cream
Now, the real test: leftovers! Since this **banana ice cream** relies on the structure of frozen fruit rather than added stabilizers, how you store it really matters if you want it to be scoopable later. If you manage to have any left over after eating it straight from the blender (which I rarely do!), transferring that soft-serve goodness is simple. You just need an airtight container. I prefer ones with a tight seal; otherwise, you get those freezer burn bits, and nobody wants that on their **summer frozen recipe**!
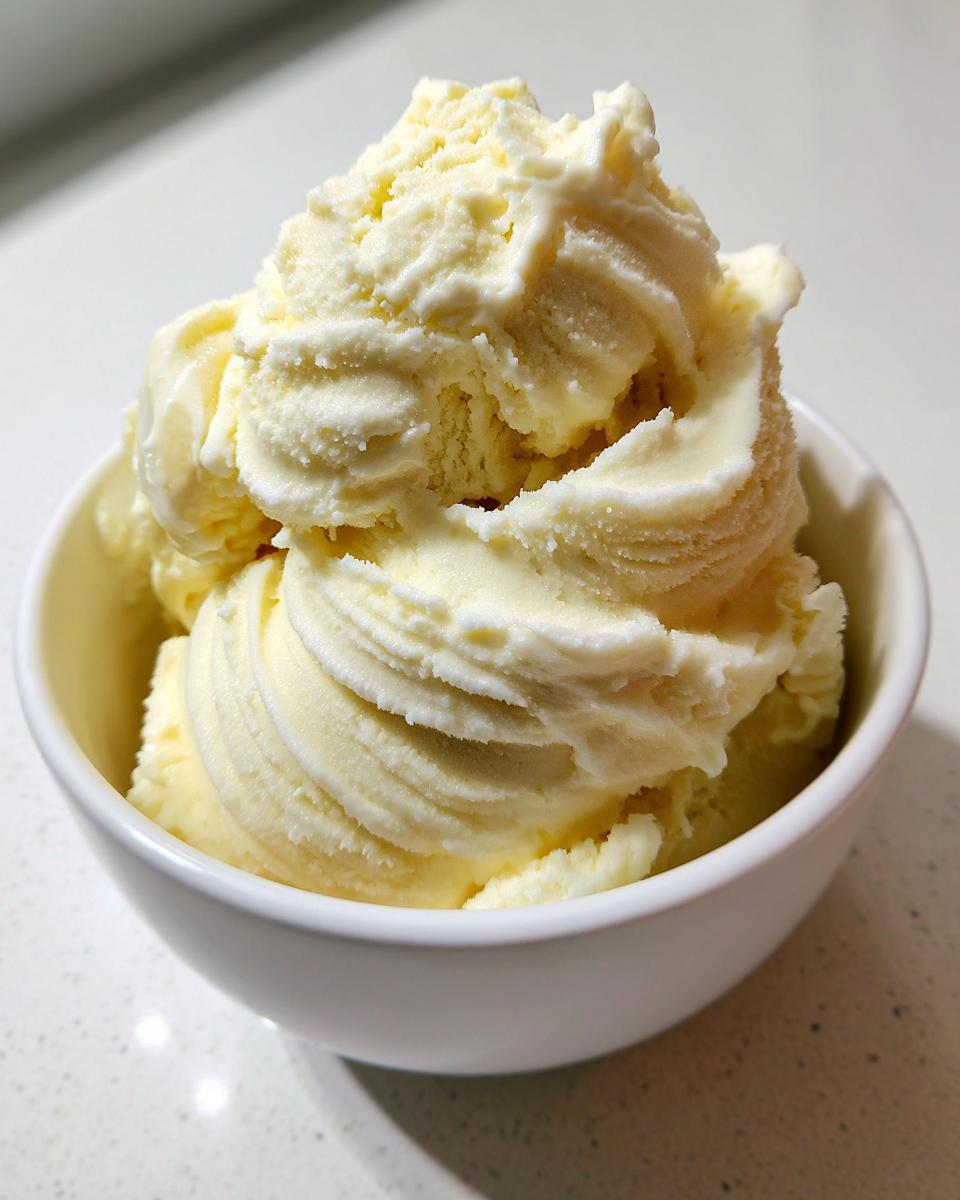
For the very best texture, I recommend eating it *immediately* after blending. That’s when it’s that perfect, luscious soft-serve texture—creamy, slightly pliable, and incredibly refreshing. It almost feels like you are cheating because it’s so good for something requiring zero actual cooking!
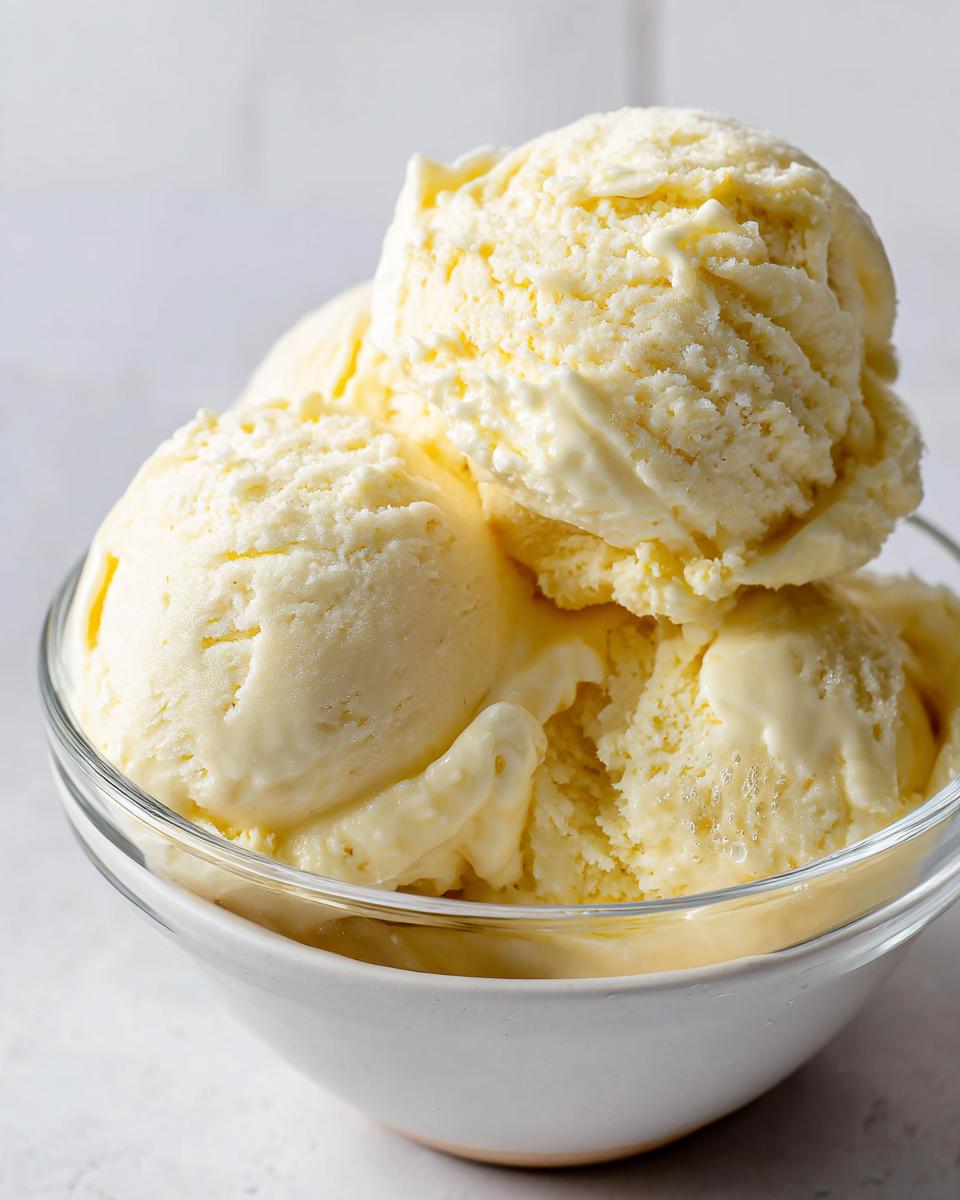
If you need a scoopable texture, like something you’d pull out with a traditional ice cream scoop, you’ll need to let it firm up a bit. Take your airtight container of **nice cream** and pop it back into the freezer for about an hour or two. Any longer than two hours, and it can get rock-hard because there’s no air whipped in by a machine. If this happens, don’t panic! Just let it sit on the counter for about 10 to 15 minutes before you try to scoop it. It will soften right up.
When you’re ready to serve, I love topping it with a drizzle of melted dark chocolate or some toasted nuts. If you are looking for other spectacular frozen desserts that require zero baking, you should absolutely take a peek at my recipe for no-bake Oreo ice cream cake. But honestly, this simple fruit base stands on its own perfectly, naturally sweet and delightfully cold!
Frequently Asked Questions About Banana Ice Cream
I know you might have a few lingering questions once you start whipping this up for the first time! It’s totally normal when using a fruit base instead of traditional cream. My goal here is always to make sure you feel confident walking into the kitchen. My Grandma Daisy always said that if you understand *why* you are doing something, the recipe will stick in your memory. If you need some ideas for a healthy meal that follows this simple approach, check out my healthy lunch ideas section too!
Can I use fresh bananas instead of frozen ones?
Oh, honey, if you use fresh bananas, you won’t get banana ice cream; you’ll get a banana smoothie! The entire texture of this **nice cream recipe** depends on those frozen bananas breaking down into tiny, creamy particles. If the banana isn’t frozen solid, your machine will just churn it into liquid before it ever gets to that thick, soft-serve stage we are aiming for. So, yes, freezing is definitely step number one!
Can I make this without a high-powered blender or food processor?
This is the million-dollar question for anyone trying this **easy banana recipe** for the first time! I won’t lie to you—it’s tough. A standard, lower-powered blender might actually burn out trying to handle a large batch of frozen fruit unless you add a lot of liquid. If all you have is a basic blender, you must add extra liquid (milk) slowly, making sure you stop every 30 seconds to let the blades rest and scrape down the sides really well. You’ll need patience, and it might take closer to 10 minutes instead of five, but you can still achieve a lovely **frozen banana whip** texture if you go slow!
Is this truly a dairy free dessert?
Absolutely, yes! That’s one of the main reasons I developed this recipe in my city apartment—it serves everyone at the table without issue! The base recipe calls for just bananas, vanilla, and a tiny bit of milk, which you substitute with almond, oat, or soy milk to keep it 100% **vegan ice cream**. There is no heavy cream, no cow’s milk, and no butter involved. It’s the perfect **dairy free dessert** for satisfying any sweet craving!
What if my nice cream freezes too hard overnight?
This happens because this **banana ice cream** doesn’t have the stabilizers that commercial products use. When it gets rock solid, it just means the water content froze completely. Don’t worry, though! That just means you’re getting a super-pure fruit dessert. The fix is simple: take it out of the freezer, let it sit on the counter for about 10 to 15 minutes, and it will soften perfectly back into a scoopable state that feels rich and luxurious.
Nutritional Estimate for This Guilt Free Ice Cream
I always get questions about the nutrition behind this amazing **banana ice cream**, especially since it feels like such an indulgence! It’s wonderful because it’s mostly just fruit, making it a fantastic way to satisfy your sweet tooth without any of the heavy fats or refined sugars you find in store-bought tubs. It truly is the definition of a **guilt free ice cream** option.
Remember, since this recipe is based on such simple ingredients, these numbers are a helpful guide, but they will definitely shift depending on the size of your bananas or the type of plant milk you decide to use. If you’re looking for other delicious recipes that keep things on the healthier side, you might want to try my recipe for easy black bean chili next!
Here is a general breakdown based on the core three ingredients, calculated for one serving (which is about half a cup):
- Serving Size: 1/2 cup
- Calories: 150
- Sugar: 18g (Remember, this is natural fruit sugar!)
- Fat: 0.5g
- Saturated Fat: 0.1g
- Carbohydrates: 39g
- Fiber: 4g
- Protein: 1.5g
- Cholesterol: 0mg
See? It’s mostly natural energy from the fruit, plus a little fiber boost! That’s why I feel so good about whipping up a batch of this **nice cream recipe** anytime someone asks for a **healthy banana dessert**.
PrintEasy 3-Ingredient Vegan Banana Ice Cream (Nice Cream)
Make this incredibly creamy, dairy-free frozen dessert in five minutes using only three simple ingredients. This no churn banana ice cream is naturally sweet and perfect for a quick, guilt-free snack.
- Prep Time: 5 min
- Cook Time: 0 min
- Total Time: 5 min
- Yield: 2 servings 1x
- Category: Dessert
- Method: Blending
- Cuisine: American
- Diet: Vegan
Ingredients
- 4 large ripe bananas, peeled and sliced
- 1 tablespoon milk (dairy-free option like almond or oat milk)
- 1 teaspoon vanilla extract
Instructions
- Peel and slice your ripe bananas. Place the slices in a freezer-safe bag or container. Freeze them for at least 6 hours, or until completely solid.
- Place the frozen banana slices into a strong food processor or high-powered blender.
- Add the milk and vanilla extract to the processor.
- Begin blending. You will need to stop frequently to scrape down the sides. The mixture will go from crumbly to thick and finally transform into a smooth, soft-serve consistency, similar to real ice cream. This usually takes 3 to 5 minutes.
- Serve immediately for a soft-serve texture, or transfer the mixture to an airtight container and freeze for another 1 to 2 hours for a firmer scoopable texture.
Notes
- For a richer flavor, use bananas that have brown spots; the riper the banana, the sweeter the ice cream.
- If you want a thicker, more traditional ice cream texture, reduce the added milk to just one teaspoon or omit it entirely.
- You can easily customize this base recipe; try adding cocoa powder for chocolate nice cream or peanut butter for a different flavor.
Nutrition
- Serving Size: 1/2 cup
- Calories: 150
- Sugar: 18
- Sodium: 5
- Fat: 0.5
- Saturated Fat: 0.1
- Unsaturated Fat: 0.4
- Trans Fat: 0
- Carbohydrates: 39
- Fiber: 4
- Protein: 1.5
- Cholesterol: 0