

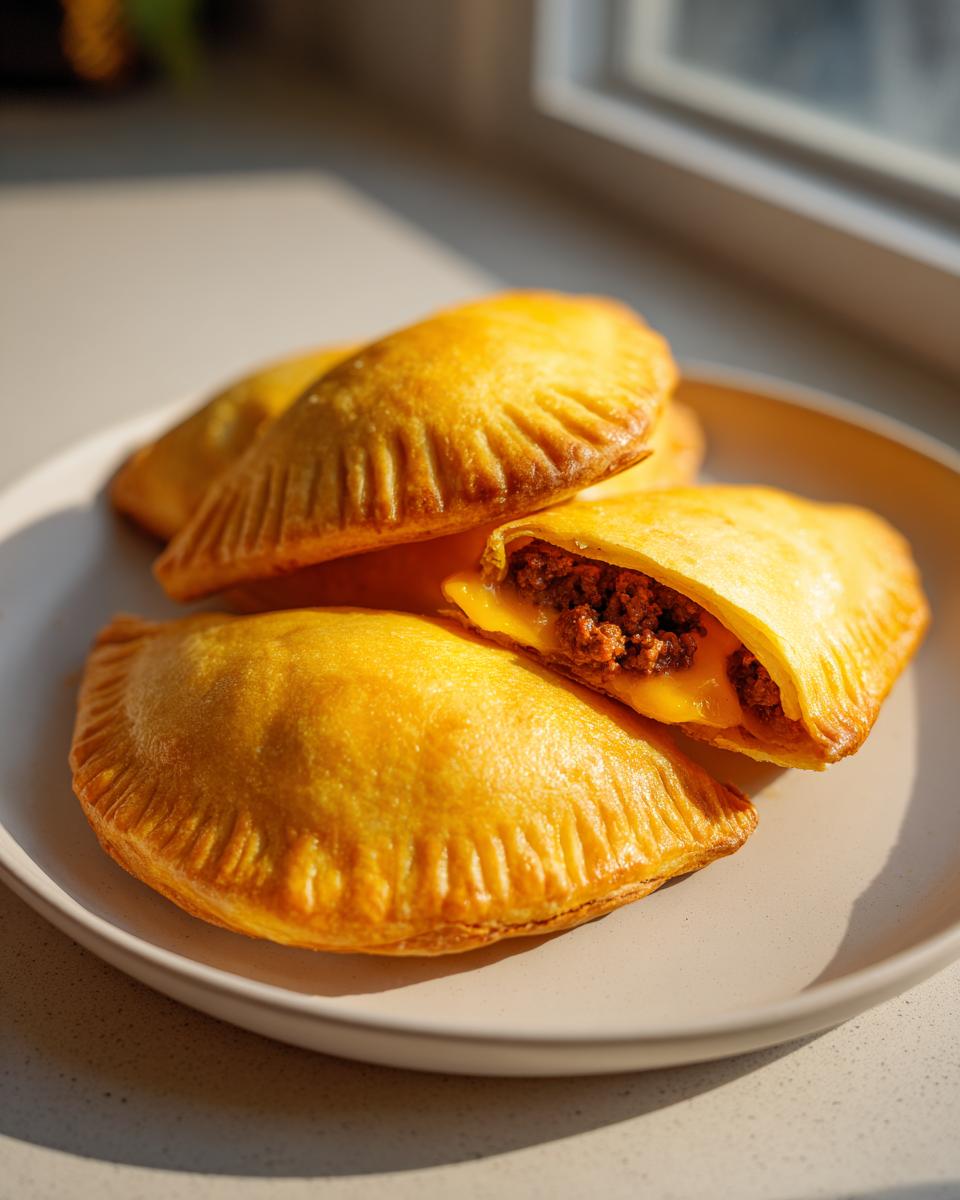
Sometimes, you just crave that perfect, familiar taste of a cheeseburger—that savory ground beef, that blanket of melty cheese—but you don’t exactly want to stand at the grill or manage stacks of buns. I know that feeling! Life is busy, and that’s why I’ve perfected what I call the Ultimate Cheeseburger Pockets with Crescent Rolls. Forget those dry, sad frozen things; these cheeseburger pockets turn classic comfort food into a perfectly flaky, handheld dream right out of your own oven. This recipe embodies the simple, honest cooking I learned from my Grandma Daisy; it’s about taking quality ingredients and making something truly satisfying without any fuss for your weeknight dinner!
- Why This is the Best Cheeseburger Pockets Recipe You Will Make
- Gathering Ingredients for Your Cheeseburger Pockets
- Step-by-Step Guide to Perfect Cheeseburger Pockets
- Tips for Achieving Golden, Flaky Cheeseburger Pockets
- Making Freezer Friendly Beef Pockets for Meal Prep
- Serving Suggestions for Your Burger Flavor Pockets
- Storage and Reheating Instructions for Leftover Cheeseburger Pockets
- Frequently Asked Questions About Homemade Cheeseburger Pockets
- Quick Look: Nutrition Estimates for Cheeseburger Pockets
Why This is the Best Cheeseburger Pockets Recipe You Will Make
I promise you, this recipe for homemade cheeseburger pockets is going to revolutionize your quick dinners. When I tested this against the store-bought options, oh my goodness, there was simply no comparison! We are dealing with golden, flaky pastry here, not that weird, tough crust you sometimes get.
What makes this recipe truly superior is how easily it fits into our busy lives, just like Grandma Daisy always taught me—simple food, fuss-free execution. Here is why you need to try this tonight:
- We use refrigerated crescent roll dough, which cuts down the prep time to almost nothing, making it a perfect weeknight meal savior.
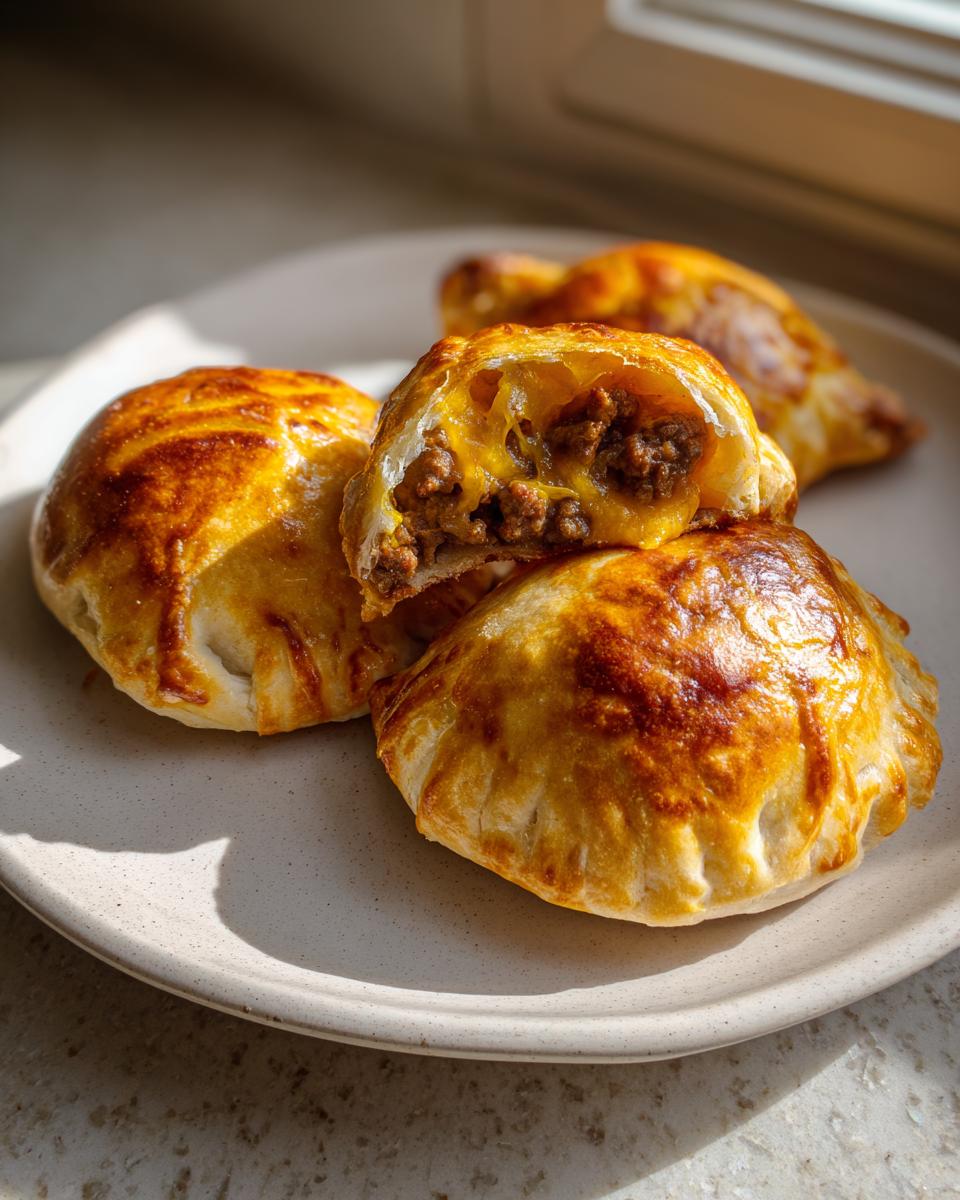
- The flavor is leagues beyond any frozen hot pocket alternative because we use actual seasoned ground beef and real sharp cheddar.
- These are genuinely delicious and satisfying; it’s pure comfort food you can eat with one hand!
- Best of all, they are incredibly freezer friendly beef pockets. Make a double batch and have emergency dinners ready!
Gathering Ingredients for Your Cheeseburger Pockets
Alright, let’s talk about what you need to pull this amazing, cheesy handheld dinner together. The beauty here is that it’s all pantry staples and simple fresh items. Remember, because we are going for that classic burger flavor pockets experience, the quality of your beef really shines through here.
You only need a handful of things for the filling and the crust:
- 1 pound ground beef (Don’t skimp here—this is where your flavor comes from!)
- 1 small onion, finely chopped
- 1 teaspoon dried minced onion
- 1 teaspoon Worcestershire sauce (Grandma Daisy always said this was the secret umami boost!)
- 1/2 teaspoon salt, 1/4 teaspoon black pepper, and 1/4 teaspoon garlic powder
- 1 cup shredded cheddar cheese (Make sure it’s shredded!)
- 1 (8 ounce) can refrigerated crescent roll dough
- 1 large egg, beaten, mixed with 1 tablespoon of water (for the shiny egg wash)
Step-by-Step Guide to Perfect Cheeseburger Pockets
This is where the magic happens! Don’t worry if you’ve never worked with crescent roll dough before; it’s so forgiving, especially when it’s packed full of gooey cheese. First things first, you must get your oven ready. Preheat it to 375 degrees Fahrenheit and line a baking sheet with parchment paper. Trust me, parchment paper is your best friend when dealing with cheesy fillings; it keeps cleanup a breeze!
We’ll tackle the filling first, then move onto the assembly. You want everything ready to go so we can wrap these beautiful bites up quickly.
Preparing the Savory Beef Filling for Your Cheeseburger Pockets
Time to cook up the heart of these pockets! Grab a skillet over medium heat and get that pound of ground beef and your chopped onion sizzling away. You need to cook this until the beef is nicely browned and those onions are soft and sweet. The most crucial part here, if you want flaky pastry that doesn’t get soggy, is to drain off every bit of excess grease when it’s done. Seriously, tilt that pan and scrape every drop out! If you want to take the onions up a notch next time, try my guide on caramelizing onions, but for this quick bake, just chopping them works great.
Once drained, toss in your seasonings—the dried onion, that little splash of Worcestershire sauce, salt, pepper, and garlic powder. Cook it for just one minute until it smells incredible, then take it off the heat immediately. For the final touch in this easy beef pockets recipe, let that meat mixture cool down just a tiny bit. If it’s piping hot when you add the cheese, you’ll have melted soup instead of cheesy pockets!
Assembling and Sealing the Crescent Roll Cheeseburger Pockets
Now for the fun part! Unroll your crescent dough on a clean surface and separate those triangles. You should have eight of them, perfect for wrapping. Spoon about two tablespoons of that cooled, savory beef mixture onto the wide end of each triangle. Be sure to keep the filling away from the edges—that’s our secret to a perfect seal!
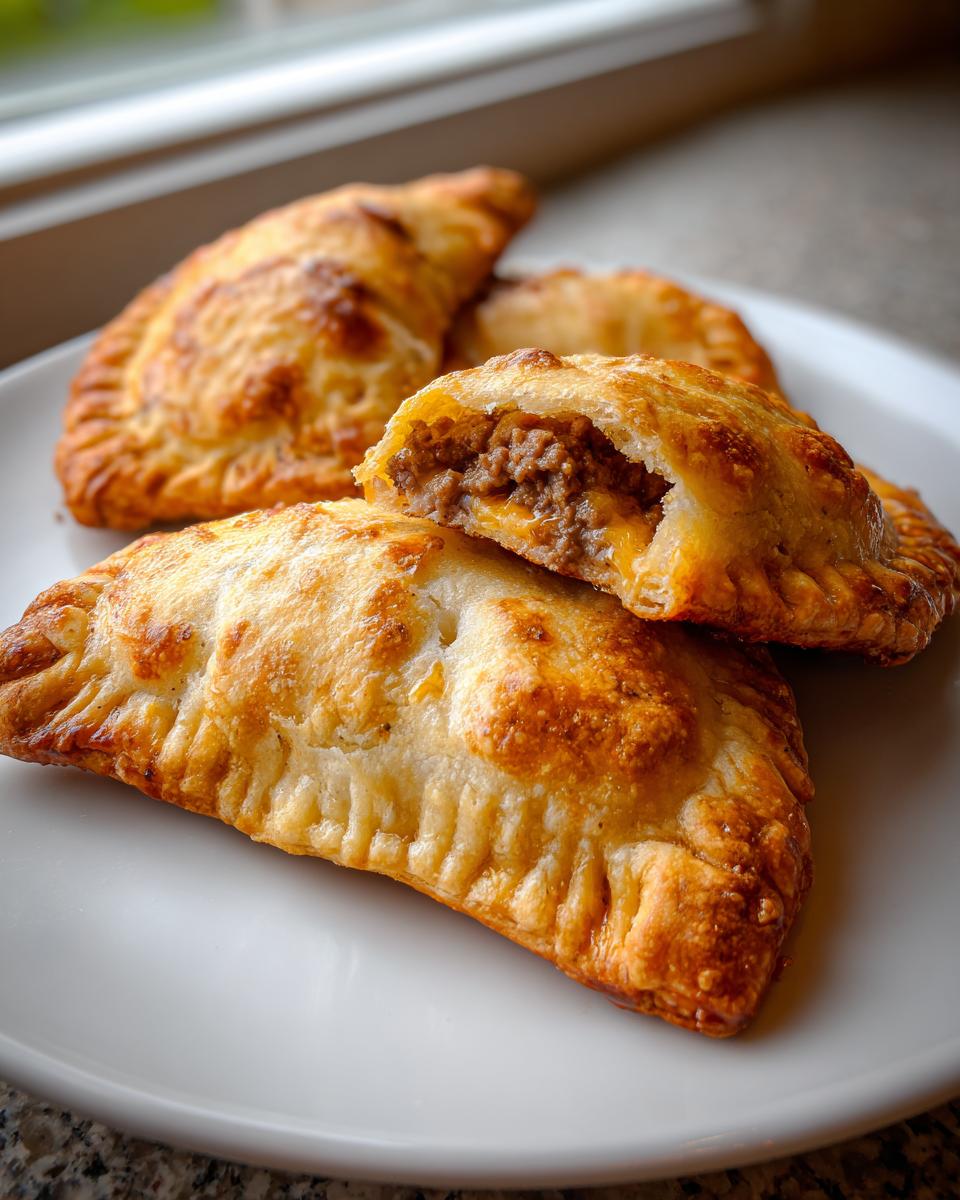
Starting at the wide end, roll each triangle up tightly, creeping right toward the pointy tip. This is the spot where you really need to focus. Pinch those seams and edges together with your fingers—firmly! We aren’t trying to make a bread-and-butter pickle here; we are sealing in every bit of cheese so it doesn’t squirt out and burn on the pan while baking. You want every single pocket to be a perfectly enclosed, cheesy handheld dinner waiting to happen.
Tips for Achieving Golden, Flaky Cheeseburger Pockets
You’ve sealed them up tight, which is great, but now we need that gorgeous bakery look! The egg wash is non-negotiable for these savory baked pockets. Whisk that egg with just a splash of water—that little bit of water keeps the egg wash from getting too thick. Brush it evenly over the tops of every pocket. This is what gives you that deep, beautiful golden-brown shine instead of a pale crust.
And I have to remind you again: please, please use parchment paper on that baking sheet. Those little pockets ooze cheese, and if you skip the paper, you’ll spend your evening scrubbing baked cheddar off the metal. If a pocket happens to tear a little bit while you’re rolling it—don’t panic! Just dab a tiny bit of water on the tear and pinch it quickly. They mostly seal themselves up in the oven, but a quick patch job never hurt anyone!
Making Freezer Friendly Beef Pockets for Meal Prep
One of the absolute best things about making a big batch of these cheeseburger pockets is how perfectly they adapt to meal prepping. Honestly, my freezer is stocked pretty much all the time with these for those nights when I absolutely cannot conjure up the energy to cook, but I still want something way better than takeout.
The secret to achieving perfect results is to freeze them before they ever hit the oven. Once you’ve assembled your pockets and sealed them up tight—and given them that nice egg wash coating—lay them out on that parchment-lined baking sheet you used earlier. Make sure they aren’t touching! Stick the whole tray into the freezer for about an hour until they are completely solid. Once they have that rock-hard exterior, you can transfer all those beautiful freezer friendly beef pockets into a heavy-duty freezer bag or an airtight container.
When you get a craving, you don’t even need to thaw them out! You just pop the frozen pockets straight onto a baking sheet, but you must adjust the time. Since they start frozen, you’ll need to add about 5 to 10 extra minutes to the baking time. Keep an eye on them until they are puffed up and deeply golden brown. It’s such a lifesaver to have these on hand, and I sometimes make a double batch just for that purpose!
If you want my tips on other make-ahead meals, check out how I prep my chicken marsala for quick lunches!
Serving Suggestions for Your Burger Flavor Pockets
Okay, so you’ve got these perfect, cheesy handheld dinners hot out of the oven. Now, how do we finish making these burger flavor pockets feel like a real meal, or just the ultimate snack?
Since the flavor profile is pure cheeseburger, the best dips are the classics. Don’t be afraid to set out small bowls of ketchup, yellow mustard, and maybe even some sliced dill pickles you can use for dipping. It just reinforces that wonderful, familiar taste inside that flaky dough!
If you’re making these for a proper dinner, they pair beautifully with something quick on the side. Oven fries are my go-to; toss some frozen fries on another rack while the pockets bake. If you want something lighter, a little side salad with a bright vinegarette really cuts through the richness of the beef and cheese. It’s honestly the easiest way to round out the meal, unless you’re serving them alongside my super simple fudge for dessert!
Storage and Reheating Instructions for Leftover Cheeseburger Pockets
I always hope these homemade cheeseburger pockets last long enough to have leftovers, but let’s be real—they disappear fast! If you are lucky enough to have any cooling on the counter, get them stored right away. Pop any uneaten pockets into an airtight container and they’ll keep happily in the fridge for about three days.
When it comes to reheating, the microwave is quick in a pinch, but it turns that gorgeous flaky dough a little chewy. If you want them to regain that fresh-from-the-oven crispness, skip the microwave bath! Instead, pop them straight onto a baking sheet and warm them up in a 350-degree oven for about eight to ten minutes. That little bit of dry heat refreshes the crust beautifully!
Frequently Asked Questions About Homemade Cheeseburger Pockets
Whenever I get requests for this recipe, people usually have a few quick questions about adjusting ingredients or using them up. That’s totally fair! Grandmama Daisy always said that a good cook knows the core recipe but also knows when to adapt it when life throws you a curveball. Here are the things I hear most often about these awesome homemade cheeseburger pockets.
Can I substitute the crescent roll dough in this easy beef pockets recipe?
Oh yes, absolutely! That’s the great versatility of this dish. If you aren’t using the standard refrigerated crescent roll dough, you have a couple of fantastic alternatives that change the texture slightly, but keep the flavor profile locked in. If you use puff pastry, you’ll get an incredibly rich, extra flaky crust—sometimes almost too rich, depending on your mood! If you use pizza dough instead, you’ll end up with a chewier pocket, closer to a traditional savory baked pocket, which is wonderful if you prefer a heartier bite. Either way, it works great for our easy beef pockets recipe.
Are these cheeseburger pockets a good kid friendly dinner idea?
They are probably one of the best kid friendly dinner ideas I’ve ever shared, honestly! My niece and nephew absolutely devour these. Why? Because they are handheld, warm, golden, and full of cheese! They don’t have to mess with forks or fuss over a standard plate of food. For younger kids who might be sensitive to the bolder seasonings or Worcestershire sauce, I just make sure I go lighter on those additions for their serving, and I stick to mild dipping sauces like simple ketchup instead of mustard. The ease of eating them makes them a massive hit with parents and kiddos alike!
I’ve also got some great ideas for other easy meals over on my pozole post if you need more inspiration for busy nights!
Quick Look: Nutrition Estimates for Cheeseburger Pockets
I know that when we are whipping up comfort food, we aren’t always thinking strictly about nutrition, but it’s good to have a general idea of what’s in these amazing cheeseburger pockets. Since these are made with hearty ground beef and that flaky crescent dough, they definitely pack a satisfying punch—perfect for a filling lunch or hearty dinner.
Here is a quick estimate for one pocket. Remember, just like Grandma Daisy taught me, recipes change based on what you use, so these numbers are just guidelines. If you load up on extra cheese or use leaner meat, those values shift!
- Calories: 310
- Fat: 18g
- Protein: 17g
- Carbohydrates: 18g
This nutritional breakdown is based on using standard 80/20 ground beef and the dough as directed. If you’re looking for lighter options for your lunch ideas portfolio, you could easily swap in 93% lean ground beef or even ground turkey, which would bring the fat content down considerably while still keeping that protein level high enough to keep you full until dinner.
PrintUltimate Cheeseburger Pockets with Crescent Rolls (Freezer Friendly)

Make these easy, cheesy handheld pockets filled with seasoned ground beef and melty cheese. They use refrigerated crescent roll dough for quick assembly and are perfect for a freezer friendly weeknight dinner.
- Prep Time: 15 min
- Cook Time: 17 min
- Total Time: 32 min
- Yield: 8 servings 1x
- Category: Dinner
- Method: Baking
- Cuisine: American
- Diet: Vegetarian
Ingredients
- 1 pound ground beef
- 1 small onion, finely chopped
- 1 teaspoon dried minced onion
- 1 teaspoon Worcestershire sauce
- 1/2 teaspoon salt
- 1/4 teaspoon black pepper
- 1/4 teaspoon garlic powder
- 1 cup shredded cheddar cheese
- 1 (8 ounce) can refrigerated crescent roll dough
- 1 large egg, beaten (for egg wash)
- 1 tablespoon water (for egg wash)
Instructions
- Preheat your oven to 375 degrees Fahrenheit. Line a baking sheet with parchment paper.
- In a skillet over medium heat, cook the ground beef and chopped onion until the beef is browned and the onion is soft. Drain off any excess grease.
- Stir in the dried minced onion, Worcestershire sauce, salt, pepper, and garlic powder. Cook for one minute until fragrant. Remove from heat and let the mixture cool slightly.
- Once cooled, stir the shredded cheddar cheese into the beef mixture.
- Unroll the crescent roll dough onto a clean surface. Separate the dough into 8 triangles.
- Spoon about 2 tablespoons of the beef and cheese filling onto the wider end of each dough triangle, keeping the filling away from the edges.
- Roll each triangle up tightly, starting from the wide end and rolling toward the point. Pinch the seams and edges firmly to seal the pocket closed.
- Place the sealed pockets seam-side down on the prepared baking sheet.
- In a small bowl, whisk together the beaten egg and water to create an egg wash. Brush the tops of the pockets evenly with the egg wash.
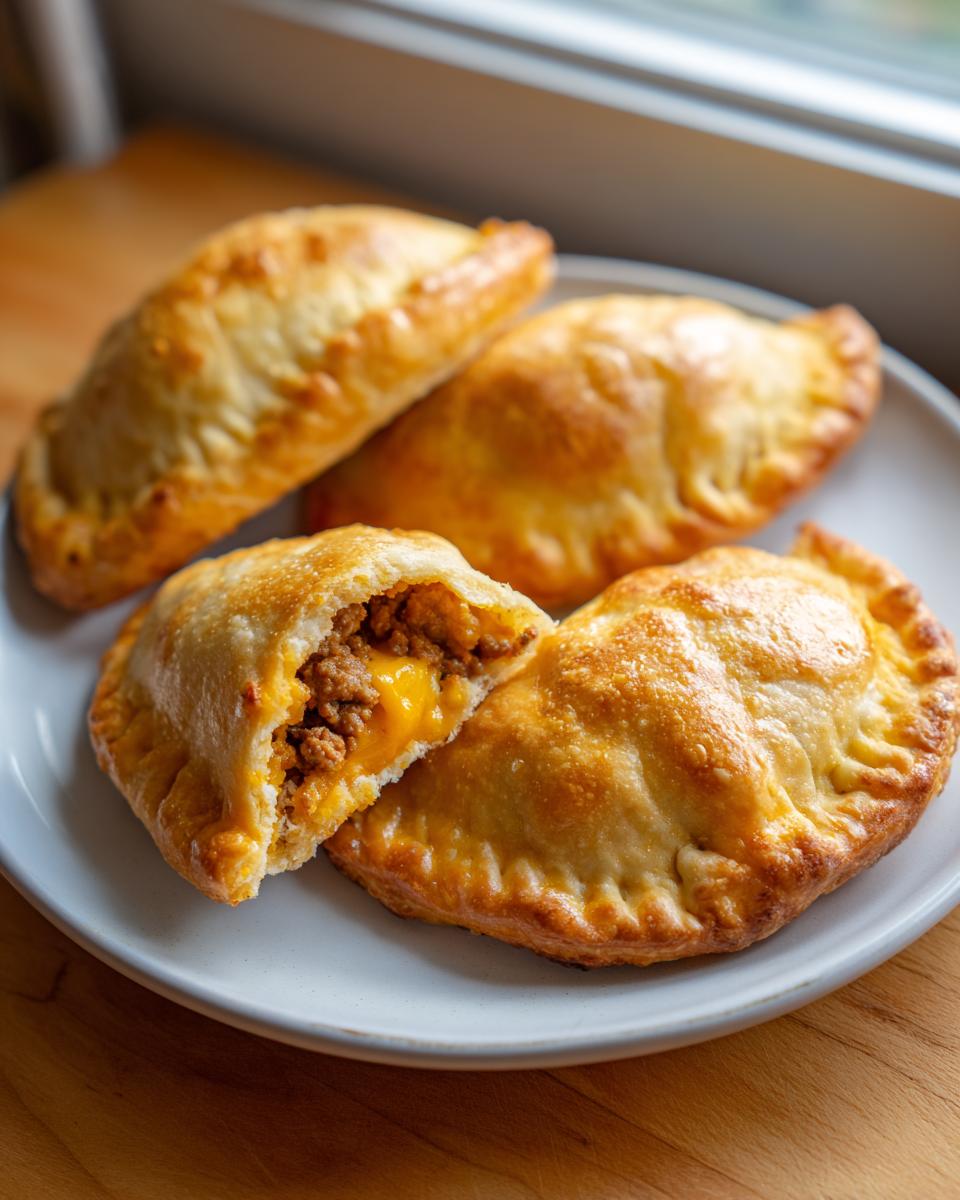
- Bake for 14 to 17 minutes, or until the pockets are golden brown and puffed.
- Let the pockets cool on the baking sheet for a few minutes before serving.
Notes
- For freezer friendly meal prep, assemble the pockets completely, brush with egg wash, and place them on a baking sheet to freeze until solid. Transfer the frozen pockets to a freezer safe bag. Bake from frozen, adding 5 to 10 minutes to the baking time.
- You can substitute the crescent roll dough with puff pastry or pizza dough if you prefer a different crust texture.
- Serve these cheesy handheld dinners with ketchup, mustard, or pickles for classic burger flavor.
Nutrition
- Serving Size: 1 pocket
- Calories: 310
- Sugar: 2
- Sodium: 450
- Fat: 18
- Saturated Fat: 8
- Unsaturated Fat: 10
- Trans Fat: 0.5
- Carbohydrates: 18
- Fiber: 1
- Protein: 17
- Cholesterol: 60