
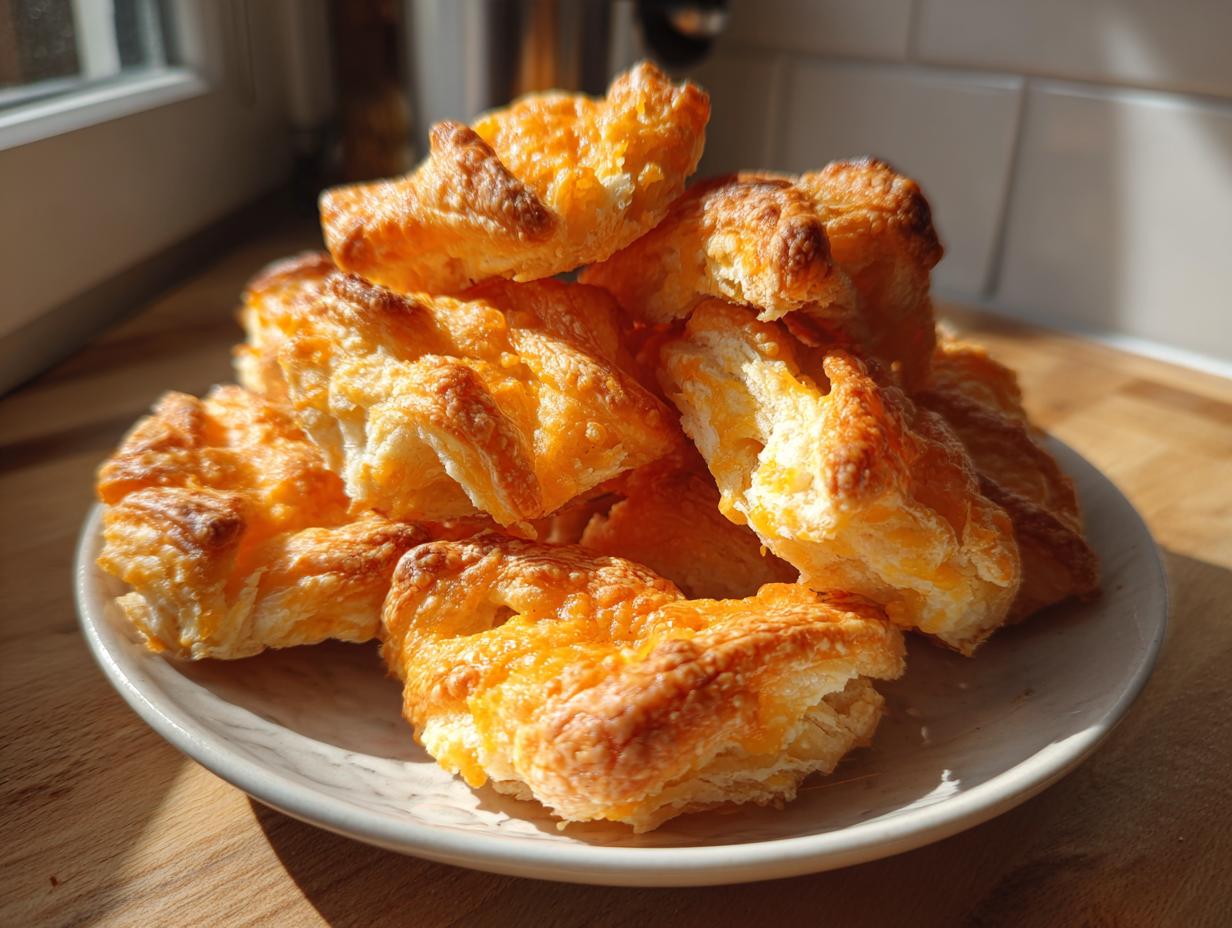
There is nothing quite like that satisfying, buttery crunch when you bite into a perfectly made savory snack. If you ask me, the gold standard for any good gathering starts with these cheese straws. These aren’t those soft, chewy cheese crackers you sometimes find; oh no, we are going for shatteringly crispy, intensely savory Southern cheese straws. This recipe is pulled straight from my Grandma Daisy’s cookbook. She always understood that the best food is simple food, made with patience. Watching her roll these out by hand taught me everything I know about creating the perfect, irresistibly crisp texture that everyone always asks about. Trust me, once you try these from scratch, you’ll never look back!
- Why This Is The Best Crispy Cheese Straw Recipe (Expert Tips)
- Ingredients for Classic Southern Cheese Straws
- How to Make Homemade Cheese Straws From Scratch
- Variations for Savory Cheese Bites and Herbed Cheese Twists
- Making Cheese Straws for Entertaining Snacks
- Storage and Reheating Instructions for Buttery Cheese Snacks
- Frequently Asked Questions About Crispy Cheese Straw Recipe
- Nutritional Information for These Sharp Cheddar Appetizers
- Share Your Game Day Snacks Experience
Why This Is The Best Crispy Cheese Straw Recipe (Expert Tips)
I’ve played around with so many cracker recipes over the years, trying to get that perfect snap. Some recipes came out too soft, some were just too greasy, but this one truly is the Best Cheese Straw Recipe I’ve ever tried. The secret weapon here is just how simple it is, yet it demands respect for the cold ingredients. When I first started baking these, I tried cheating by letting the butter soften a little—big mistake! You end up with soft, tender pastries, not the addictive savory cheese bites we are aiming for.
Grandma Daisy used to say that the texture was 80% temperature control. I’ve found this recipe is perfect for those quick entertaining needs, ready in under 40 minutes total, which is just fantastic when company pops over unexpectedly. When you serve these up, people always ask where I bought them, and I just smile!
Secrets to Achieving Flaky Cheese Straws Texture
To get those beautifully flaky cheese straws, remember two things: use the sharpest cheddar you can find, and keep that butter colder than an arctic breeze! We cut the butter into tiny little cubes before we even start. The goal is to keep those small butter pieces intact while you mix everything. As they bake, those little frozen pockets of fat melt and create steam, which lifts the dough just enough to make it flaky and impossibly crisp.
Handling is crucial, too. Mix only until the dough barely holds together. If you knead it like bread, you’re developing gluten and you’ll end up with chewy sticks instead of crispy straws. If you are planning a full appetizer spread, these are amazing served alongside a simple yet robust versatile mushroom sauce for dipping, though honestly, they need nothing at all!
Ingredients for Classic Southern Cheese Straws
Okay, for these cheese straws to truly deliver that Southern snap, we can’t afford any substitutions on the main players. You’ll notice the list looks short, and that’s part of the beauty! We rely on quality here.
First up, that cheese. You absolutely must use two cups of freshly grated sharp cheddar cheese. Don’t even think about the bags in the dairy aisle; they have starches that ruin the crisp, buttery texture we need. Next, get your oven ready! You’ll need two full sticks—that’s one cup—of cold unsalted butter, cut into small pieces. Seriously, keep it cold.
The rest is straightforward: flour, salt, and just a tiny bit of cold water to bring it together. I always sneak in about a half teaspoon of cayenne pepper, because I like a little kick. This recipe is so easy because you aren’t mixing a dozen things!
How to Make Homemade Cheese Straws From Scratch
Alright, this is where the magic really happens in making these homemade cheese straws. This process is short, efficient, and delivers results that taste like they took all day! Remember, we are shooting for that crunchy, savory snack beloved across the South. The key takeaway here is patience during the chill time—it’s worth every second, I promise!
Mixing the Dough for Perfect Cheese Straws
Once your ingredients are ready, you start by cutting that very cold butter into the flour mixture. I use a pastry blender, though my fingers work in a pinch if I move fast enough to keep the butter from warming up. You want the mixture to look like coarse cornmeal, maybe with a few pea-sized pieces still visible. That’s your insurance policy for a light, flaky texture later.
Next, fold in all that glorious sharp cheddar cheese. Mix it just enough until it looks marbled throughout the flour. Now for the water—this is always the trickiest part. You add the cold water just a tablespoon at a time. You’re not making bread dough here; you’re making something that just barely holds itself together. Stop adding water the second you can press the dough into a rough ball. If you overmix trying to get it perfectly smooth, you’re developing gluten, and those delicious, crisp from scratch cheese straws will turn into sad, hard biscuits. After that, flatten it into a disk, wrap it tight, and stick it in the fridge for at least 30 minutes. Seriously, you need that chill time for the butter to firm up again for the best results!
Shaping and Baking Your Cheese Straws
After chilling, this dough is so much easier to handle! Preheat your oven to 400 degrees Fahrenheit—we want a hot oven to set that butter fast. Lightly flour your surface. Roll the dough out until it’s quite thin, aiming for about 1/8-inch thick. If it’s too thick, they won’t get that addictive crunch.
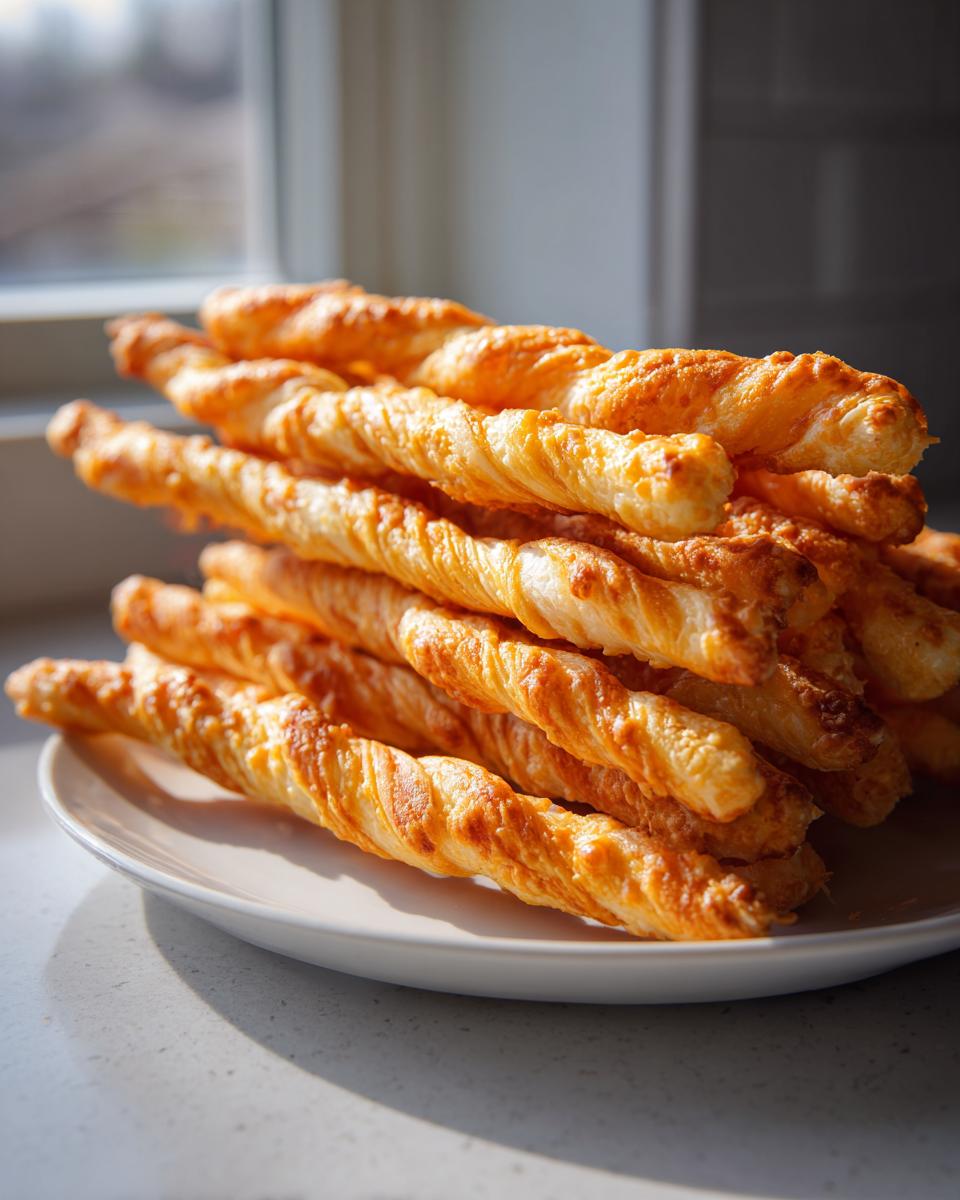
Now, cut them into strips—about half an inch wide and four or five inches long works best. Feel free to give them a gentle twist as you lay them out on parchment paper; that signature twist really makes them feel like a classic appetizer. Brush them lightly with an egg wash; this gives them a gorgeous golden sheen. Bake them for about 10 to 14 minutes. You’re looking for them to be deep golden brown around the edges. They might seem soft right when they come out, but as they cool totally on the pan, they harden up beautifully. If you’re planning to serve these with a rich dip later, maybe check out my recipe for the easiest blue cheese dip—it pairs perfectly with the sharp cheddar!
Variations for Savory Cheese Bites and Herbed Cheese Twists
While I adore the classic version, sometimes you need to give your guests something a little different! That’s where getting creative with seasonings comes in handy. You can transform these simple cheese straws into incredible savory cheese bites just by adding a couple of things to the dry ingredients before you cut in the butter.
If you love herbs, try adding a teaspoon of dried rosemary or even some finely chopped fresh chives directly to the flour mix. These become fabulous herbed cheese twists that pair wonderfully with wine. For those times when you need a bit of warmth, I always go for the cayenne pepper in the main recipe, but you can easily swap that for a pinch of smoked paprika or a dash of black pepper for spicier cheese straws.
If you serve these at a party, they are wonderful alongside something bright, like my quick homemade cocktail sauce, even though they aren’t seafood! They just hold up to strong flavors so well because of that sharp cheddar base.
Making Cheese Straws for Entertaining Snacks
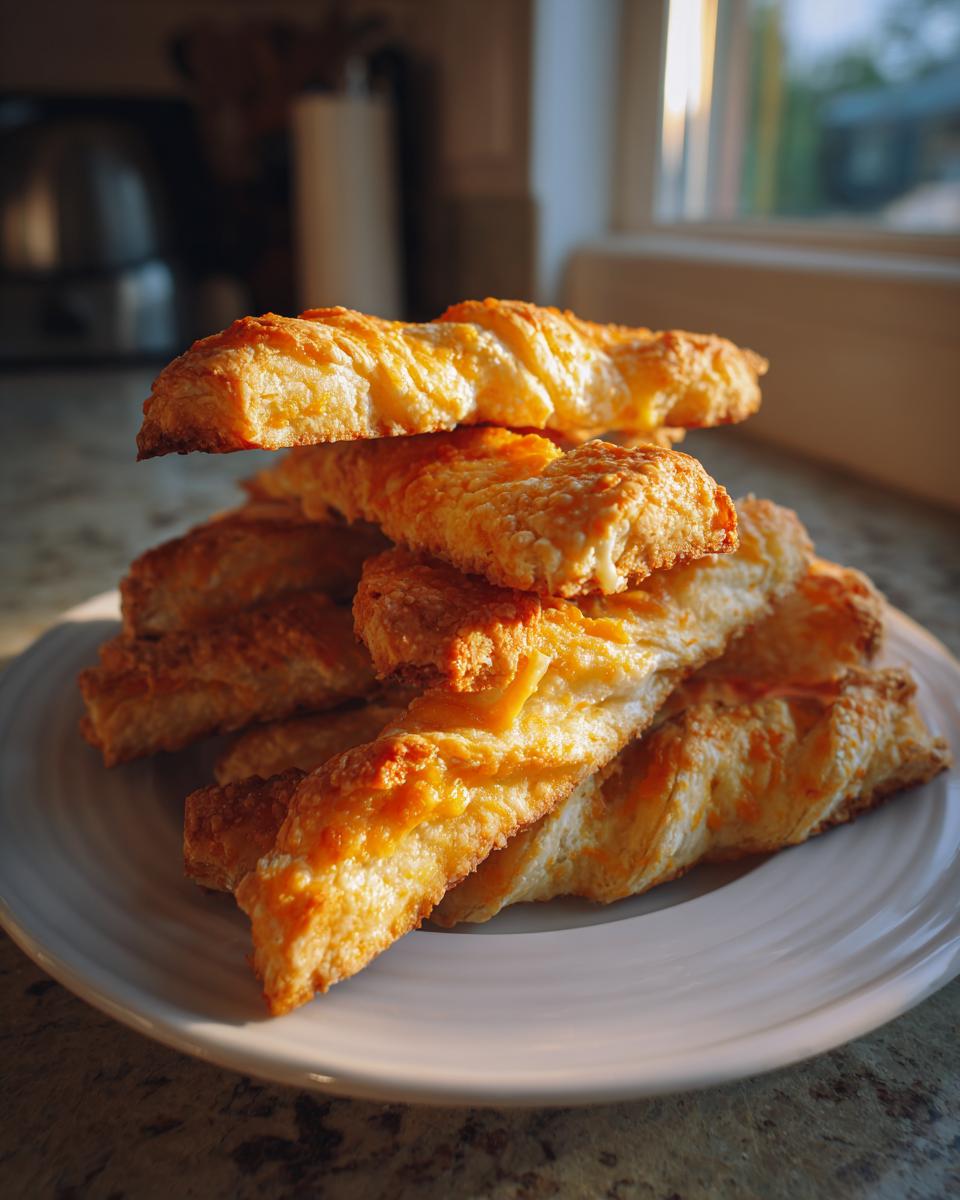
Honestly, if I’m hosting any kind of gathering—whether it’s a big holiday open house or just a casual Sunday football watch party—these cheese straws are front and center. They are the definition of party appetizers easy! I have actually found that they travel really well too, provided you pack them flat. The best part about relying on these buttery snacks for entertaining snacks is that you can make the dough ahead of time, chill it overnight, and then slice and bake them right before everyone arrives.
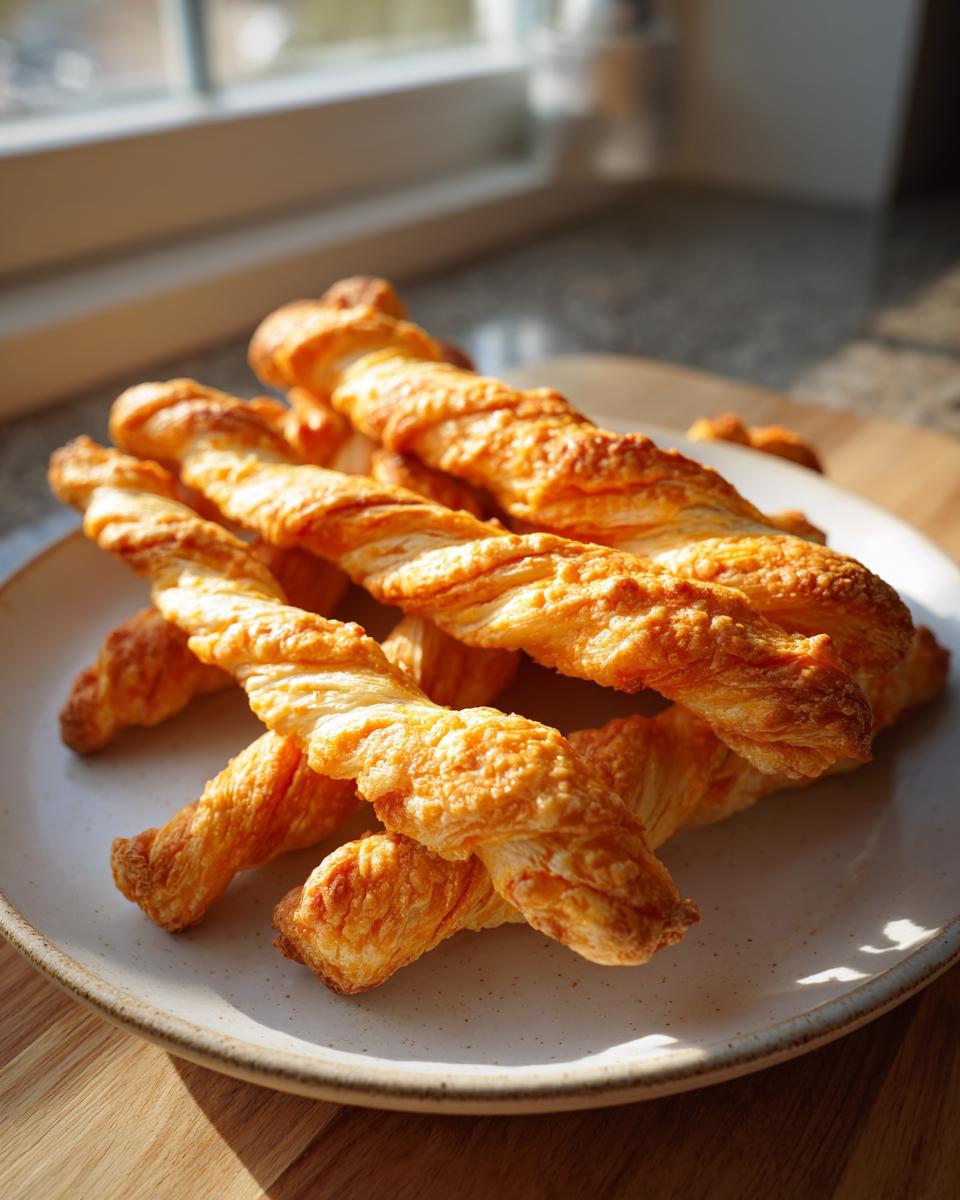
For easy holiday appetizers, I usually twist half the batch and leave the other half straight for simplicity. I always give them a very light brush of egg wash right before they go into the oven to get that deep golden color. They are perfectly delicious served right away while still a little warm, but I find they reach peak crispiness after resting on the counter for about ten minutes. They are just phenomenal served alongside a beautiful big glass of bubbly; if you are planning a brunch spread, my recipe for festive champagne punch is the only thing you’ll need!
Storage and Reheating Instructions for Buttery Cheese Snacks
One reason I rely on these so much for my meal prep is that these buttery cheese snacks keep incredibly well! If you have leftovers—and honestly, that’s rare when I make a batch—store them in a truly airtight container at room temperature. Resist the urge to put them in the fridge! The humidity in the fridge is the enemy of crispiness, and we worked too hard to get that perfect snap!
They should stay perfectly crunchy for almost a full week if stored correctly. If you must reheat them because they sat out too long on a humid day, just pop your cheese straws on a baking sheet at 300 degrees for about 3 to 5 minutes. That little jolt of dry heat will crisp them right back up for you. Cool them completely before serving again!
Frequently Asked Questions About Crispy Cheese Straw Recipe
I know you’re going to love making these, but I always get a few questions when folks try them for the first time. It’s usually about the cheese, or how to keep that beautiful crunch we worked so hard for!
Can I substitute the sharp cheddar in these cheese straws?
You ask about substitutions, and while I rely on sharp cheddar for that signature bite, you certainly can switch it up a little! If you want to lean into the spicy side and make more pronounced Spicy Cheese Straws, use Pepper Jack! It melts beautifully and brings its own heat. If you want a slightly milder, nuttier flavor, try swapping half of the cheddar for Gruyère. Just remember, whatever you choose, make sure it’s freshly grated. Pre-shredded cheese is a texture disaster in this recipe, no matter what cheese you pick.
Why are my homemade cheese straws not crispy?
Oh, this is the pain point we’ve all faced! If your homemade cheese straws come out a bit soft, nine times out of ten, it’s one of three things: either your butter wasn’t cold enough when you mixed it, you skipped grating the cheese fresh, or—and this is a big one—you didn’t let them cool completely on the pan before stacking them. They firm up as they totally cool. We want absolutely no residual steam trapped in there! If you’re really worried, a quick 3-minute trip back into a warm oven can help wick away any last bit of moisture. For an in-depth look at the science behind Southern cooking techniques, I always defer to the experts over at Serious Eats, you can see their thoughts on similar Southern cheese straws techniques.
Nutritional Information for These Sharp Cheddar Appetizers
Now, I know we aren’t making these sharp cheddar appetizers for their health benefits, right? They are purely for joy and celebration! But for those of you tracking things, here is a general breakdown based on the ingredients. Remember, these are just estimates per serving size (about 4 straws).
- Calories: Around 95
- Fat: About 7g
- Carbohydrates: 5g
- Protein: 4g
Please keep in mind that since we are using real, high-quality ingredients like cold butter and sharp cheese, these numbers can shift a bit based on exactly how thick you roll them out. Enjoy them guilt-free!
Share Your Game Day Snacks Experience
I truly hope you give these a whirl, especially if you’re planning a party soon or just need a perfect crunch for your next weekend! There is absolutely nothing better than serving up something clearly made with love when friends gather.
When you make these cheese straws, let me know how they turned out! Did the cold butter trick work its magic? Did you manage to keep them crispy all week? Seriously, please come back and leave a review or drop a comment below. I read every single one! And if you take a picture of your beautiful spread of game day snacks featuring these straws, tag me on social media. I want to see your creations!
If you are looking for more simple, honest recipes that fit right into a busy life—because we all have them!—check out my ideas for quick weeknight dinners. Happy baking, friend!
PrintClassic Crispy Southern Cheddar Cheese Straws

Make these classic, savory cheese straws from scratch for a perfect party appetizer or game day snack. This recipe focuses on achieving a shatteringly crispy texture using sharp cheddar.
- Prep Time: 20 min
- Cook Time: 14 min
- Total Time: 34 min
- Yield: About 4 dozen 1x
- Category: Appetizer
- Method: Baking
- Cuisine: American
- Diet: Vegetarian
Ingredients
- 2 cups all-purpose flour
- 1 teaspoon salt
- 1/2 teaspoon cayenne pepper (optional, for spice)
- 1 cup (2 sticks) cold unsalted butter, cut into small pieces
- 2 cups freshly grated sharp cheddar cheese
- 1/4 cup cold water
- 1 large egg, beaten (for egg wash)
Instructions
- In a large bowl, whisk together the flour, salt, and cayenne pepper.
- Cut the cold butter into the flour mixture using a pastry blender or your fingertips until the mixture resembles coarse crumbs.
- Stir in the freshly grated sharp cheddar cheese until evenly distributed.
- Add the cold water one tablespoon at a time, mixing until the dough just comes together. Do not overmix.
- Form the dough into a flat disk, wrap it in plastic wrap, and chill in the refrigerator for at least 30 minutes. This step is key for crispiness.
- Preheat your oven to 400 degrees Fahrenheit (200 degrees Celsius). Line two baking sheets with parchment paper.
- On a lightly floured surface, roll the chilled dough out to about 1/8-inch thickness.
- Cut the dough into strips about 1/2-inch wide and 4 to 5 inches long. You can twist the strips slightly for a traditional look.
- Place the cheese straws on the prepared baking sheets, leaving a small space between them.
- Brush the tops lightly with the beaten egg wash.
- Bake for 10 to 14 minutes, rotating the sheets halfway through, until the straws are golden brown and crisp.
- Let the cheese straws cool completely on the baking sheets before serving. They crisp up more as they cool.
Notes
- Use freshly grated sharp cheddar cheese; pre-shredded cheese contains anti-caking agents that prevent the best texture.
- Keep the butter very cold throughout the mixing process to promote flakiness and crispness.
- For an herbed variation, add 1 teaspoon of dried rosemary or 1 tablespoon of finely chopped fresh chives to the dry ingredients.
- These savory cheese bites store well in an airtight container at room temperature for up to one week.
Nutrition
- Serving Size: 4 straws
- Calories: 95
- Sugar: 0.2
- Sodium: 180
- Fat: 7
- Saturated Fat: 4.5
- Unsaturated Fat: 2.5
- Trans Fat: 0.1
- Carbohydrates: 5
- Fiber: 0.3
- Protein: 4
- Cholesterol: 20