
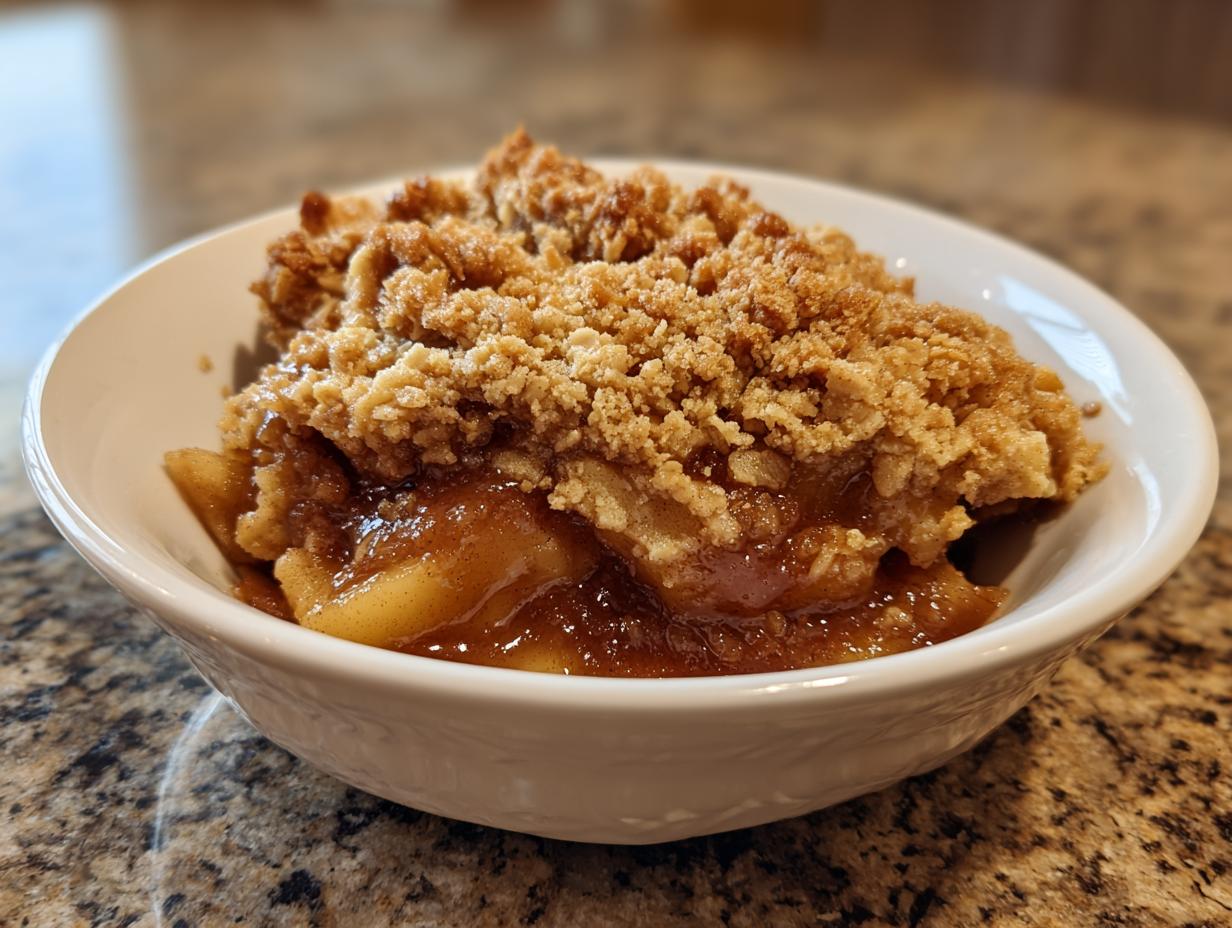
When the air turns crisp and you pull out your favorite cozy sweater, you know it’s time for baking that tastes like home. For me, that means Grandma Daisy’s **apple crisp recipe**. It’s not fancy—it’s something better. This is the definitive, simple, Old-Fashioned Apple Crisp Recipe you’ve been searching for, promising unbelievably tender, cinnamon-spiced apples topped with a golden, buttery oat crumble that cracks perfectly when you poke it.
I’m Amelia Rosewood, and in my city life, baking this dessert is how I reconnect with my roots. This recipe has stood the test of time because it’s honest, straightforward, and delivers pure comfort every single time. If you follow just a few simple steps, you’ll have the best baked apples dessert ready in about an hour. Trust me, this is the recipe you’ll stamp on your fridge forever.
Check out my Amish apple fritter bread if you decide you want something a little different next time!
- Why This Classic Apple Crisp Recipe is Your New Favorite Fall Apple Dessert
- Ingredients for the Best Apple Crisp Recipe
- How to Make This Simple Apple Crisp
- Tips for Success with Your Old Fashioned Apple Crisp
- Serving Suggestions for This Comfort Food Apple Bake
- Storage and Reheating Instructions for Apple Crisp Recipe Leftovers
- Frequently Asked Questions About This Easy Apple Crisp Recipe
- Estimated Nutritional Data for this Apple Crisp Recipe
- Share Your Cozy Fall Baking Creations
Why This Classic Apple Crisp Recipe is Your New Favorite Fall Apple Dessert
Honestly, what’s better than that smell? When this Classic Apple Crisp is in the oven, my whole apartment smells like my grandmother Daisy’s kitchen—cinnamon, melting butter, and cozy nostalgia. That’s why this **Fall Apple Dessert** is something I return to again and again.
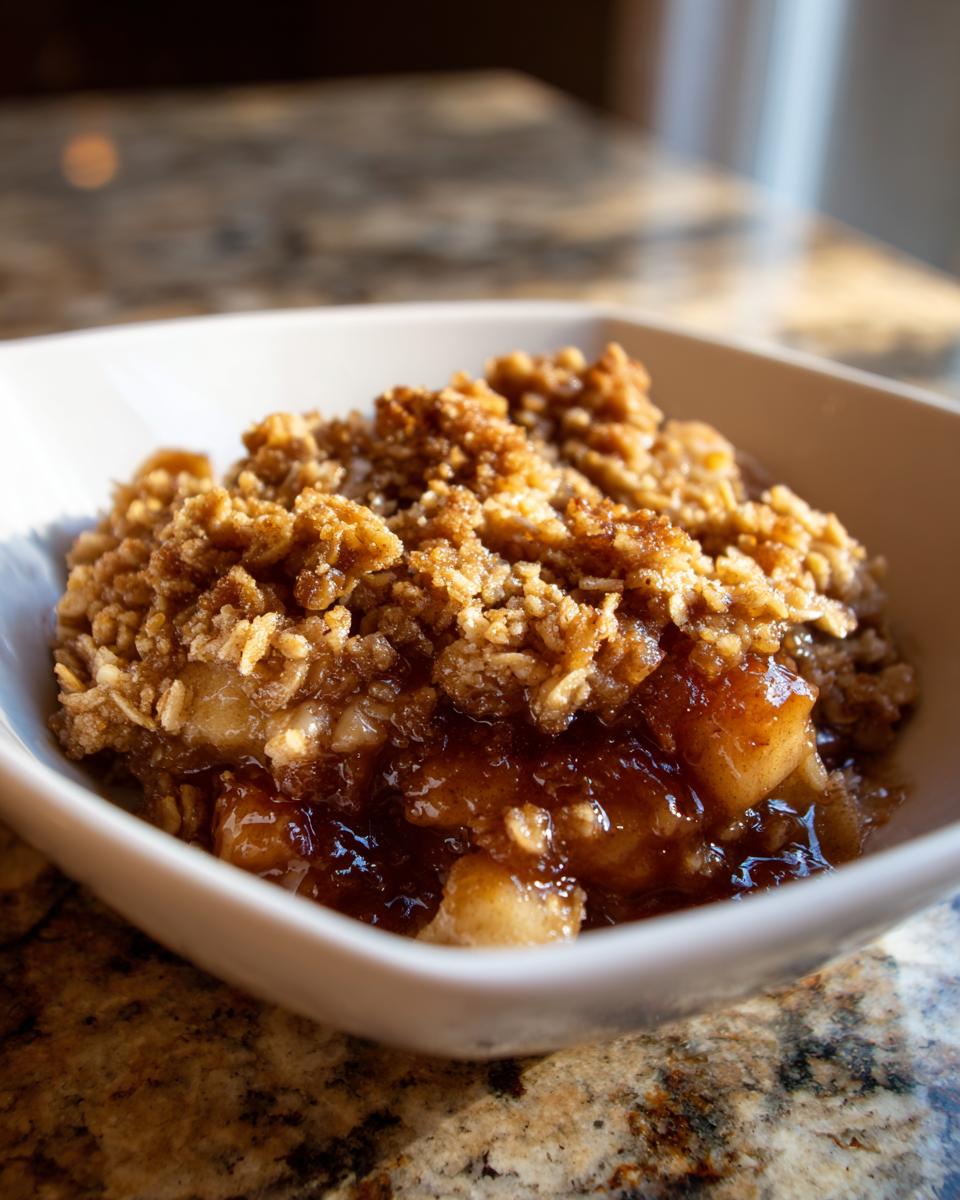
It nails that old-fashioned flavor profile without any fuss. Forget complicated layers; this is pure **Comfort Food Apple Bake**. The secret is the big contrast: the filling is soft and jammy, but that topping? Oh, that topping!
Quick Apple Dessert Prep Time Breakdown
You know I get busy, so speed is everything. Seriously, you can have the apples sliced, coated, and the topping mixed before your water even boils for tea! We are talking about a 15-minute prep time, tops. That means you can decide you want baked apples at 6 PM and still be eating dessert by 7 PM. It’s incredibly simple preparation for such a heartwarming result.
If you love rich, buttery sides, you have to check out my recipe for candied sweet potatoes with the brown sugar glaze—it hits the same cozy nostalgia button as this crisp!
Ingredients for the Best Apple Crisp Recipe
For an **Old Fashioned Apple Crisp**, you need straightforward, quality ingredients. Don’t skimp on the apples! I usually mix tart Granny Smiths with a sweeter variety like Honeycrisp. This two-apple approach gives you the best structure and flavor balance—the tartness keeps it from tasting too sweet, and the firmer apples hold their shape beautifully while the softer ones break down into that lovely sauce.
For the Tender Baked Apples
- 6 medium apples (like Granny Smith or Honeycrisp), peeled, cored, and sliced
- 1/4 cup all-purpose flour
- 1/2 cup granulated sugar
- 1 teaspoon ground cinnamon
- 1/4 teaspoon ground nutmeg
- 1 tablespoon lemon juice
For the Crunchy Oat Topping Recipe
This topping is the star, and keeping the butter freezing cold is non-negotiable for that amazing texture! You want those little pockets of butter to steam in the oven and create those perfect crispy bits.
- 1/2 cup all-purpose flour
- 1/2 cup packed brown sugar
- 1/2 cup old-fashioned rolled oats
- 1/4 teaspoon salt
- 1/2 cup (1 stick) cold unsalted butter, cut into small pieces
How to Make This Simple Apple Crisp
Making this **apple crisp recipe** is so simple, it feels like cheating! You spend maybe 15 minutes prepping, and then the oven does all the hard work, filling your house with the best autumn smell. Just keep your focus on treating those apples right and making sure that topping stays crumbly, not clumpy.
Preparing the Apples and Dish
First things first, get that oven going up to 375 degrees Fahrenheit. While it warms up, lightly grease your 8×8 inch baking dish—I hate scrubbing baked-on sugar! Now, take those beautiful, sliced apples and toss them in a large bowl with the 1/4 cup flour, the granulated sugar, cinnamon, nutmeg, and that splash of lemon juice. Make sure every piece gets a light coating of spice and sugar before you spread them out in one nice, even layer in the dish. That even layer is key for tender baked apples!
Creating the Buttery Oat Crisp Topping Recipe
Next up is my favorite part: the topping! In a separate bowl, mix your topping flour, brown sugar, rolled oats, and salt. Now, take that cold butter you cut up earlier and gently drop it on top. Use a pastry blender, or honestly, just use your fingertips! Work it in until it looks like coarse crumbs—you want some little pea-sized chunks of butter still visible when you stop. Don’t overwork it! We are aiming for crumble, not paste!
Baking and Setting the Apple Crisp Recipe
Sprinkle that gorgeous **Buttery Oat Crisp Topping Recipe** evenly over the apples. Don’t pack it down too hard, just press it lightly. Pop it into the oven for about 40 to 45 minutes. You’ll know it’s done when the filling is bubbling up around the edges and the topping is a beautiful golden brown. The absolute hardest part comes now: you must let it rest on a wire rack for a full 15 minutes afterward. This lets the filling set up a bit so it doesn’t turn into apple soup when you scoop it out. Don’t forget this rest!

By the way, if you’re looking for another easy baked treat that smells incredible, you must try my cinnamon sugar French toast muffins!
Tips for Success with Your Old Fashioned Apple Crisp
I want you to have great success with this **Old Fashioned Apple Crisp**, which means moving past just following the steps to understanding *why* we do them. Grandma Daisy always said a good cook understands the ingredients, not just the measuring spoon. These little details are what elevate a standard bake into true comfort food.
Choosing Apples for the Perfect Texture
Remember how I mentioned mixing apples? That’s critical for a perfect texture here. If you use only soft apples (like McIntosh), they break down into mush, and you get apple sauce instead of a crisp! You need that tart backbone from something like Granny Smith to hold its shape against the heat. Pairing that tartness with a slightly sweeter, firmer variety builds a balanced flavor that tastes complex, even though the prep was simple. This interplay is what makes the filling so good.
Achieving Maximum Crunch in the Oat Topping Recipe
To get that glorious, golden crunch in the topping, one thing I started doing recently is chilling the topping mixture for about ten minutes after I make it, right before I sprinkle it on the apples. Don’t skip chilling the butter in the first place, of course! But chilling assembled topping firms up the butter just a bit more. When it hits the hot oven, those cold butter clumps take longer to melt, creating those pockets of steam that result in a crispier, crunchier, and less greasy oat topping.
If you’re looking for more old-fashioned, slow-cooked comfort, you should totally try out my creamy old-fashioned rice pudding recipe next!
Serving Suggestions for This Comfort Food Apple Bake
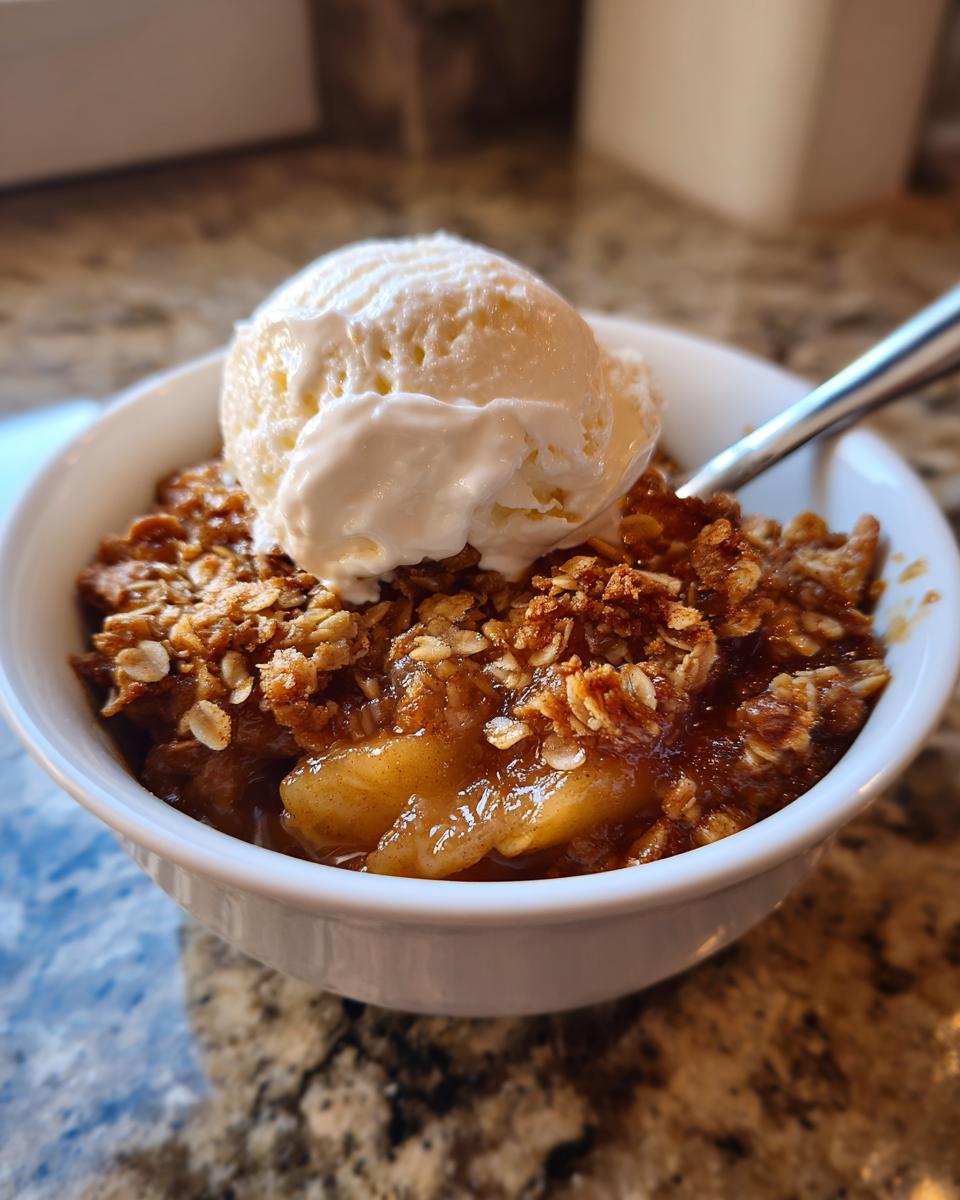
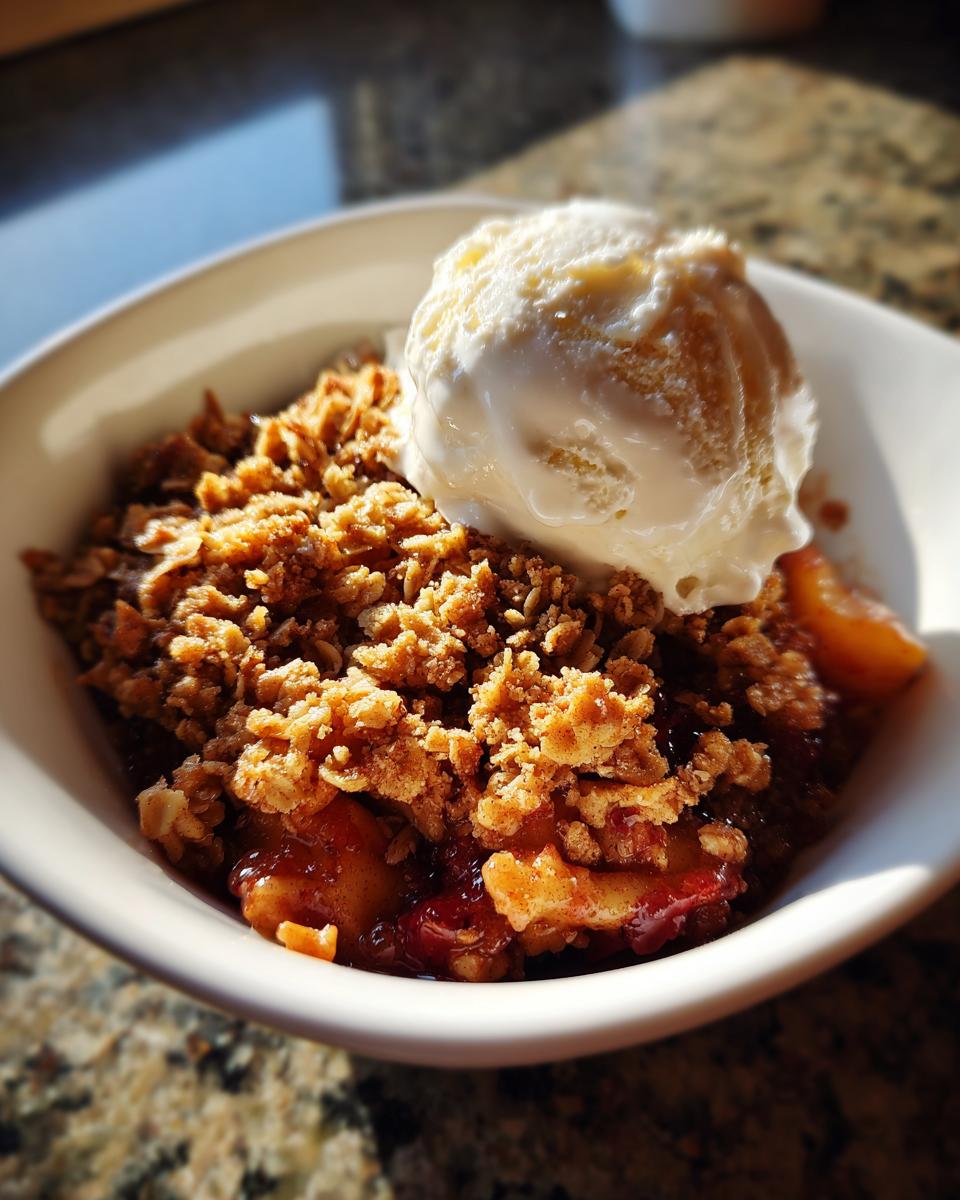
There is simply no way to eat this glorious **Comfort Food Apple Bake** without something creamy alongside it. Vanilla ice cream is the absolute classic pairing; that contrast between the hot, spicy apples and the cold, melting sweetness is perfection. Seriously, don’t skip the ice cream—it turns a great dessert into the best one!
But if you’re feeling ambitious, a dollop of freshly whipped cream spiked with a tiny bit of vanilla is lovely too. And if you happen to have some of that amazing cinnamon butter lying around? Spreading a tiny bit on top right when it comes out of the oven is just sinful.
Storage and Reheating Instructions for Apple Crisp Recipe Leftovers
Even the best **apple crisp recipe** usually leaves us with leftovers, though honestly, it rarely lasts long in my house! If you do manage to save some, cover the dish tightly or transfer leftovers into an airtight container. You can keep it on the counter for maybe a day, but if you’re storing it longer than that, the fridge is the safest bet.
Now, for reheating: Ditch the microwave if you want to save that crunchy topping! Microwaving just steams the oats and makes them soft. Reheat individual slices or the whole dish uncovered in a 350°F oven for about 10 minutes. That little bit of dry heat brings back the golden crispiness beautifully. Then, scoop it high onto a plate and add a fresh scoop of cold vanilla ice cream!
Frequently Asked Questions About This Easy Apple Crisp Recipe
I get so many questions when people first try this recipe, which I love! It just shows how excited everyone is to bring this **Easy Apple Crisp Recipe** into their autumn rotation. Here are the things folks ask me most often when they are mapping out their baking plans.
Can I make the apple crisp ahead of time?
Oh yes, you absolutely can! For an **Easy Apple Crisp Recipe**, making it ahead saves weeknight stress. You can assemble the whole thing—apples coated and topping sprinkled—and cover the dish tightly with plastic wrap. Keep it in the fridge for up to 24 hours. When you’re ready to bake, pull it out about 30 minutes before you plan to pop it in the oven. If you bake it straight from the fridge, just expect to add about 10 to 15 minutes onto the total baking time since the filling will be cold.
What apples are best for this Simple Apple Crumble?
I stand by the tart/sweet combo, which gives you the best structural integrity for a **Simple Apple Crumble**. You need something firm that won’t turn into liquid goo. Granny Smith is my foundation for tartness. If you use only soft apples, like Red Delicious or Gala, they break down too quickly and you end up with warm apple sauce rather than defined, tender baked apples. Mixing two kinds is the secret to that satisfying bite!
Can I substitute the oats in the topping?
You *can*, but you’ll change the texture completely, so I only recommend it if you absolutely have to. If you ditch the oats, you’ll have more of a streusel than a crisp. If you leave them out, your topping becomes mostly flour and sugar, which tends to bake up harder and perhaps a bit greasier since you lose the structural absorbent quality the oats provide. For that signature crunch in the **Crunchy Oat Topping Recipe**, keep those oats in there!
If you’re looking for other easy ways to use apples, you might love my easy caramel apple bread pudding!
Estimated Nutritional Data for this Apple Crisp Recipe
Now, I have to preface this by saying that Grandma Daisy always told me, “Amelia, the only nutritional fact that matters is whether it makes people smile!” And this dessert certainly does that! But for those of you who track things, here is the estimated breakdown for one generous serving of this **apple dessert recipe easy** to make treat.
Please remember, these numbers are just guidelines based on standard pantry staples and the ingredients listed above. Depending on the exact size of your apples or the brand of butter you use, things might shift a little bit. This is just so you have a general idea of what you’re enjoying!
- Serving Size: 1 serving
- Calories: Approx. 350
- Fat: Approx. 18g (with 11g being saturated)
- Carbohydrates: Approx. 48g
- Sugar: Approx. 35g (most of that glorious brown sugar!)
- Fiber: Approx. 5g
- Protein: Approx. 4g
- Cholesterol: Approx. 45mg
See? Totally worth every single bite when you want that perfect **cozy fall baking** moment. It’s got fiber from the oats and apples, which helps a little bit!
Share Your Cozy Fall Baking Creations
Now that you’ve pulled that amazing, golden-brown crisp out of the oven—hopefully with a scoop of ice cream melting perfectly over the top—I really want to hear about it! Baking is always better when it’s shared, and I love seeing how this dessert looks in your own home kitchens when the weather gets chilly.
If you loved how simple and comforting this was, please take just a quick second to leave a rating right here on the site. Your feedback helps other home cooks know they can trust this recipe, especially when they’re looking for that perfect **Cozy Fall Baking** moment.
And if you snapped a picture of your bubbly masterpiece, tag me on social media! I love seeing the finished product. If you need more inspiration for wonderful sweets, I’ve collected lots of fantastic ideas over on my page for delicious dessert recipes.
If you’re curious about other highly-rated fall bakes, you might want to see what everyone is saying about the Pioneer Woman’s version, too! But I still think you’ve got the winner right here. Happy baking, sweet friends!
PrintClassic Old-Fashioned Apple Crisp Recipe
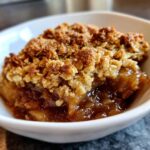
This is the comforting, simple apple crisp recipe you need for fall. It features tender, cinnamon-spiced apples beneath a golden, buttery oat topping that bakes up perfectly crunchy.
- Prep Time: 15 min
- Cook Time: 45 min
- Total Time: 60 min
- Yield: 6 servings 1x
- Category: Dessert
- Method: Baking
- Cuisine: American
- Diet: Vegetarian
Ingredients
- 6 medium apples (like Granny Smith or Honeycrisp), peeled, cored, and sliced
- 1/4 cup all-purpose flour
- 1/2 cup granulated sugar
- 1 teaspoon ground cinnamon
- 1/4 teaspoon ground nutmeg
- 1 tablespoon lemon juice
- 1/2 cup all-purpose flour (for topping)
- 1/2 cup packed brown sugar
- 1/2 cup old-fashioned rolled oats
- 1/4 teaspoon salt
- 1/2 cup (1 stick) cold unsalted butter, cut into small pieces
Instructions
- Preheat your oven to 375 degrees Fahrenheit. Lightly grease an 8×8 inch baking dish.
- In a large bowl, combine the sliced apples, 1/4 cup flour, granulated sugar, cinnamon, nutmeg, and lemon juice. Toss gently until the apples are evenly coated.
- Spread the apple mixture evenly into the prepared baking dish.
- In a separate medium bowl, prepare the topping. Combine the remaining 1/2 cup flour, brown sugar, rolled oats, and salt. Mix these dry ingredients together.
- Cut in the cold butter using a pastry blender or your fingertips until the mixture resembles coarse crumbs. Do not overmix; some pea-sized pieces of butter are fine.
- Sprinkle the oat topping evenly over the apples in the baking dish. Press lightly.
- Bake for 40 to 45 minutes, or until the topping is golden brown and the apple filling is bubbly and tender when pierced with a fork.
- Let the apple crisp cool on a wire rack for at least 15 minutes before serving. This allows the filling to set slightly.
Notes
- For the best texture, use a mix of tart and sweet apples.
- Serve this warm apple dessert with a scoop of vanilla ice cream for the ultimate comfort food experience.
- If you want an extra crunchy oat topping, lightly sprinkle 1 tablespoon of granulated sugar over the topping before baking.
Nutrition
- Serving Size: 1 serving
- Calories: 350
- Sugar: 35g
- Sodium: 150mg
- Fat: 18g
- Saturated Fat: 11g
- Unsaturated Fat: 7g
- Trans Fat: 0g
- Carbohydrates: 48g
- Fiber: 5g
- Protein: 4g
- Cholesterol: 45mg