
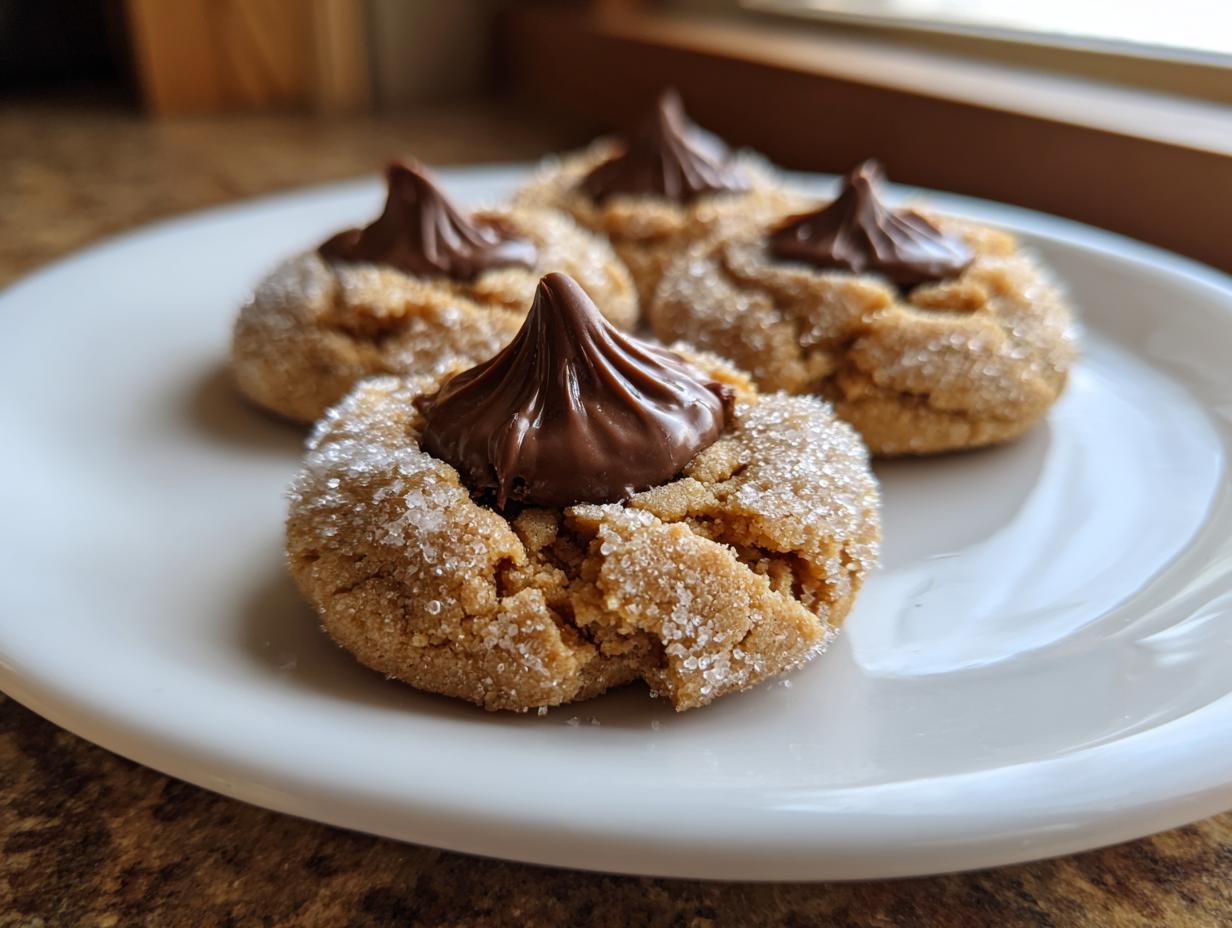
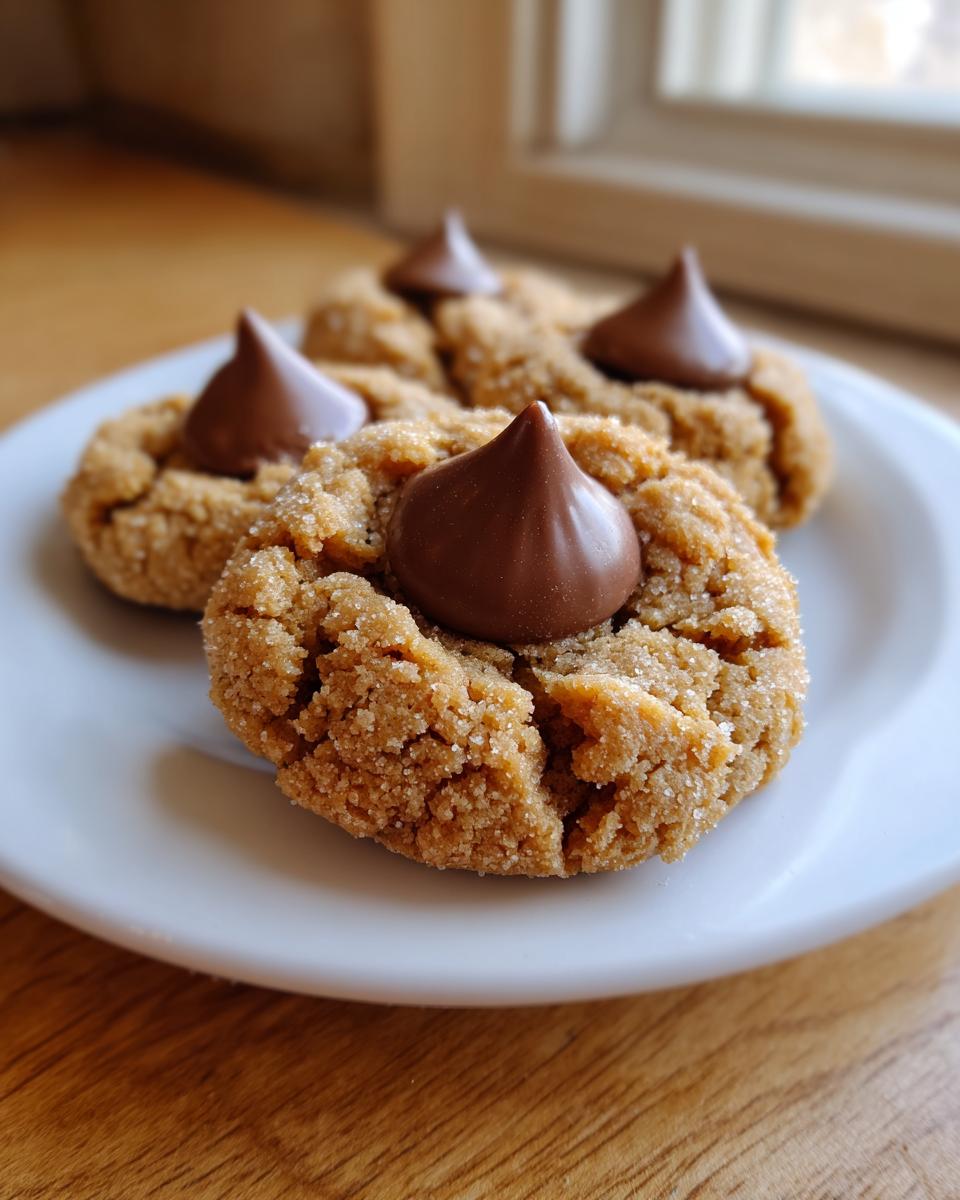
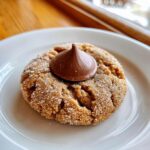
Is there anything that smells more like Christmas than a batch of perfectly crackled peanut butter cookies waiting for the final touch? I honestly don’t think so! When I first started finding my way back to baking—coming home to the quiet simplicity of Grandma Daisy’s kitchen after years in the city rush—these were the first treats I perfected. I needed something honest and immediately rewarding. This recipe for the classic peanut butter blossom is exactly that: simple, foolproof, and absolutely the best for delivering that signature soft and chewy texture we all crave, topped with that necessary chocolate hug.
I’ve tinkered a bit over the years, but the core of this recipe stays true to the feeling of home I rediscovered when I started baking again. Forget those dry, crumbly versions you sometimes find; we are making the definitive *Soft & Chewy Peanut Butter Blossom* here. This is the one you’ll want to keep tucked away for every holiday gathering, and maybe just a few quiet Tuesdays because, let’s be real, they’re addictive!
Looking for more ways to satisfy that peanut butter craving? You should definitely check out my recipe for easy no-bake peanut butter pie next.
- Why This Classic Peanut Butter Blossom Recipe Works Every Time
- Ingredients for the Ultimate peanut butter blossom
- Step-by-Step Instructions for Classic peanut butter blossom
- Tips for Making the Best peanut butter blossom Every Time
- Storage & Make-Ahead for Holiday Cookie Recipes
- Variations on the Classic peanut butter blossom
- Serving Suggestions for peanut butter blossom
- Frequently Asked Questions About peanut butter blossom Recipe
- Nutritional Estimates for Your Homemade Blossoms
- Share Your Classic Peanut Butter Blossom Experience
Why This Classic Peanut Butter Blossom Recipe Works Every Time
When you’re looking for the absolute best peanut butter cookie recipe, you need to understand the little things that make the difference between a good cookie and a truly show-stopping one. This recipe isn’t just about throwing ingredients together; it’s about building that perfect base for a soft and chewy cookie that lasts. Grandma Daisy always said that consistency is the secret weapon in holiday baking, and she wasn’t wrong!
I love knowing *why* a recipe works. That knowledge gives you the confidence to tweak things later if you ever need to, but for these classic blooms, sticking to the tried-and-true method is key to that melt-in-your-mouth experience.
Achieving the Signature Soft and Chewy Peanut Butter Blossom
The secret to the unparalleled texture starts with the sugars. We use both granulated and brown sugar. The brown sugar is crucial because its molasses content keeps things incredibly moist and adds a depth of flavor that plain sugar can’t touch. Also, once the flour goes in, you must tread lightly! Overmixing develops gluten, which turns your soft dough tough and cakey. Mix it in until you just don’t see streaks of flour left—that’s the perfect point.
Tips for Perfect Crinkle Tops on Your peanut butter blossom
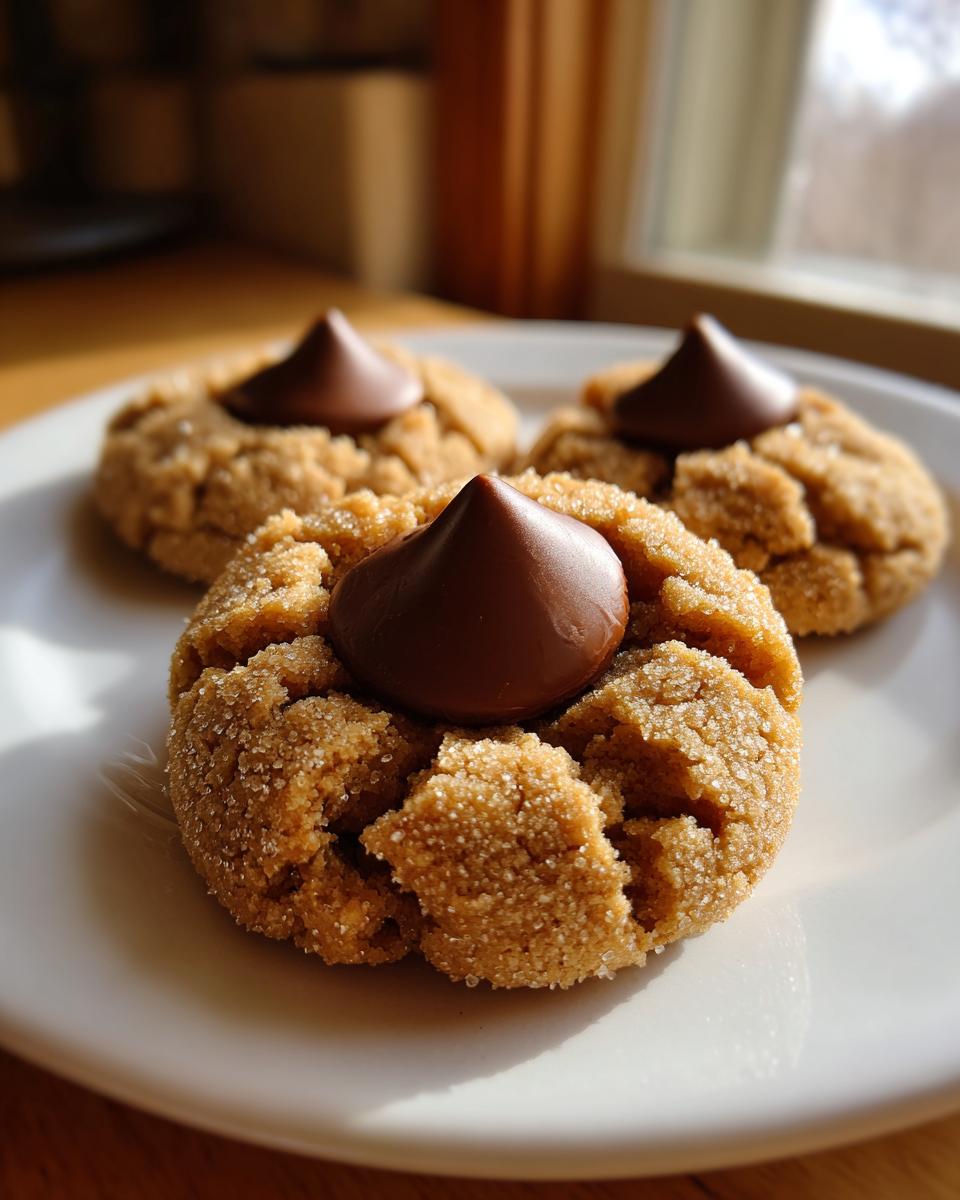
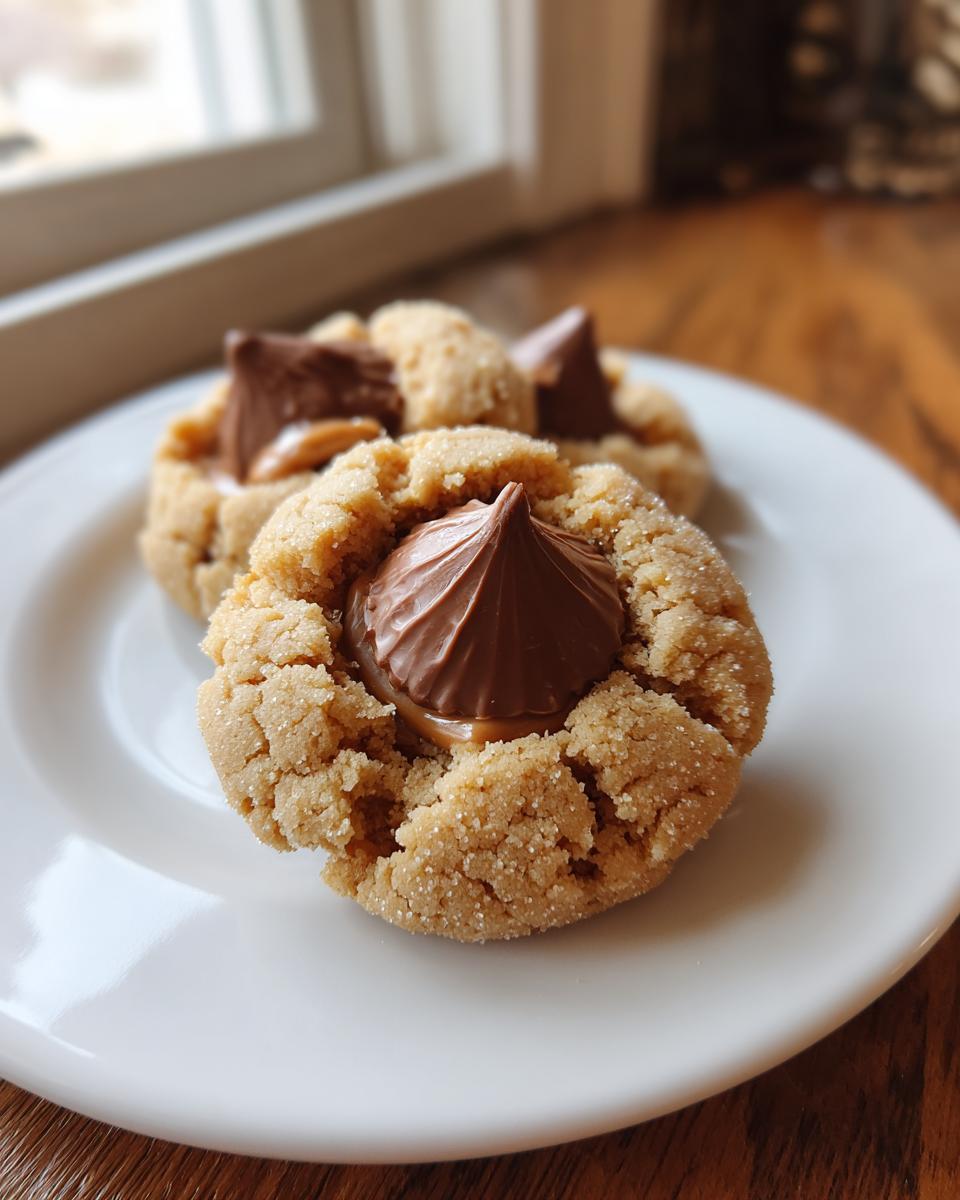
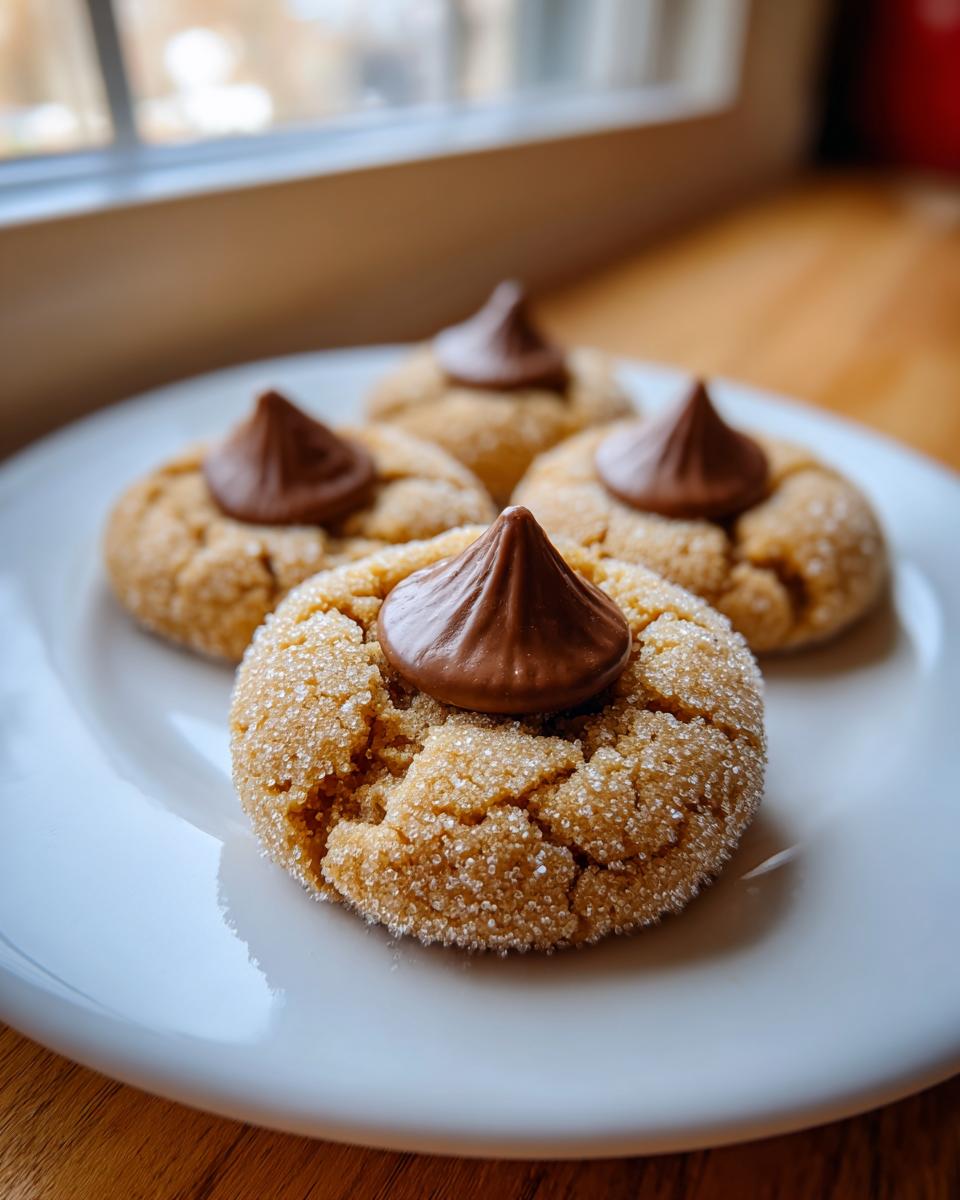
Want that beautiful, deeply cracked surface that makes a homemade bloom instantly recognizable? That comes down to how much sugar you use on the outside. Don’t hesitate when you’re rolling the dough balls in that extra granulated sugar. You want a thick, undeniable coating. That sugar shell sets first in the oven, and as the cookie puffs up underneath it, it forces those gorgeous cracks. A well-sugared ball ensures a perfect peanut butter blossom every single time.
If you want to practice your soft-baking skills on something else, try my recipe for best homemade soft chewy caramels!
Ingredients for the Ultimate peanut butter blossom
Okay, listen up! To get that perfect, nostalgic, holiday flavor, we need to stick really closely to the list here. This isn’t the time to start substituting, especially since we are aiming for that melt-in-your-mouth texture. Every single measurement matters when you are dealing with cookies this famous. Trust me, having everything measured and ready—what we call “mise en place”—makes the whole process fly by, which is exactly what we want when we’re whipping up a big batch of these beauties.
Before you get started, I want to remind you that you’ll want everything soft or ready to go! If you’re mixing up a dip for those cookies later, I have a super simple easy fruit dip recipe that requires no cool whip, a classic pairing!
Peanut Butter Cookie Base Ingredients
For the actual cookie part that gives us that wonderful base, make sure your mixing bowl is ready for these players. We need:
- 1 cup (which is two sticks!) unsalted butter, and it absolutely has to be softened—not melted, just perfectly soft.
- 3/4 cup of your favorite creamy peanut butter.
- 3/4 cup of good, old-fashioned granulated sugar.
- The same amount, 3/4 cup, of tightly packed brown sugar. Packing that in is important for moisture!
- Two large eggs.
- 1 teaspoon of pure vanilla extract.
- 2 and 1/4 cups of all-purpose flour.
- 1 teaspoon of baking soda.
- And just 1/2 teaspoon of salt to balance all that sweetness.
The Essential Hershey Kiss Cookies Topping
This is where the magic gets its name! You need about 3 dozen Hershey’s Milk Chocolate Kisses. The most crucial detail here is that they must be unwrapped *before* the cookies come out of the oven. Trust me on this one; trying to unwrap a hot, slightly gooey Kiss while your cookie is cooling is just asking for burnt fingers and frustration!
Step-by-Step Instructions for Classic peanut butter blossom
Now for the fun part! Because this is a no chill cookie dough recipe, we can actually get these into the oven pretty quickly, which is just heavenly when you need a cookie fix ASAP. Follow these steps closely, especially the timing when the chocolate comes into play, and you’ll have the best batch of peanut butter blossom cookies ever.
First thing first, make sure your oven is preheated to 375 degrees Fahrenheit. I always line my cookie sheets with parchment paper; it’s just the easiest way to guarantee no sticking, and cleanup is a breeze if you’re baking a ton of Holiday Cookie Recipes like I usually do!
Preparing the Dough and Rolling the peanut butter blossom
We start by getting our wet ingredients creamed together in a big bowl—that’s the softened butter, the two types of sugar, and that creamy peanut butter. Beat that until it looks pale and fluffy; this is where we build air into the cookie base! Next, toss in the eggs one at a time, mixing well, and then the vanilla. In a separate spot, whisk your flour, baking soda, and salt together.
Now, add the dry stuff to the wet stuff gradually, mixing on low speed until it’s *just* combined. Remember what I said about overmixing? Don’t. When it’s ready, grab a small bowl and pour out that extra 1/4 cup of granulated sugar. Roll your dough into little 1-inch balls, giving each one a thorough, thick coating in the sugar bath. You want that sugar coating to feel generous—it’s non-negotiable for the crackle!
Baking and Finishing Your Chocolate Kiss Cookies
Place those beautiful, sugared dough balls about two inches apart on your lined sheet. Bake these for just 8 to 10 minutes. Seriously, watch them! The key to truly soft and chewy cookies is pulling them when the edges look set but the very center still looks a tiny bit tender. If you bake them until they look totally done, they’ll turn dry on you later.
The second they come out of the oven—and I mean *immediately*—press an unwrapped Hershey’s Kiss right into the middle of each one. The residual heat is what we rely on here to create the perfect melt. Let these precious Chocolate Kiss Cookies sit on the hot pan for about five minutes. This short rest allows the chocolate to soften perfectly without melting away entirely. Then, move them gently to a wire rack to cool completely. If you try to move them sooner, they might just break apart on you!
If you’re looking for another great holiday bake, you have to make my best blueberry muffins bakery style moist ones; they freeze beautifully!
Tips for Making the Best peanut butter blossom Every Time
Even though this recipe is incredibly straightforward, knowing a few insider tricks makes the difference between a good batch and the absolute best batch of peanut butter blossom cookies you’ve ever made. My goal here is always to help you nail that chewy texture and that perfect chocolate finish, so let’s talk about those little details that Grandma Daisy always insisted on.
Baking classics like this is all about understanding when to stop tinkering and when to just trust the process. Trust me, these little tips are what separate the casual baker from the cookie champion!
Ingredient Substitutions for Your peanut butter blossom
The biggest question I get is about the peanut butter texture itself. While the recipe calls for creamy, and I personally stick to that for the smoothest dough, if you’re someone who loves a little crunch in every bite, go ahead and use crunchy peanut butter! It won’t impact the bake or the famous crackle of your peanut butter blossom one bit. That’s the beauty of this resilient cookie base. As for alternatives, stick to the butter and sugar ratios—they are set in stone for that classic bend.
Troubleshooting Common Issues
We already talked about the most important rule for softness: slightly underbake them! Don’t be tempted to leave them in until they look golden brown all over. Remember, they firm up once they are cooling on the pan. That warm-up period is essential. Another thing that drives me nuts is when the chocolate Kiss looks like a puddle rather than a pretty little hat. If your Kisses seem to be melting too fast when you press them in, just pull the sheets out and wait five minutes on the counter before you touch them with chocolate. A little patience saves the whole presentation!
Need something rich and chocolatey to balance out all this peanut butter? You absolutely have to try my recipe for easy rocky road fudge recipe sometime soon!
Storage & Make-Ahead for Holiday Cookie Recipes
I know that when you are making Holiday Cookie Recipes, you almost always end up with more than you can eat right away, especially if you’re baking for a big crowd! The good news is that these beautiful peanut butter blossom cookies store like a dream, provided you follow one little rule about keeping them away from any excess air.
You should absolutely store these cookies in a good, airtight container. Don’t stack them too high, either; a single layer is always best for keeping that beautiful chocolate top intact and preventing any crushing. Kept at room temperature, they stay perfectly delicious and soft for almost a full week. That means you can bake them early in the week for your holiday party without worrying about them going stale!
If you’ve still got baking to do, remember you can freeze the baked cookies, too! Just make sure they are completely cool first. If you’re looking for another favorite to add to your holiday platter, you have to make my fruitcake cookies—they are chewy perfection!
Variations on the Classic peanut butter blossom
Just because this recipe is a beloved classic doesn’t mean we can’t have a little fun changing things up! While the traditional look of the peanut butter blossom is hard to beat, I always encourage flexibility in the kitchen. If you have friends or family with dietary needs, or if you just want to surprise everyone with a slight twist, these modifications are super simple and still deliver that wonderful, soft cookie base we worked so hard to create.
The next time you’re whipping up a batch, consider swapping out the standard Hershey’s Kiss for a different treat—maybe a peanut butter chip, or even a dark chocolate square if you prefer less sweetness. These little changes can completely transform the final flavor profile!
If you’re feeling extra chocolatey, you might also adore my recipe for double chocolate peppermint cookies—perfect for the holidays coming up!
Gluten Free Peanut Butter Blossoms Option
I often get asked about making these Gluten Free Peanut Butter Blossoms, and yes, you absolutely can! The wonderful thing about peanut butter cookies, in general, is that they rely heavily on the fats and peanut butter for texture, not just the flour. When you substitute, use a high-quality ‘1-to-1’ gluten-free blend that already contains xanthan gum. This helps keep the structure strong. Mix it in gently, just as you would the regular flour, and you should maintain that signature chewy texture. You might need to bake them just a tiny bit longer, so keep an eye on the edges!
Serving Suggestions for peanut butter blossom
When you’re laying out a platter of these amazing peanut butter blossom cookies, you want drinks and sides that complement that perfect salty-sweet combination! Honestly, they are great totally on their own, but if you’re serving them up at a big holiday party, I always make sure I have a pitcher of cold milk ready. It’s the ultimate classic pairing, right?
For the adults, nothing beats a warm mug of something cozy alongside that rich chocolate and peanut butter. If you haven’t tried having one of these cookies with a sip of my Irish coffee recipe, you are missing out! The warmth cuts the richness beautifully, and it feels just right for a chilly evening gathering.
Frequently Asked Questions About peanut butter blossom Recipe
I know sometimes reading through a recipe gets you excited, but you might still have a few nagging questions about how to get that *perfect* result. Don’t worry; that’s why I put this little section together! We’re covering all the common hurdles, especially when it comes to achieving those wonderfully soft and chewy cookies.
We want every batch of your peanut butter blossom cookies to be famous in your house. If I missed something, just drop a comment below, and I’ll tell you exactly how Grandma Daisy would have handled it!
And keep checking back for more ideas—I’m always updating this post with reader feedback! If you love soft cookies, you have to try my easy moist chocolate chip banana bread next time you’re baking!
Do I need to chill the dough for this peanut butter blossom recipe?
This is fantastic news for last-minute bakers! The answer is a resounding no! This dough is set up perfectly so that you can cream your butter, mix everything up, roll those balls in the sugar, and get them right onto the baking sheet. It’s a true No Chill Cookie Dough recipe, which makes it one of my favorites for quick holiday baking when time is tight.
What is the best type of peanut butter for chewy cookies?
For the absolute smoothest texture, creamy peanut butter is my go-to champion. It mixes in evenly and keeps the dough very soft before baking, which helps with the final chew. However, if you want a bit more texture speckled throughout your peanut butter blossom, feel free to swap in crunchy! It won’t hurt the bake, but it will slightly change the mouthfeel of the base cookie.
Can I use chocolate chips instead of Hershey Kisses on my peanut butter blossom?
You totally can, but honestly, you’re losing a little bit of the magic! The traditional Hershey’s Kiss is designed to soften beautifully without completely melting away, leaving you with that perfect little chocolate hat right in the center groove. If you use chocolate chips, they tend to sink more, and you don’t get that same iconic shape. If it’s all you have, use them, but for the true experience, grab those Kisses!
Nutritional Estimates for Your Homemade Blossoms
Now, I always say that when you’re baking something this delicious and made with love, you shouldn’t worry too much about the numbers. These are classic, rich cookies, meant to be enjoyed during celebrations! But, just so you know what you’re looking at, here are the standard estimates based on the recipe ingredients we used.
Please remember, these numbers are just rough guides—they aren’t precise medical data! If you swap the butter for coconut oil or use reduced-fat peanut butter, those figures will change on you. Consider this a helpful guideline for your Homemade Blossoms:
- Serving Size: 1 cookie
- Calories: About 180
- Total Fat: 10g
- Carbohydrates: 21g
- Protein: 4g
- Sugar: 14g
Share Your Classic Peanut Butter Blossom Experience
I truly want to know how your batch of the peanut butter blossom turned out! Did you get that beautiful crackle top? I’d be thrilled if you could leave a quick rating below—anything four or five stars means I did Grandma Daisy proud. If anything surprised you, or if you swapped your chocolate for something fun, please share in the comments. Let’s celebrate all our successes!
And hey, if you made these and are hungry for another easy dinner idea, check out my favorite easy chicken crust pizza recipe!
PrintClassic Soft & Chewy Peanut Butter Blossoms
Make the best, soft and chewy peanut butter cookies with a crackled top, finished with a chocolate kiss. This is the traditional holiday cookie recipe you need.
- Prep Time: 20 min
- Cook Time: 10 min
- Total Time: 30 min
- Yield: About 3 dozen 1x
- Category: Dessert
- Method: Baking
- Cuisine: American
- Diet: Vegetarian
Ingredients
- 1 cup (2 sticks) unsalted butter, softened
- 3/4 cup creamy peanut butter
- 3/4 cup granulated sugar
- 3/4 cup packed brown sugar
- 2 large eggs
- 1 teaspoon vanilla extract
- 2 1/4 cups all-purpose flour
- 1 teaspoon baking soda
- 1/2 teaspoon salt
- 1/4 cup extra granulated sugar for rolling
- About 36 Hershey’s Milk Chocolate Kisses, unwrapped
Instructions
- Preheat your oven to 375 degrees Fahrenheit. Line baking sheets with parchment paper.
- In a large bowl, cream together the softened butter, peanut butter, 3/4 cup granulated sugar, and brown sugar until the mixture is light and fluffy. You can use a stand mixer or a hand mixer for this step.
- Beat in the eggs one at a time, mixing well after each addition. Stir in the vanilla extract.
- In a separate medium bowl, whisk together the flour, baking soda, and salt.
- Gradually add the dry ingredients to the wet ingredients, mixing on low speed until just combined. Do not overmix the dough.
- Place the remaining 1/4 cup of granulated sugar into a shallow dish.
- Roll the dough into 1-inch balls. Roll each ball thoroughly in the sugar until completely coated.
- Place the sugared dough balls about 2 inches apart on the prepared baking sheets.
- Bake for 8 to 10 minutes. The edges should look set, but the centers should still look slightly soft. This helps keep the cookies chewy.
- Remove the baking sheets from the oven. Immediately press one unwrapped chocolate kiss into the center of each warm cookie. The residual heat will soften the chocolate slightly.
- Let the cookies cool on the baking sheets for 5 minutes before transferring them to a wire rack to cool completely.
Notes
- For the softest cookies, slightly underbake them; they firm up as they cool.
- If your chocolate kisses are soft or melting, wait 5 minutes after removing the cookies from the oven before pressing them in.
- You can substitute creamy peanut butter with crunchy if you prefer texture in the cookie base.
- These cookies store well in an airtight container at room temperature for up to one week.
Nutrition
- Serving Size: 1 cookie
- Calories: 180
- Sugar: 14g
- Sodium: 110mg
- Fat: 10g
- Saturated Fat: 4g
- Unsaturated Fat: 6g
- Trans Fat: 0g
- Carbohydrates: 21g
- Fiber: 1g
- Protein: 4g
- Cholesterol: 25mg