
There is just something about the holidays that calls for a treat with a little grown-up kick, isn’t there? When the cookie tins come out, you absolutely need a stash of rich, no-bake rum balls that pack a festive punch! These aren’t fussy, oven-required desserts; they are pure, boozy magic that actually gets better the longer they sit. They remind me so much of the simple, honest treats my Grandma Daisy used to sneak into her holiday tins—a taste of nostalgia you can really feel, thanks to that tipple inside. If you’re looking to reclaim that feeling of simple, time-honored gathering, you can read more about how we preserve those traditions over on our About Page.
- Why These Chocolate Rum Balls Are Essential Holiday Fare
- Gathering Ingredients for Your Rum-Infused Cookie Balls
- Expert Tips for Perfect Chocolate Rum Balls Texture
- Step-by-Step Instructions for Making Chocolate Rum Balls
- Storage and Shelf Life for Your Homemade Rum Balls
- Variations on Classic Rum Balls
- Frequently Asked Questions About Making Rum Balls
- Nutritional Estimates for These Cookie Rum Truffles
- Share Your Experience Making Festive Rum Balls
Why These Chocolate Rum Balls Are Essential Holiday Fare
Honestly, these chocolate rum balls are non-negotiable for my holiday tray. They check every box when you’re busy during December, and the fact that they taste better later just seals the deal. They are truly the perfect little grown-up confection for any cookie exchange.
- Quick Assembly for No-Bake Holiday Candy
- Intense, Rich Chocolate Flavor
- Flavor Deepens Beautifully After Resting
Quick Assembly for No-Bake Holiday Candy
You simply can’t beat the speed of these guys. We’re talking maybe 20 minutes of actual hands-on time, and guess what? No oven required! In my kitchen, that means I can whip up a big batch of this no-bake holiday candy while the turkey is resting or while I’m wrapping gifts. Zero need to preheat anything!
The Magic of Aging: Better Rum Balls Over Time
This is where they really beat out a standard cookie, in my opinion. Store these babies in the fridge for a few days, and they transform. The spiced rum soaks right into the crumbs, giving you that delightfully dense, fudgy texture you are craving. They aren’t just good right away; they are incredible a week later.
Gathering Ingredients for Your Rum-Infused Cookie Balls
Okay, listen up, because the few ingredients in these rum-infused cookie balls are absolutely crucial. I’m not messing around when it comes to the booze here—you need a good quality spiced rum, or if you’re feeling adventurous, a nice bourbon works wonders too! That spirit carries almost all the flavor, so use one you wouldn’t mind sipping neat.
Ingredient Clarity and Preparation for Rum Balls
You’ll need about two cups of vanilla wafer crumbs for your base, but don’t worry if you only have graham crackers; those work in a pinch! We mix in one cup of powdered sugar along with a half-cup scoop of unsweetened cocoa powder to get that deep chocolate color. If you want a little crunch, throw in a half-cup of finely chopped pecans or walnuts—but that part is totally optional for you. The wet side is simple: we just need a half-cup of that spiced rum or bourbon, and two tablespoons of light corn syrup to hold everything together nicely.
Expert Tips for Perfect Chocolate Rum Balls Texture
The biggest panic point when making these chocolate rum balls is always: *What if it’s too dry? Or worse, too wet?* Trust me, I’ve been there! We aren’t looking for a dripping batter here; we need something stiff enough to hold its shape when you roll it. The key is controlling that initial liquid dump and being ready to adjust ever so slightly.
Adjusting Moisture: How Much Rum is Too Much for Rum Balls?
When you pour in that initial half-cup of spiced rum, stir it really well. If you’re still looking at something crumbly that just won’t come together, don’t panic and dump in more booze! Instead, add the remaining rum one teaspoon at a time until that stiff dough starts pulling away from the sides of the bowl. If you happened to use graham cracker crumbs instead of wafers, you might need an extra teaspoon or two of liquid since they absorb differently.
Binding Agents Beyond Rum in Cookie Rum Truffles
The reason we use that tiny bit of light corn syrup is essential; it’s our backup binder, giving the fats and sugars something extra sticky to cling to, especially if you’re making these cookie rum truffles ahead of time. If, after adding all the required rum slowly, the dough is still just refusing to hold a shape, add one more teaspoon of rum before you call it a day. Once you roll them, the cold of the fridge helps solidify everything perfectly. Be patient with the mixing process and don’t rush adding the liquid!
Step-by-Step Instructions for Making Chocolate Rum Balls
Okay, let’s get these beautiful booze-soaked bites made! The process for these chocolate rum balls is wonderfully straightforward, but you need to follow the mixing order so that everything hydrates correctly. I always try to do this while listening to loud music because you have to stir pretty vigorously to get it all incorporated!
Combining Dry Ingredients and Adding the Alcohol
First things first, you need a nice, big bowl for all your dry goods. Dump in those vanilla wafer crumbs, the powdered sugar, the cocoa powder, and any optional chopped nuts you decided to use. Just use a whisk or a big spoon to mix these dry components until they look perfectly uniform—no streaks of white sugar hiding anywhere. Next, pour in your spiced rum and the corn syrup right over the top of that dry mix. Now, get your spoon in there and stir, stir, stir until you have a really stiff dough that holds together when you squeeze a bit of it. If you need that extra splash of rum to get it there, this is when you add it, teaspoon by teaspoon!
Forming and Coating Your Christmas Boozy Balls
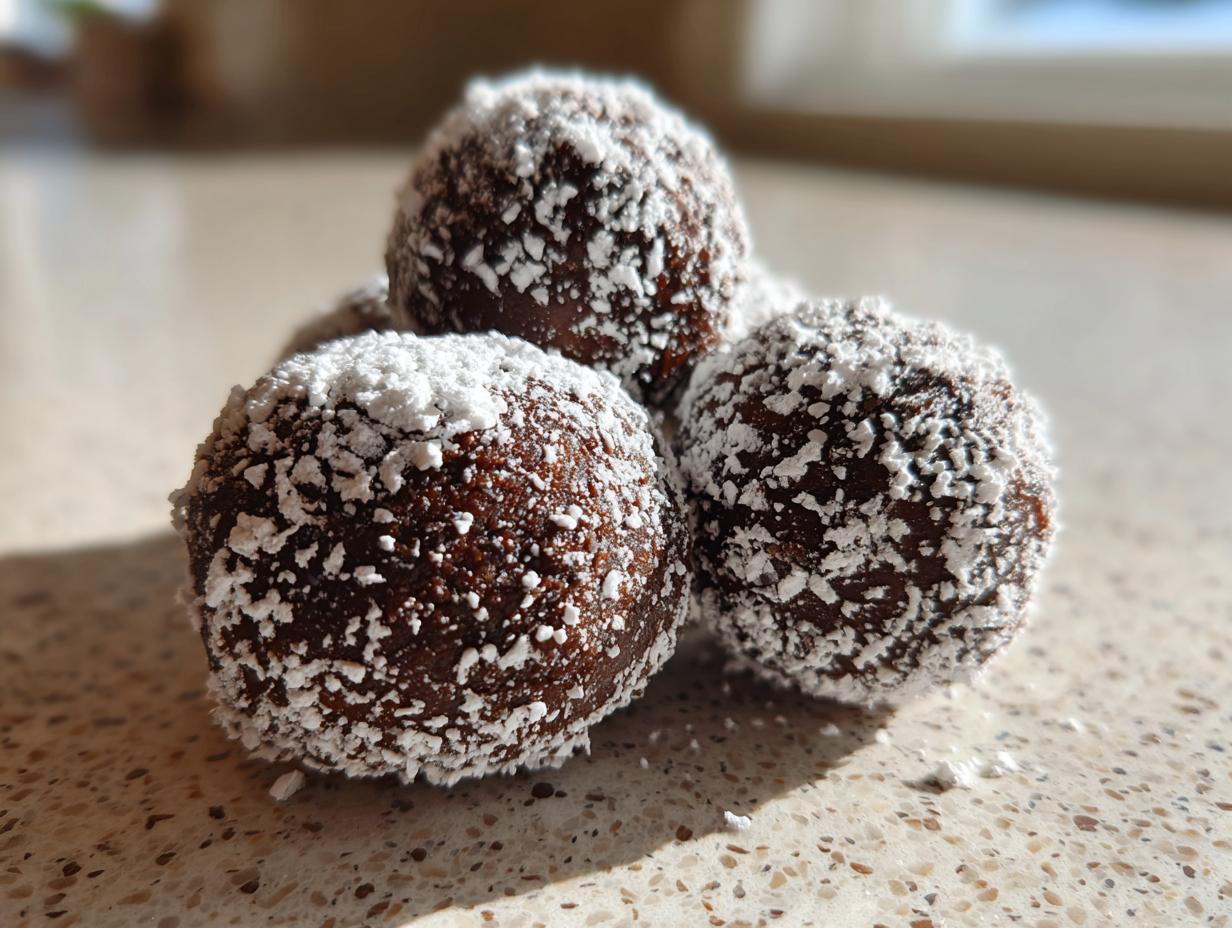
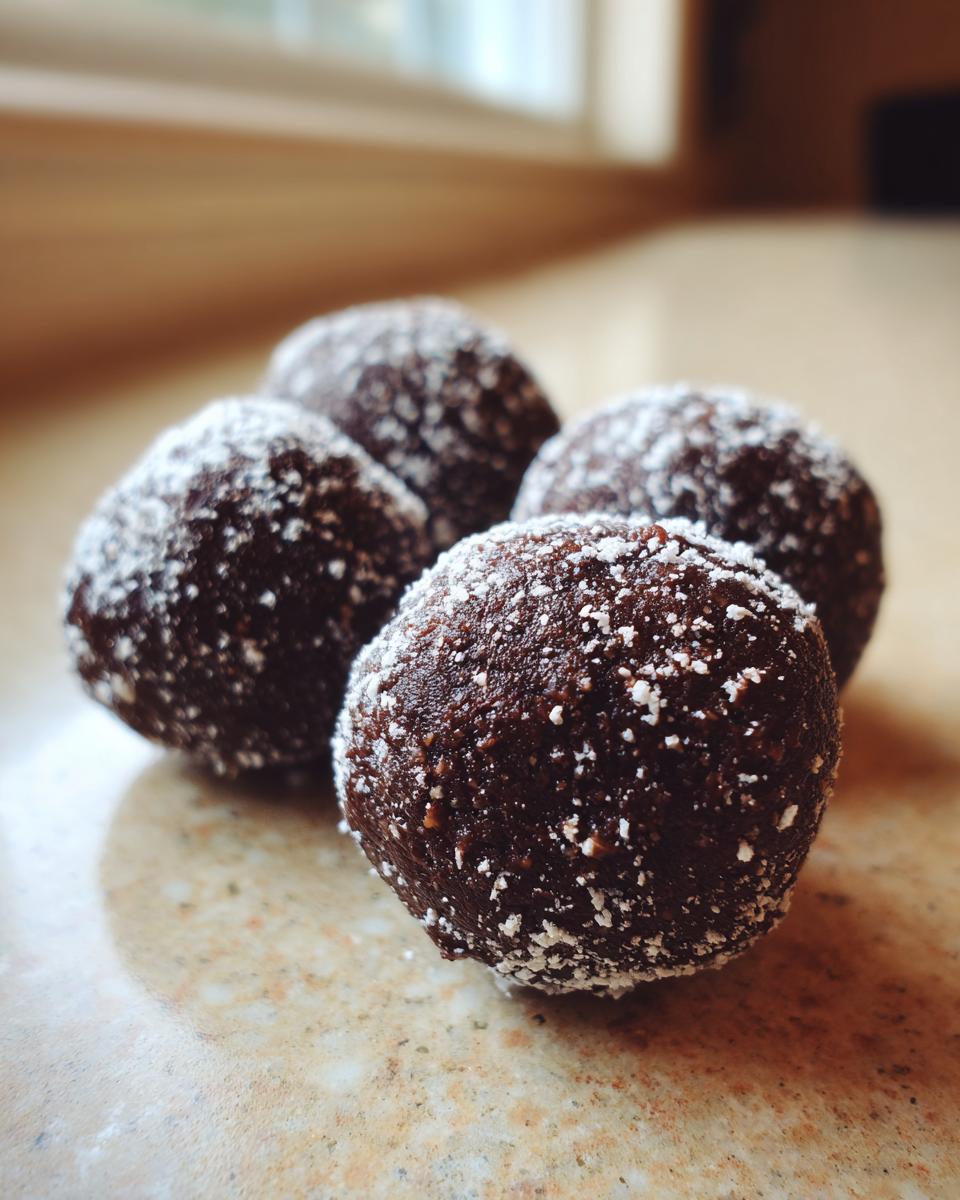
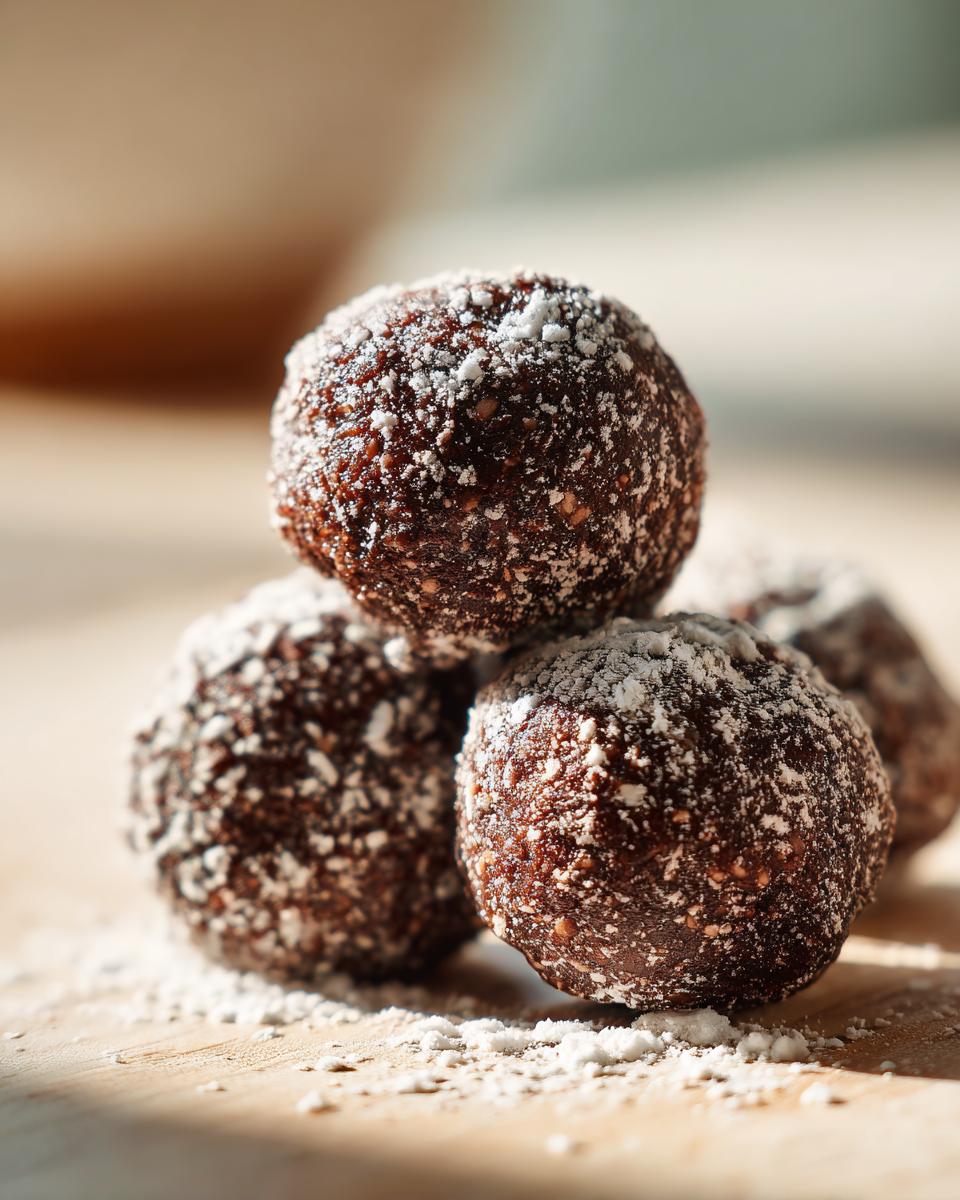
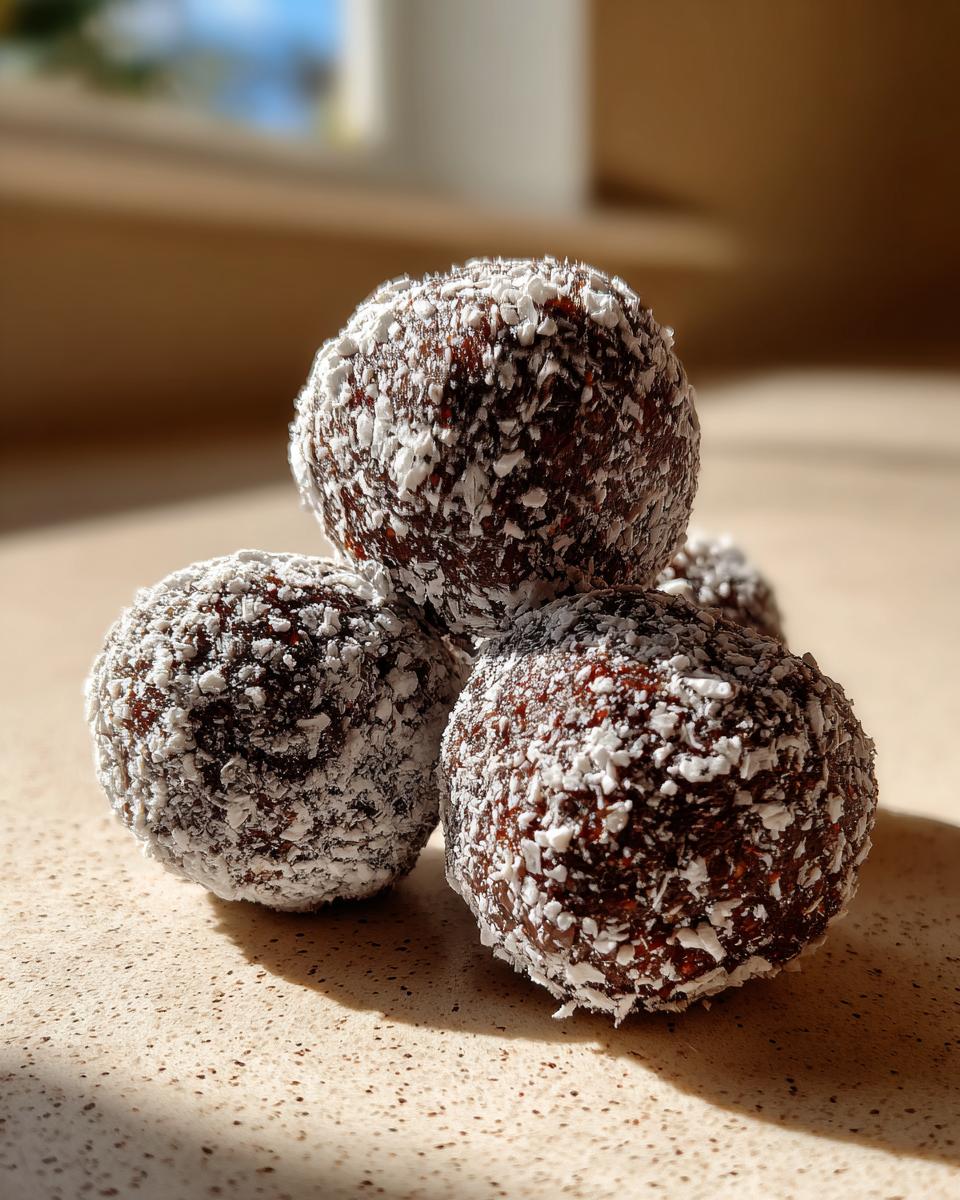
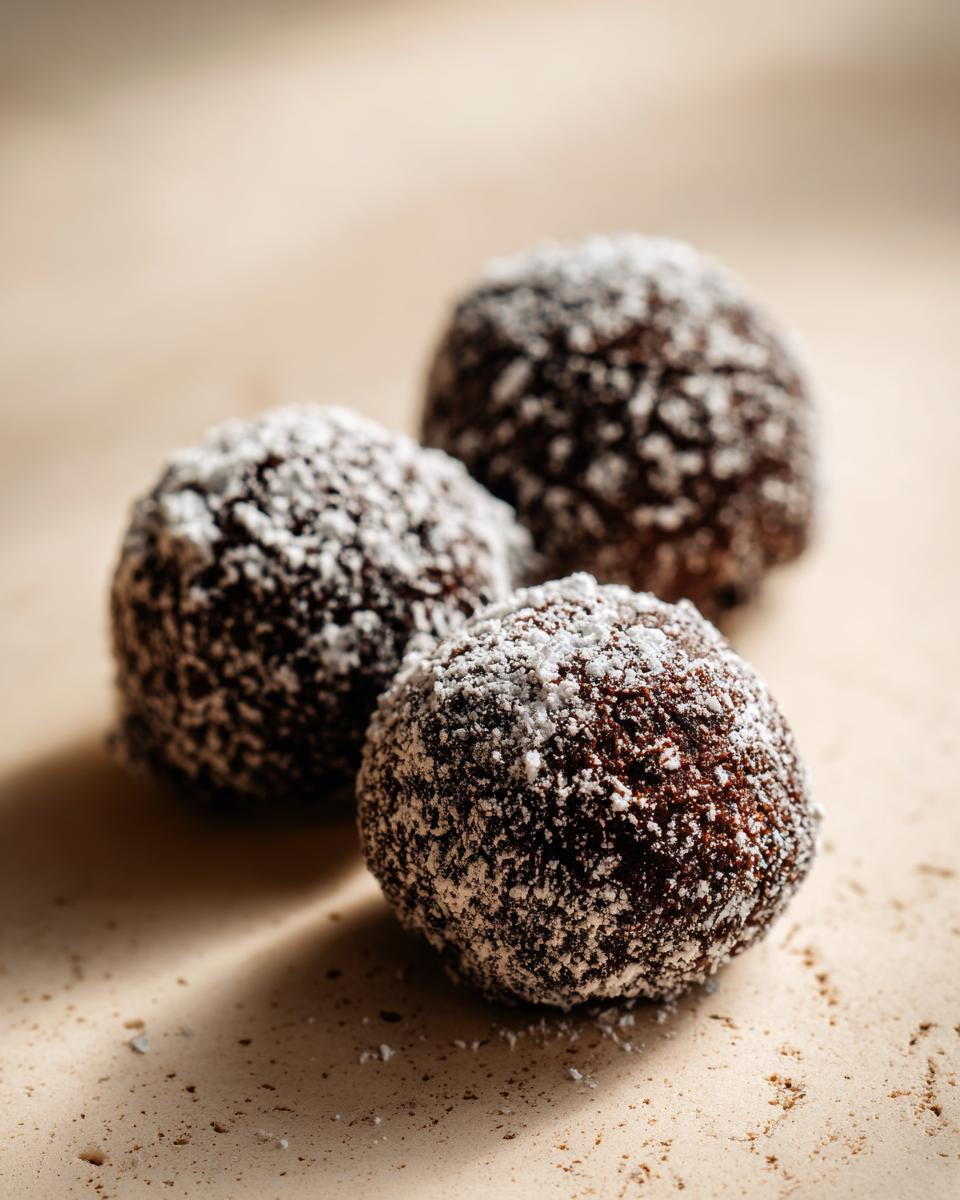
Once you reach that perfect, stiff dough consistency, it’s time for the fun part: rolling! Take a little bit of the mixture—about a heaping teaspoon, maybe the size of a large grape—and roll it firmly between your palms to make a one-inch ball. Don’t worry if they aren’t perfect spheres; they are rustic! After rolling, drop each ball into a bowl of plain extra powdered sugar and roll it around until it’s completely coated. If powdered sugar just isn’t your thing, remember you can totally roll these pretty Christmas boozy balls in finely ground nuts instead!
The Crucial Resting Period for Flavor Development in Rum Balls
This is the step I always want to jump over, but you absolutely cannot cheat this part! Once they are all sugared up, place them in an airtight container. Now, they must chill out in the refrigerator for a minimum of 24 hours, though four days is even better. This aging is what makes them taste like true rum-infused cookie balls instead of just sweet cookie dough. The rum needs time to work its magic and meld with that rich chocolate center. Resist the urge to sneak one before the 24 hours are up!
Storage and Shelf Life for Your Homemade Rum Balls
One of the best things about these chocolate rum balls is that they are holiday magic you can hide away early! You absolutely must keep them in an airtight container—I usually use my vintage glass Tupperware—and store them in the refrigerator. Don’t even think about leaving them on the counter; that rum needs that chill time.
The real secret here, which I mentioned before, is that they improve over time. My rule is to wait at least three days if I can manage it. Once I pull them out after that resting period, they have that wonderfully deep, fudgy texture. They store beautifully for weeks, which is great because I can make a huge batch and not worry about them going stale!
Variations on Classic Rum Balls
While Daisy’s original recipe using vanilla wafers and spiced rum is the gold standard for me, these rum-infused cookie balls are totally flexible if you need to switch things up! It’s easy to make small tweaks without losing that essential boozy warmth we love.
If you run out of vanilla wafers—or if you just prefer a slightly different flavor profile—feel free to swap them out for graham cracker crumbs. They work just as well as a base for soaking up all that wonderful rum flavor. Just make sure your graham cracker crumbs are as fine as possible so you still get that smooth roll when you form the dough.
The other big substitution that makes a huge difference is the liquor itself! If you aren’t a huge fan of spiced rum, or if you want to save that for sipping, don’t hesitate to use bourbon instead. Bourbon brings a slightly different, deeper molasses note that pairs unbelievably well with the cocoa powder. You might need just a tiny splash more corn syrup if you swap to bourbon, as the alcohol content can sometimes vary. Either way you go—rum or bourbon—these turn out tasting incredibly festive and deeply flavored!
Frequently Asked Questions About Making Rum Balls
I always get so many questions when I post these little treasures because everyone wants that perfect, dense, fudgy texture! You’ve seen how simple they are, but naturally, people have little concerns about substitutions and storage. I’ve gathered the most common worries right here to help you out!
Can I make these chocolate rum balls without alcohol?
That’s a fair question, especially if you’re making treats for everyone! Yes, you can absolutely make a non-boozy version of these chocolate rum balls. You’ll need to swap the spiced rum for something else that provides moisture—I recommend strongly brewed, cooled coffee or even just plain milk. If you use extract for flavor, you’ll need to add a bit more corn syrup to compensate for the lost liquid volume. Just know that you lose that signature deep, warming flavor that we love so much in these Christmas boozy balls.
What is the best cookie crumb to use for these no-bake holiday candy recipes?
For me, nothing beats classic vanilla wafer crumbs—that’s the tradition, and they give us the perfect neutral, slightly sweet base. However, if you’re out of wafers, graham crackers make a fantastic substitute for this no-bake holiday candy. The key thing, no matter which crumb you use, is that you need them to be incredibly fine. If your crumbs look chunky, run them through your food processor for a quick pulse before you mix them with the cocoa and sugar.
How long do rum balls last in the refrigerator?
This is the best part about making these cookie rum truffles early! You keep them in a sealed, airtight container in the fridge. Honestly, they can last for several weeks—maybe even a month! But here’s my hot tip: they actually taste better after the first week. That resting time allows the rum to fully penetrate all those dry crumbs, resulting in a much richer, more cohesive flavor.
Nutritional Estimates for These Cookie Rum Truffles
Since we’re sharing all the details about these wonderful cookie rum truffles, I figured it’s only fair to give you a rough idea of what you’re working with nutritionally. Please remember these are just estimates based on the recipe amount—one single little ball!
- Calories: About 120
- Fat: Around 5g
- Carbohydrates: About 16g
- Protein: Less than 1g (They are definitely a treat, not a health food!)
Share Your Experience Making Festive Rum Balls
Now it’s your turn to make some memories with Grandma Daisy’s recipe! I truly hope these rich, boozy delights bring as much joy to your kitchen as they bring to mine every holiday season. Once you’ve let them age a few days and you finally get to sneak that first bite, I absolutely want to hear what you think.
When you finish rolling and coating your perfect batch of Christmas boozy balls, please come back here and hit that star rating system—let me know how you felt about that texture and the rum punch! Did you stick to the spiced rum, or did you try the bourbon trick? Drop a comment below telling me your favorite part about making these wonderful chocolate rum balls, and if you managed to resist eating them for a full 24 hours!
If you snap any pictures of your gorgeous finished batch, please share them! I would love to see them on social media and share the love. You can reach out to me directly through the Contact Page if you have any burning questions or just want to share a sweet story about your own holiday baking traditions!
PrintChocolate Rum Balls

Make rich, no-bake chocolate rum balls using crushed cookies, cocoa, and spiced rum. These boozy confections improve when stored.
- Prep Time: 20 min
- Cook Time: 0 min
- Total Time: 20 min
- Yield: About 30 balls 1x
- Category: Dessert
- Method: No-Bake
- Cuisine: American
- Diet: Vegetarian
Ingredients
- 2 cups vanilla wafer crumbs
- 1 cup powdered sugar plus extra for rolling
- 1/2 cup unsweetened cocoa powder
- 1/4 cup finely chopped pecans or walnuts (optional)
- 1/2 cup spiced rum (or bourbon)
- 2 tablespoons light corn syrup
Instructions
- Place the cookie crumbs, powdered sugar, cocoa powder, and chopped nuts (if using) in a medium bowl. Mix these dry ingredients well.
- Pour the spiced rum and corn syrup over the dry mixture. Stir until everything is thoroughly combined and a stiff dough forms.
- If the mixture seems too dry to hold together, add rum, one teaspoon at a time, until the dough is firm enough to roll.
- Roll the mixture into small, one-inch balls.
- Roll each ball in extra powdered sugar until fully coated.
- Place the finished rum balls in an airtight container.
- Store the rum balls in the refrigerator for at least 24 hours before serving to allow the flavors to meld.
Notes
- These rum balls taste better after aging for several days in the refrigerator.
- For a stronger rum flavor, increase the rum slightly, but be careful not to make the mixture too wet to roll.
- You can substitute graham cracker crumbs for vanilla wafers.
- If you prefer a different coating, roll the balls in finely ground nuts or sprinkles instead of powdered sugar.
Nutrition
- Serving Size: 1 ball
- Calories: 120
- Sugar: 14g
- Sodium: 35mg
- Fat: 5g
- Saturated Fat: 1g
- Unsaturated Fat: 4g
- Trans Fat: 0g
- Carbohydrates: 16g
- Fiber: 1g
- Protein: 1g
- Cholesterol: 0mg