
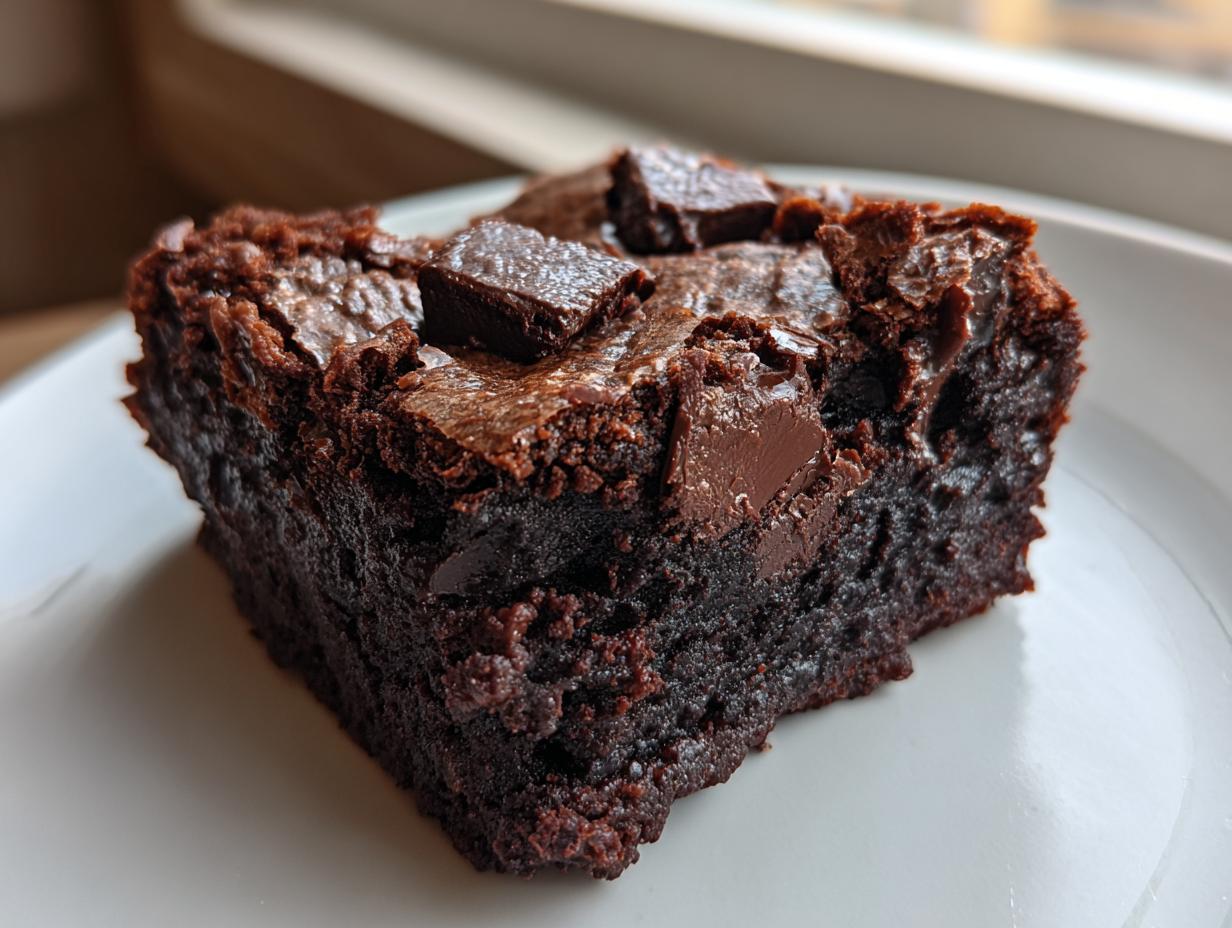
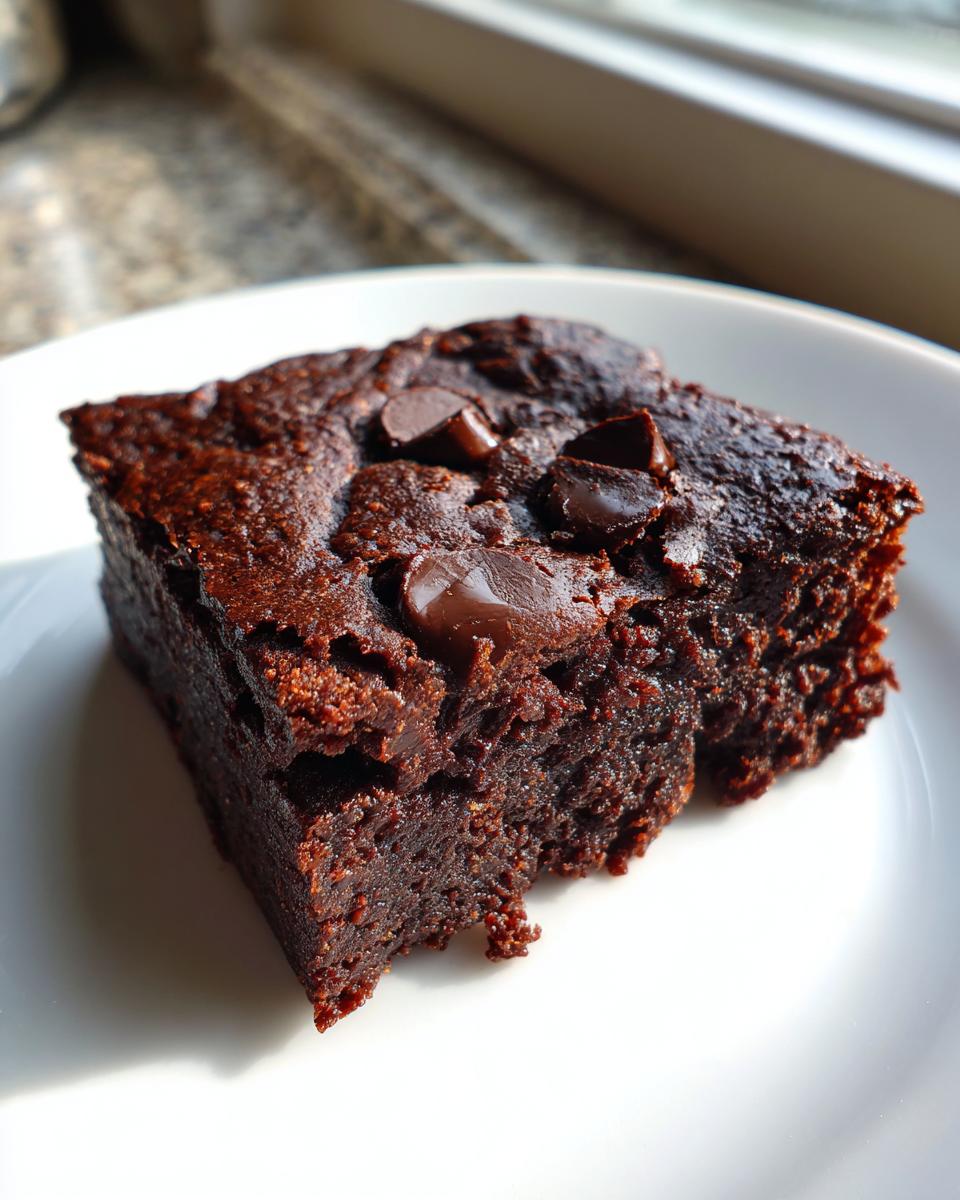
I honestly thought I had to give up on truly decadent, melt-in-your-mouth treats when I started cleaning up my pantry. You know how it goes—you want that deep, dark chocolate fix, but you don’t want the refined sugar crash afterward. Well, guess what? I finally cracked the code on the very best sweet potato brownies you will ever make! These are so rich and fudgy, you’d never know they’re naturally sweetened. It’s about bringing that simple, honest cooking back into the whirlwind of modern life over here at Daisy’s Recipes. This recipe channels my Grandma Daisy’s spirit—simple ingredients that taste like a million bucks. I’m so excited for you to try this one! You can read more about that journey of reclaiming homemade traditions on our About Page.
- Why These Sweet Potato Brownies Are Your New Favorite Healthy Brownies
- Gathering Ingredients for Your Sweet Potato Brownies
- Simple Steps for One Bowl Brownies Perfection
- Expert Tips for Perfect Sweet Potato Brownies Every Time
- Ingredient Notes and Substitutions for Dairy Free Treats
- Storing and Freezing Your Sweet Potato Brownies
- Frequently Asked Questions About These Sweet Potato Brownies
- Understanding the Nutrition of Maple Syrup Brownies
- Share Your Experience Making These Sweet Potato Brownies
Why These Sweet Potato Brownies Are Your New Favorite Healthy Brownies
If you’re hunting for healthy brownies that don’t taste like a compromise, stop looking right now. I mean it! We are aiming for that ultimate fudgy texture here, and trust me, this fudgy brownie recipe delivers every single time without any flour or dairy. Your search is over.
- They are naturally gluten-free and dairy-free – perfect for almost everyone!
- The clean ingredients mean you feel good while indulging.
- They bake up thick, dense, and intensely chocolatey.
Naturally Sweetened with Maple Syrup Brownies
Forget the white granulated stuff; we’re using pure maple syrup in this recipe. Wow, does that boost the flavor? Using real maple syrup brownies adds this beautiful, subtle caramel note that refined sugar just can’t touch. It keeps everything clean and tasting wonderfully complex.
Achieving the Perfect Flourless Brownies Texture
This is where the magic of the sweet potato comes in! It replaces that heavy flour to give you truly fantastic flourless brownies. The sweet potato puree acts like a binder and keeps the entire thing incredibly moist. If you’ve been searching for good paleo brownies that hold together, this creamy base is your answer.
Gathering Ingredients for Your Sweet Potato Brownies
Okay, one of the best parts about making these incredible, healthy treats is how simple the ingredient list is. Seriously, you probably have half of this stuff in your pantry already! This recipe avoids anything complicated, which is why these work so well for quick weeknight baking. Since we aren’t using flour or butter, we need to make sure the ingredients we *do* use are high quality. Here is exactly what you’ll need to gather for this rich, fudgy batch of pure joy. Don’t fret if you don’t have chocolate chips—they are totally optional!
- 1 cup sweet potato puree (about 1 medium sweet potato—make sure it’s super smooth!)
- 1/2 cup melted coconut oil (it keeps everything dairy free!)
- 1/2 cup pure maple syrup
- 2 large eggs
- 1 teaspoon vanilla extract
- 1/2 cup unsweetened cocoa powder (this is where that deep cacao flavor comes from)
- 1/4 cup almond flour
- 1/2 teaspoon baking soda
- 1/4 teaspoon salt
- 1/2 cup dark chocolate chips (if you’re feeling extra indulgent)
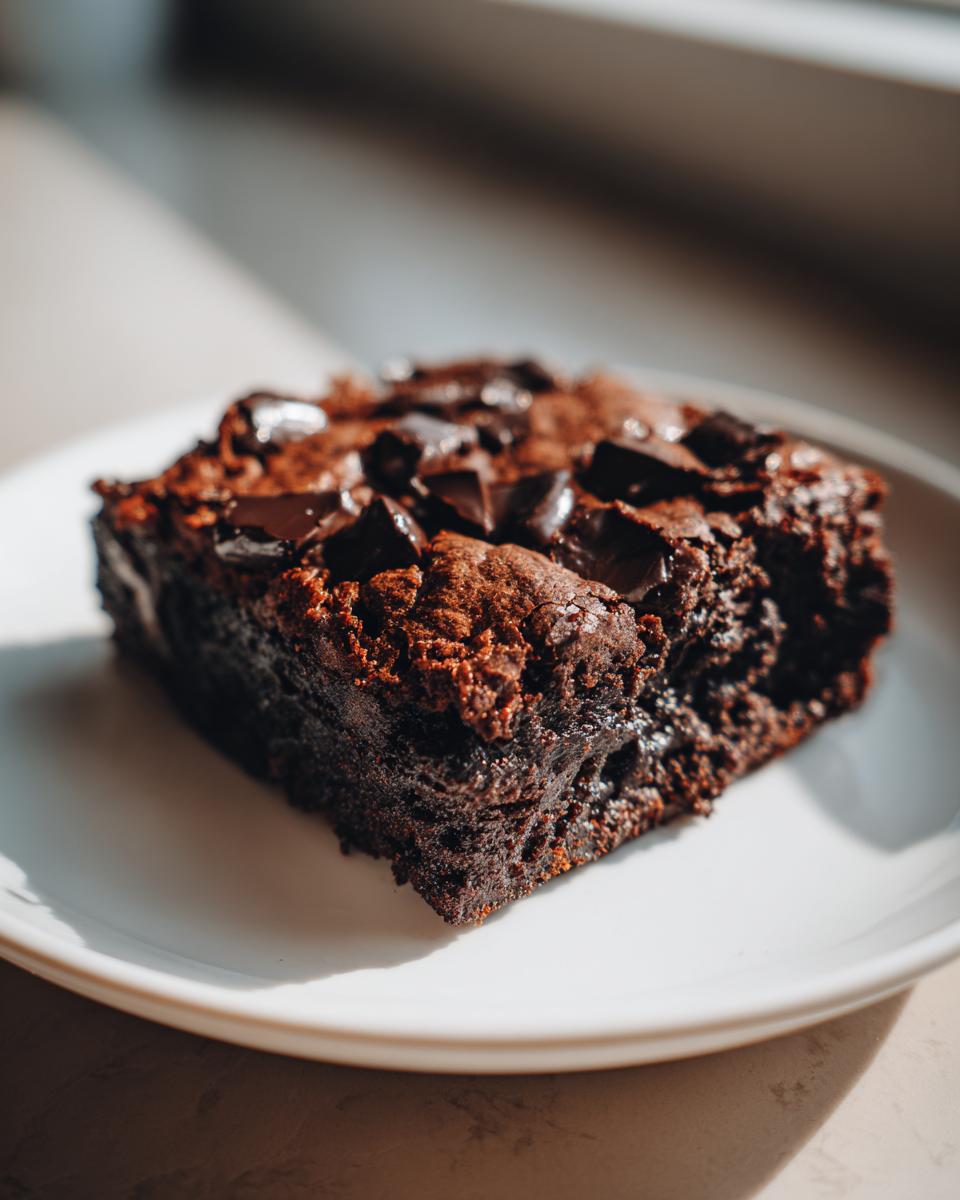
Simple Steps for One Bowl Brownies Perfection
This is why I call these my go-to one bowl brownies! Seriously, the clean-up is minimal, which makes throwing these together on a busy Tuesday night totally doable. We start by getting the oven warmed up to 350°F (175°C). Make sure you line that 8×8 pan with parchment paper too, leaving a little overhang! Trust me, that overhang is your hero when it comes time to lift these perfectly fudgy brownie recipe squares out.
Preparing the Batter for Fudgy Sweet Potato Brownies
Grab your biggest mixing bowl—we are keeping it simple! Start by vigorously whisking together all the wet stuff: the sweet potato puree, the melted coconut oil, that lovely maple syrup, the eggs, and vanilla until it looks smooth and creamy. It should be thick, almost like a pudding base. Now, in a smaller bowl, quickly whisk your dry ingredients together—that’s your cocoa powder (hello, deep cacao brownies flavor!), almond flour, baking soda, and salt. Then, gently fold those dry pieces into the wet mixture. Stop mixing the second you see no more white streaks of flour! Overmixing is the fastest way to lose that glorious fudgy texture we are chasing.
Baking and Cooling Your Gluten Free Dessert
Pour that beautiful batter into your prepared pan and sprinkle those extra chocolate chips over the top if you’re adding them. Pop them in the oven for 25 to 30 minutes. Here’s my test for a perfect gluten free dessert: stick a toothpick in the center. If it comes out with moist crumbs clinging to it—success! If it’s totally wet, give it five more minutes. But please, promise me you’ll let them cool completely on a rack before you even *think* about slicing them. If you try to cut them warm, they just fall apart. Patience here equals fudgy perfection!
Expert Tips for Perfect Sweet Potato Brownies Every Time
Listen, I bake a lot, and even with the simplest recipes, little tweaks make a world of difference! These tips are the things that took me from “good brownies” to “I can’t believe these have vegetables in them” brownies. These are the little secrets I learned watching Grandma Daisy work her magic, even when she was just experimenting!
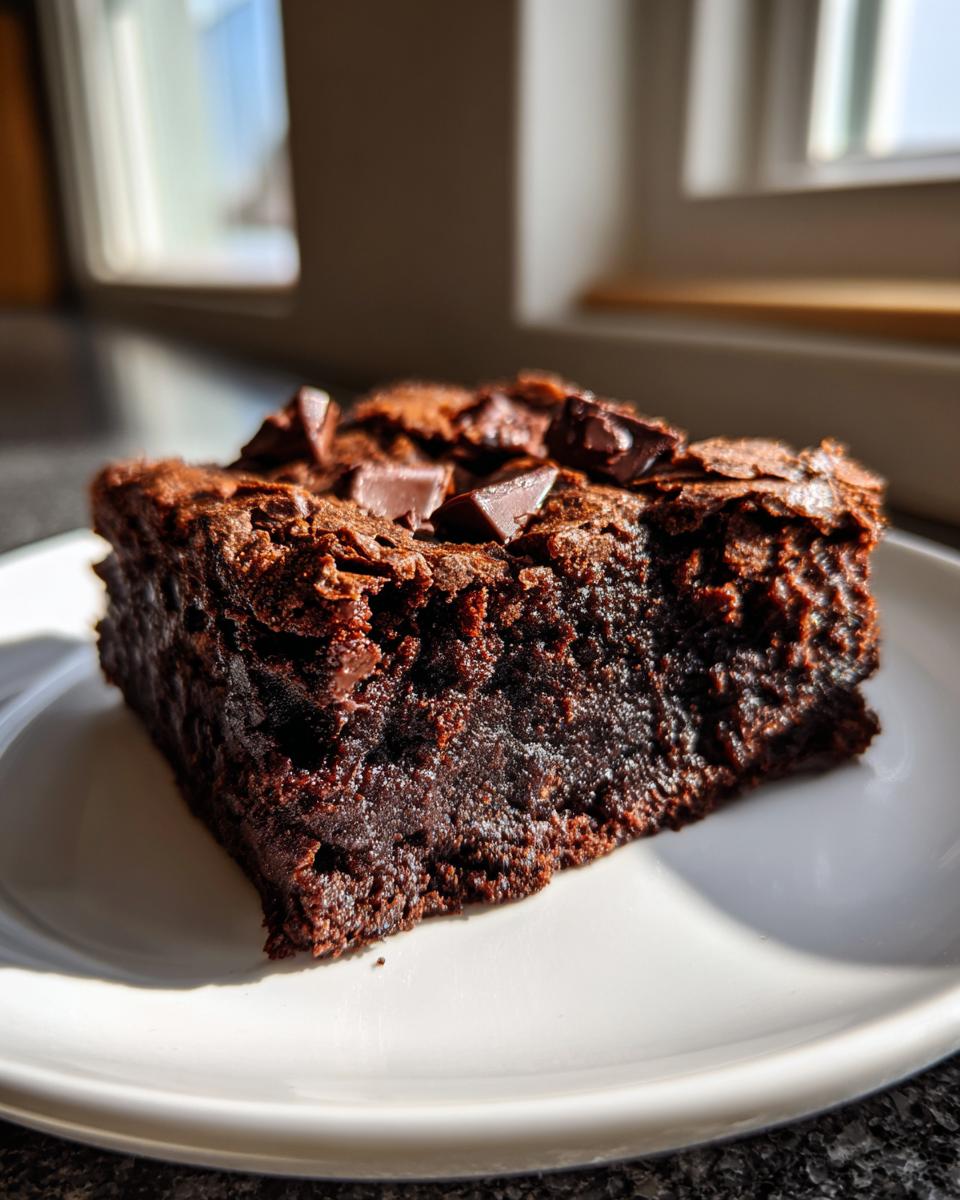
First things first: the sweet potato puree needs to be flawless. I mean, completely, utterly smooth. If you have any lumps in there, it will mess up the structure of your flourless brownies. I always use a food processor with a splash of water to blend mine until it looks like silk. If you just mash it with a fork, you’re going to get pockets of starchy potato, and nobody wants that interruption in their chocolate bliss.
My second big tip is about the oven temperature. Because this recipe uses oil instead of butter, it bakes a little differently. Make absolutely certain your oven is actually at 350°F (175°C) before they go in. If it’s too cool, they won’t set properly and you’ll end up with something closer to chocolate pudding. If it’s too hot, the edges will dry out before the center achieves that deep, fudgy brownie recipe center.
Also, don’t skip the salt! I know it sounds weird in a sweet treat, but that tiny amount of salt is crucial for cutting through the richness of the cocoa powder. It just makes the chocolate taste *more* chocolatey—it brings out the best in those cacao brownies. It’s a non-negotiable flavor booster, honest!
Finally, when you fold everything, be gentle. I mentioned it under the instructions, but let me say it again here: mix everything just until it disappears. These aren’t like regular cake batters you beat until pale and fluffy. With these healthy brownies, you want minimal mixing once the dry ingredients go in. That gentleness is exactly what keeps them ultra-moist and dense, not tough or chewy.
Ingredient Notes and Substitutions for Dairy Free Treats
I know when you’re striving for dairy free treats, you always have a few things you’re nervous about substituting, right? This recipe already hits the dairy-free mark perfectly with the coconut oil, but let’s talk about how you can swap things around if coconut isn’t your jam, or if you’re out of almond flour!
The coconut oil is fantastic because it helps these brownies set up nicely once cool, giving you that firm-but-fudgy bite we love. If you absolutely cannot stand the flavor of coconut—even melted—you can swap the 1/2 cup of coconut oil for an equal amount of melted avocado oil. Avocado oil is super neutral, so you get all that healthy fat without any tropical flavor sneaking into your chocolate fix.
Now, for the almond flour. This is what makes them gluten free dessert heaven! If you have a standard nut allergy and still need them to be grain-free and flourless brownies, sometimes people use sunflower seed flour, but honestly, I haven’t tested that substitution in this specific recipe yet, so I can’t vouch for the texture.
If you’re just trying to stay low-carb, you might be tempted to swap the maple syrup, but please don’t! The structure of these sweet potato brownies relies heavily on the liquid ratio provided by the maple syrup and the puree. If you use a liquid sweetener like stevia drops, you’ll end up adding way too much dry ingredient to compensate, and you’ll lose that signature smooth texture.
Basically, stick to the plan, but if you need to switch out the oil for a neutral flavored one, go for it! My goal here is always to make these the best simple, healthy brownies possible while fitting different dietary needs.
Storing and Freezing Your Sweet Potato Brownies
Now, one of the biggest questions I get about these incredible sweet potato brownies is: how long do they actually last? Because they are so moist and made with real vegetable goodness, storage is a little different than your regular box mix brownies. If you’re like me, you’ve already eaten half the pan before they even cool! But for the survivors, here’s the lowdown so you can enjoy these fudgy brownie recipe squares later.
For the best immediate fudginess—and this is crucial, remember what I said about cooling?—make sure they are totally cool before you try to store them. If you wrap them warm, you’ll just create steam and make them sticky.
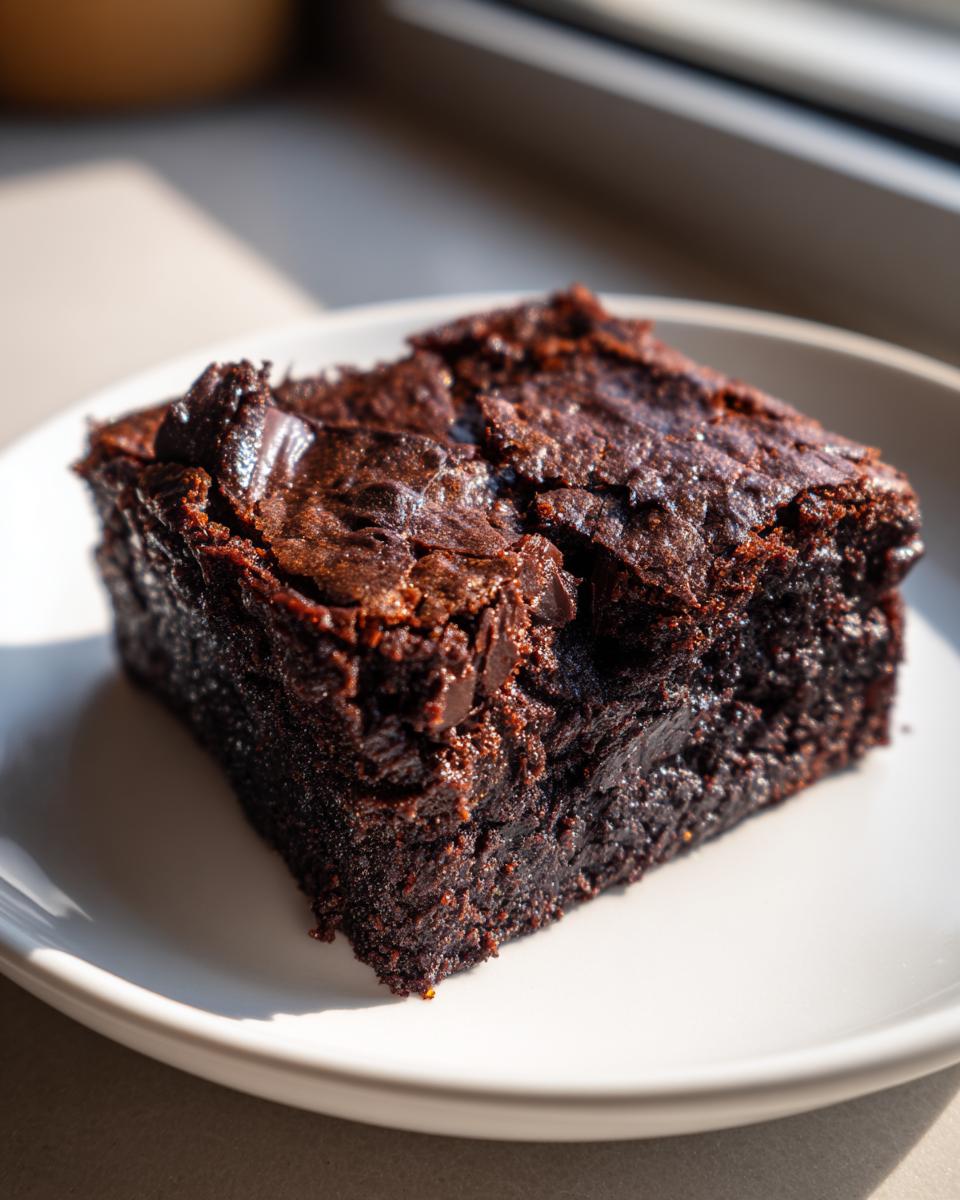
For short-term keeping, just put them in an airtight container at room temperature. They’ll stay perfectly moist for about three days. Honestly, my first batch never makes it past day two, but for completeness, that’s the rule!
If you need them to last a bit longer, the refrigerator is your best friend when it comes to these healthy brownies. Keep them sealed up tight in an airtight container, and they’ll easily last you a whole week. They come out of the fridge a little firmer, which I actually love—it makes them almost like a dense chocolate candy. Perfect for afternoon snacking!
But wait, there’s more! These freeze like absolute champs, which is exactly what you need if you’re a bulk baker like me! If you want to freeze some for a truly rainy day treat (or just to save them from yourself for the next month!), wrap the individual squares tightly first in plastic wrap. Then, toss those wrapped squares into a sturdy freezer-safe bag. This double-layer protection stops any freezer burn from sneaking in. They last up to three months frozen, so you can always have a delicious, gluten free dessert on hand!
Frequently Asked Questions About These Sweet Potato Brownies
I always get so many great questions when people first try baking with vegetables in their desserts! It’s a little new for some folks, so let’s clear up any worries you might have about these amazing sweet potato brownies before you start mixing. I want everyone to feel confident pulling these out of the oven.
Are these brownies truly kid friendly desserts?
Oh, one hundred percent! These are my favorite kid friendly desserts to sneak veggies into. The chocolate and the maple syrup are so dominant that the kids never suspect they’re eating sweet potato. They just taste rich, fudgy goodness. It’s a win-win for getting some vegetables in!
Can I use a different sweetener instead of maple syrup?
This is a big one! While I absolutely adore these as maple syrup brownies, you might be tempted to swap it for honey or agave. I really advise against it for this specific recipe. The ratio of liquid to the wet fats is very delicate because we aren’t using traditional flour. If you experiment with coconut sugar, you’ll need to add more liquid, which messes with the fudgy texture. Stick to the maple syrup for the best fudgy brownie recipe results!
What is the best way to make the sweet potato puree?
To get those perfectly seamless flourless brownies, the puree needs to be as smooth as silk. My expert trick is roasting the sweet potato whole until it’s super soft—don’t boil it! Boiling adds too much water, and we don’t want watery brownies. Once roasted and cooled slightly, scoop out the flesh and blitz it in a high-speed blender or food processor until there are zero lumps left. It should look like thick, baby food. You can always reach out via my contact form if you have any issues!
Understanding the Nutrition of Maple Syrup Brownies
I always hear people ask if making brownies healthier means sacrificing everything good about them. Not with these guys! Since these are sweetened with maple syrup and use almond flour instead of white flour, they have a totally different profile than the standard dark chocolate square. I pulled together the estimated nutritional breakdown per serving, just so you know what you’re looking at.
Remember, this is a little bit of estimation work since everyone’s sweet potato size varies, and maybe you went heavy on the optional chocolate chips! But this gives you a really solid baseline for enjoying these maple syrup brownies without a second thought.
Here are the general numbers for one square, based on using the ingredients listed:
- Serving Size: 1 square
- Calories: 210
- Sugar: 18 (mostly from the maple syrup and sweet potato!)
- Sodium: 75mg
- Fat: 13g
- Carbohydrates: 24g
- Protein: 4g
See? Not bad at all for something this fiercely fudgy! We’re getting a little fiber and protein in there, which is more than you can say for a traditional boxed mix. We’re trading empty calories for wholesome carbs from the sweet potato. That’s how you make progress in the kitchen, right? Just keep in mind these are estimates to give you the full picture of these wonderful healthy brownies.
Share Your Experience Making These Sweet Potato Brownies
This is the best part for me—seeing you all in your own kitchens, making these deeply fudgy brownie recipe squares! My Grandma Daisy always said that cooking is a conversation, and I really want to hear how this recipe worked out for you. Did you add sea salt flakes on top? Did you try swapping out the almond flour? Don’t keep those delicious discoveries to yourself!
When you make these sweet potato brownies, please jump down to the comment section below and tell me what you thought. Giving the recipe a star rating helps other bakers decide if they should dive in, and I read every single comment. It really helps me keep this legacy authentic while making modern updates.
And if you’re snapping photos of your beautifully baked, gluten free dessert squares—please share them on social media! Tag me so I can see your wonderful attempts. There is just nothing better than seeing happy people enjoying simple, wholesome food made with their own two hands. We’re all learning and baking together, so don’t forget to share the love!
Remember, we take privacy seriously around here, so be sure to check out our Privacy Policy before sharing anything too personal. Happy baking, and I sincerely hope these healthy brownies bring a little bit of that simple, warm kitchen magic into your home!
PrintFudgy Sweet Potato Brownies (Maple & Flourless)
Make rich, fudgy brownies using sweet potato puree and maple syrup. This recipe is naturally gluten-free, dairy-free, and uses simple ingredients.
- Prep Time: 10 min
- Cook Time: 30 min
- Total Time: 40 min
- Yield: 9 servings 1x
- Category: Dessert
- Method: Baking
- Cuisine: American
- Diet: Gluten Free
Ingredients
- 1 cup sweet potato puree (about 1 medium sweet potato)
- 1/2 cup melted coconut oil
- 1/2 cup pure maple syrup
- 2 large eggs
- 1 teaspoon vanilla extract
- 1/2 cup unsweetened cocoa powder
- 1/4 cup almond flour
- 1/2 teaspoon baking soda
- 1/4 teaspoon salt
- 1/2 cup dark chocolate chips (optional)
Instructions
- Preheat your oven to 350°F (175°C). Line an 8×8 inch baking pan with parchment paper, leaving an overhang on the sides for easy removal.
- In a large mixing bowl, whisk together the sweet potato puree, melted coconut oil, maple syrup, eggs, and vanilla extract until smooth.
- In a separate small bowl, whisk together the cocoa powder, almond flour, baking soda, and salt.
- Add the dry ingredients to the wet ingredients. Mix gently with a spatula until just combined. Do not overmix.
- Fold in half of the chocolate chips, if using.
- Pour the batter into the prepared baking pan and spread evenly. Sprinkle the remaining chocolate chips over the top.
- Bake for 25 to 30 minutes. A toothpick inserted near the center should come out with moist crumbs attached, not wet batter.
- Let the brownies cool completely in the pan on a wire rack before lifting them out using the parchment overhang. Cut into squares.
Notes
- For the best fudgy texture, allow the brownies to cool completely before slicing.
- Store leftovers in an airtight container at room temperature for up to 3 days, or in the refrigerator for up to one week.
- These brownies freeze well. Wrap individual squares tightly in plastic wrap and place them in a freezer-safe bag for up to 3 months.
Nutrition
- Serving Size: 1 square
- Calories: 210
- Sugar: 18
- Sodium: 75
- Fat: 13
- Saturated Fat: 8
- Unsaturated Fat: 5
- Trans Fat: 0
- Carbohydrates: 24
- Fiber: 3
- Protein: 4
- Cholesterol: 30