
Oh, the sheer frustration of trying to decorate sugar cookies! You spend hours cutting out shapes and baking them perfectly, and then you hit the icing phase, and everything turns into a soupy, cracked mess. I remember feeling that way all the time, especially when I first started trying to recreate my grandmother Daisy’s beautiful baked goods. But I promise you, the secret to professional-looking cookies is right here. After Amelia (that’s me!) got pulled back into the kitchen to honor that simple, honest baking tradition, I perfected one crucial thing: the easy royal icing recipe using meringue powder. Trust me, this foolproof **royal icing recipe** is the one that finally made me look like I knew what I was doing. You can read more about my journey bringing these old traditions back into a modern kitchen over on the Our Story page. No more anxiety, just smooth, perfect decorating!
- Why This Meringue Powder Royal Icing Recipe Works for Everyone
- Gathering Supplies for Your Royal Icing Recipe
- Step-by-Step How to Make Royal Icing
- Mastering Piping Icing Consistency Adjustments
- Tips for a Successful Beginner Royal Icing Project
- Frequently Asked Questions About This Sugar Cookie Icing Tutorial
- Estimated Nutritional Data for Your Icing
- Share Your Cookie Decorating Success
Why This Meringue Powder Royal Icing Recipe Works for Everyone
When I first switched to this recipe, it changed everything about cookie decorating. Baking should be joyful, not stressful, and this mixture keeps things simple while giving you incredible results. Forget the worry that comes with raw eggs; we’re keeping things safe and reliable here.
- It whips up fast—seriously, under 10 minutes you have a decorator-grade icing!
- The texture is predictable, meaning fewer wasted cookies.
- It hardens beautifully, which is exactly what we want!
Beginner-Friendly and Safe: No Raw Eggs
If you’ve ever hesitated to make royal icing because you don’t want to mess with egg whites, I totally understand. My job here is to make sure you feel confident! That’s why this **royal icing recipe** relies completely on meringue powder. It’s just so much more dependable. You don’t have to worry about whipping times or pasteurizing anything; you just mix and go. It’s the safest bet for any home baker.
Achieving That Perfect Glossy Cookie Icing Finish
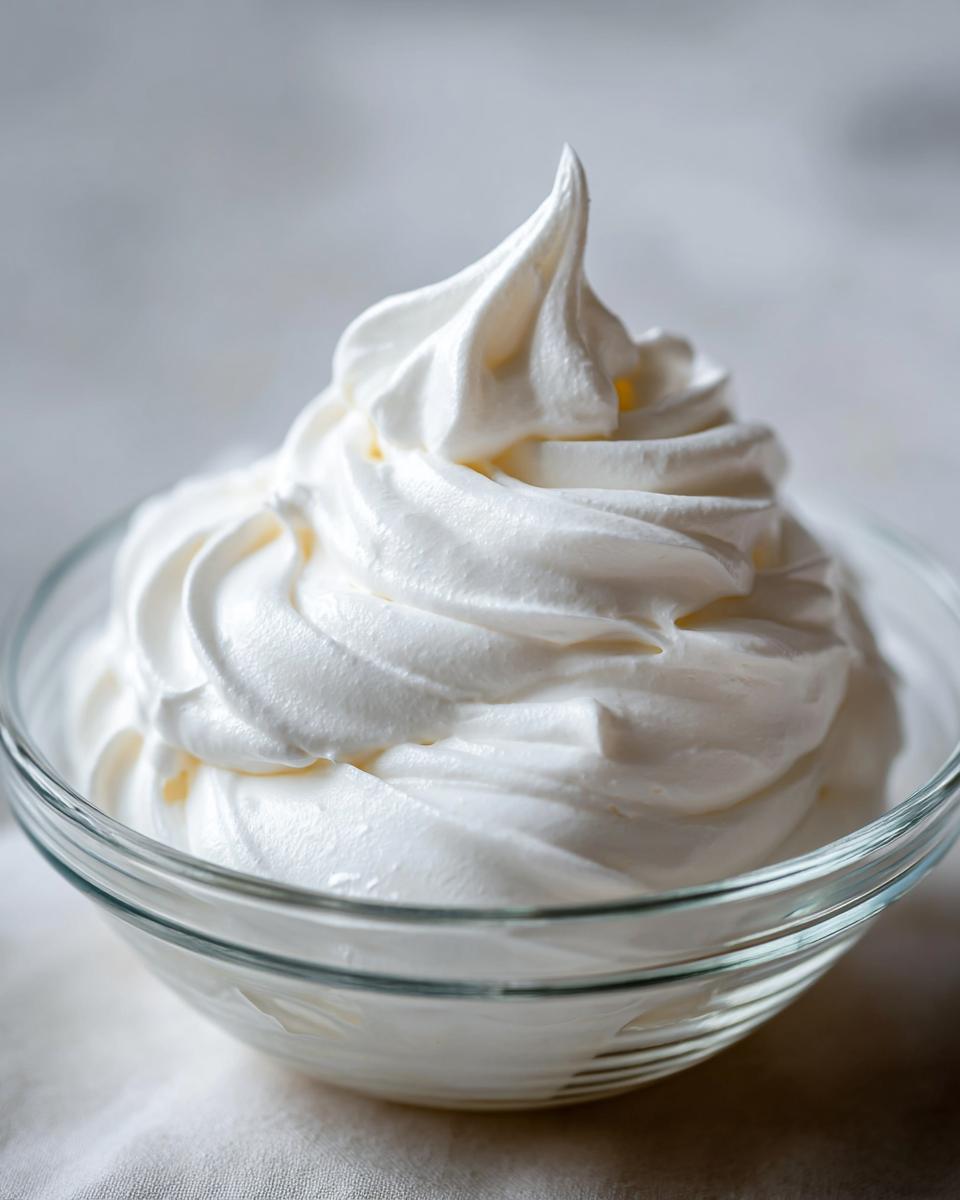
Honestly, watching this icing come together in the mixer is my favorite part. As you beat it, it goes from dull to brilliantly shiny. This isn’t just any **royal icing recipe**; it creates a durable, **Glossy Cookie Icing** that looks absolutely professional when it settles and dries hard. You get that smooth, high-shine finish that makes decorated cookies look like they came from that cute little boutique bakery downtown!
Gathering Supplies for Your Royal Icing Recipe
Okay, before we even turn the mixer on, we have to make sure we have everything ready. This is one of those times where stopping midway to find a tool is just going to lead to disaster, because once that meringue powder hits the sugar, time starts ticking! I always lay everything out on the counter first. It’s just good kitchen practice, right? This ensures our **Royal Icing Recipe** comes together smoothly and we get trusting, great results.
Ingredient List for Easy Royal Icing
The beauty of this is how few ingredients you need! But pay attention to the sugar—we can’t skip that prep step. Here is exactly what you need for about a cup and a half of gorgeous, easy royal icing:
- 4 tablespoons meringue powder (This is our stabilizer magic!)
- 1 cup confectioners’ sugar, which must be sifted!
- 6 tablespoons warm water
- 1 teaspoon clear vanilla extract (I always use clear so it doesn’t tint the white icing, but this is optional if you prefer flavorless!)
Essential Equipment for Making Royal Icing
While you don’t need a stand mixer for this—I often make smaller batches by hand—a good electric mixer is really going to help us get the volume we need. You want that aeration!
- A medium mixing bowl that’s big enough for everything to get a good whip.
- Your electric mixer, fitted with the whisk attachment.
- A small rubber spatula for scraping down the sides when we get going.
Step-by-Step How to Make Royal Icing
Now for the fun part! Following the directions in the recipe card can sometimes feel stiff, but I promise, this is simple once you see how it works. The key here is giving the meringue powder enough time to activate properly. Don’t rush the mixing part, because that’s what gives us that professional, non-cracking finish we are aiming for with this **royal icing recipe**.
Combining Dry Ingredients and Water
First things first, grab that bowl with your sifted powdered sugar and the meringue powder. You want to make sure those two dry guys are really friends before you add any liquid. Just give them a quick whisk together—we don’t want any pockets of powder hiding out! Once they look homogenous, pour in your 6 tablespoons of warm water, and the optional teaspoon of clear vanilla extract. That’s it for the additions!
Whipping to Stiff Peaks for Hardening Icing Recipe
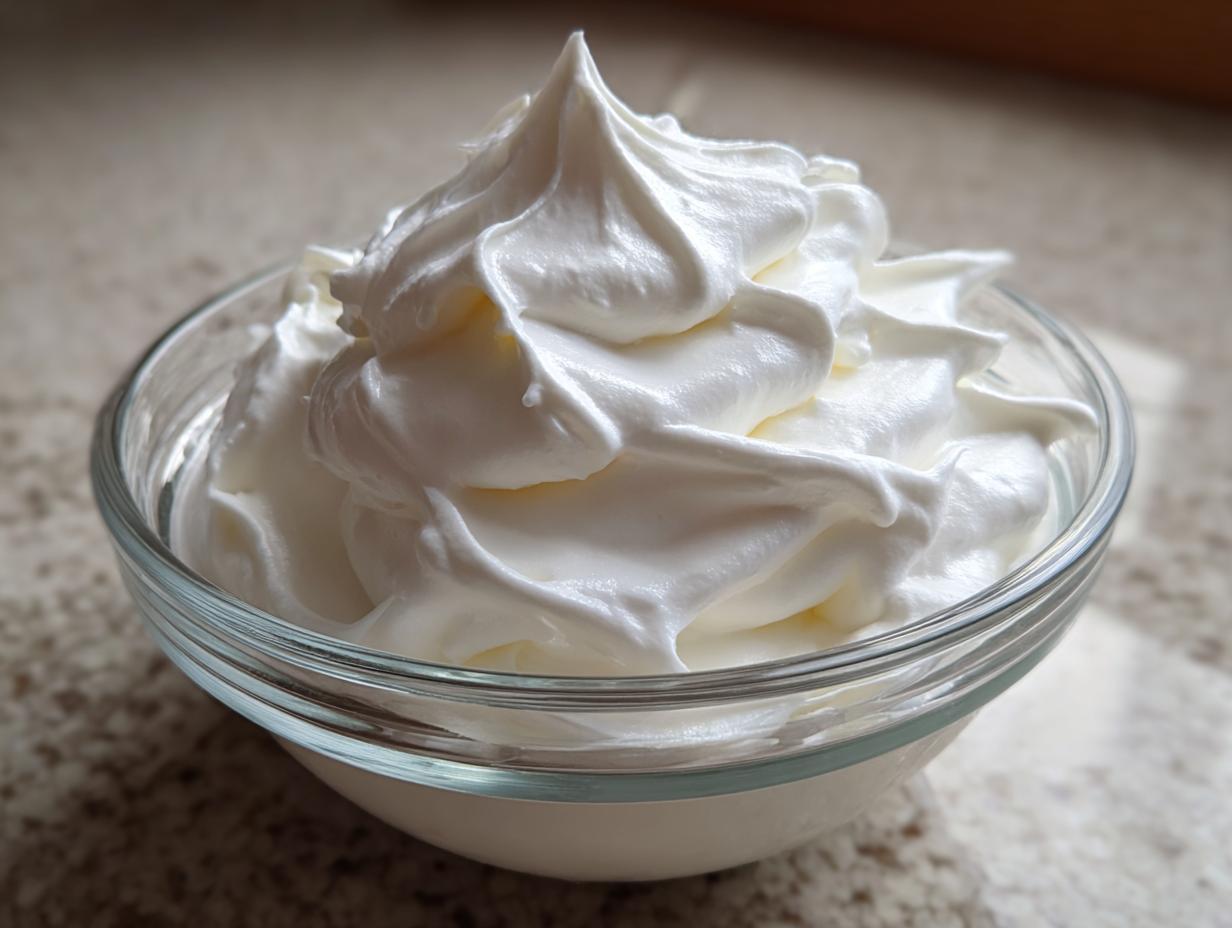
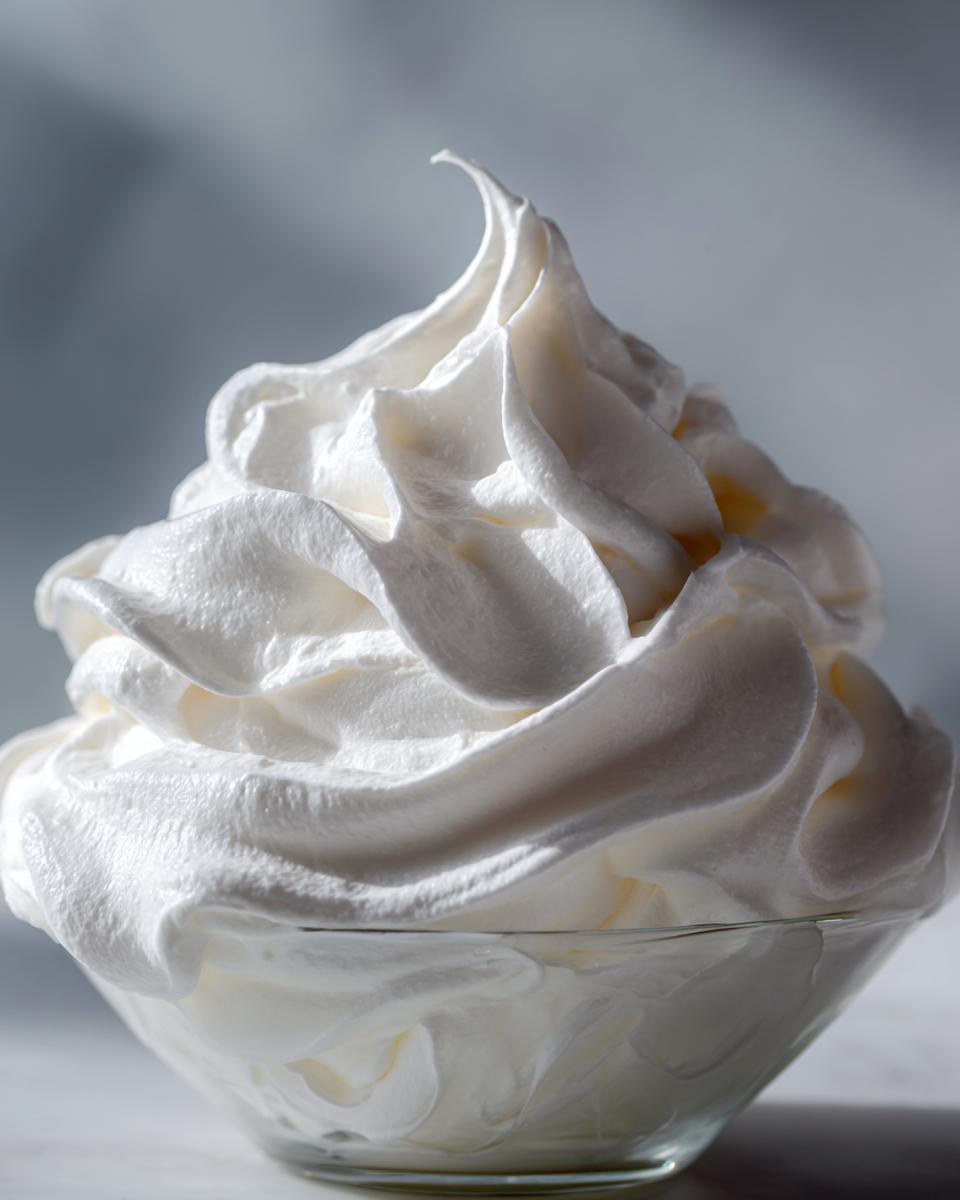
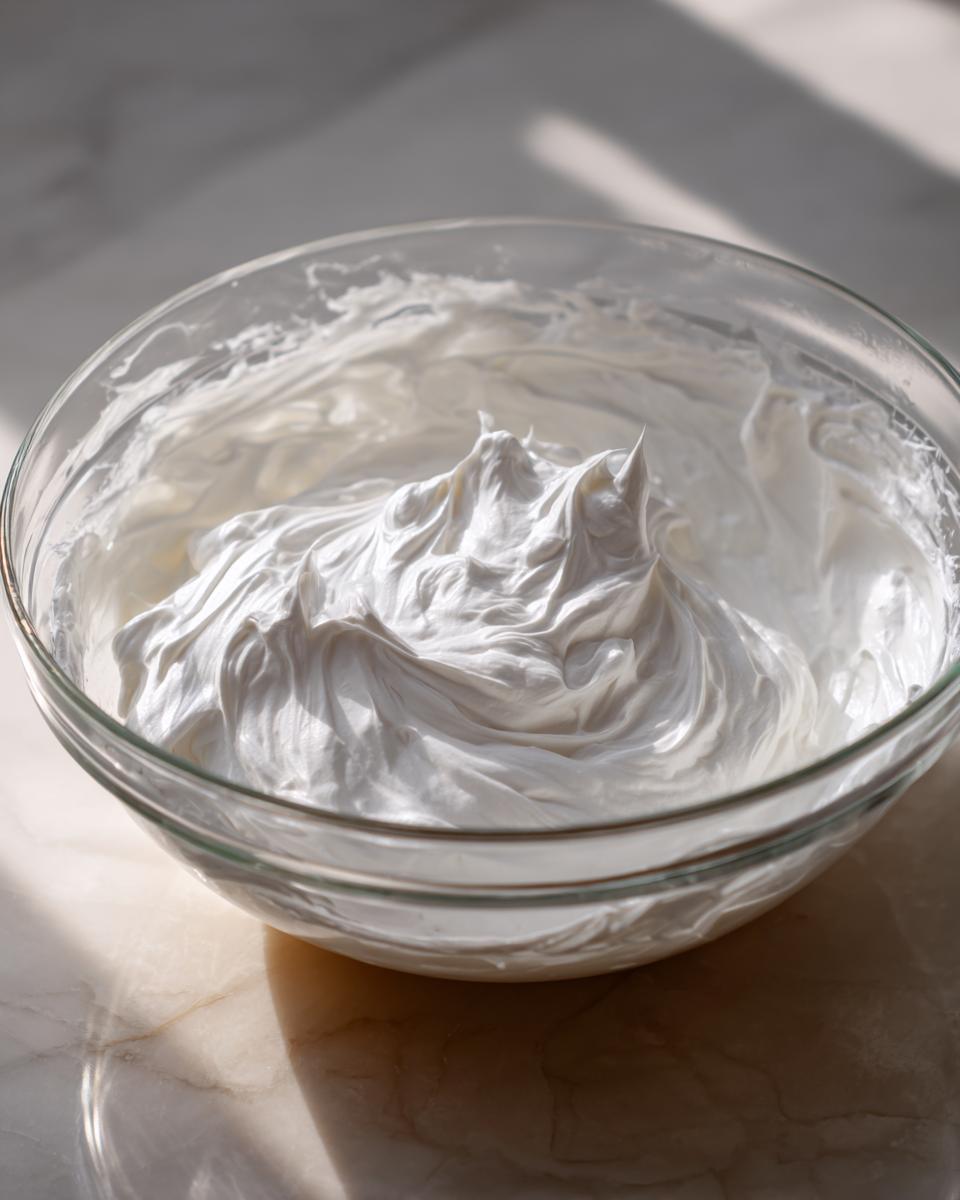
Time to turn on the mixer! Start low, just until everything is incorporated and you don’t see any dry spots splashing around. Seriously, keep it low at first, or you’ll be wearing icing! Once it looks combined, crank that mixer up to medium-high speed. You need to beat this mixture for a solid 5 to 7 minutes. I know, it feels long! But this beating time is non-negotiable if you want that thick, **Hardening Icing Recipe** that dries firm on cookies. When it’s ready, it should look beautiful, glossy, and hold stiff little peaks right on top of the mixture. That gloss is the sign of success!
Mastering Piping Icing Consistency Adjustments
This is where the magic really happens, friends! You can have the best base **royal icing recipe**, but if the consistency isn’t right for what you’re doing—outlining or flooding—it’s going to be a headache. I want you to feel 100% in control, just like I do now. When I’m ready to start decorating, I always have a tiny bowl of water ready for thinning, and a little pile of sifted sugar ready for thickening. This simple setup is your key to becoming a pro at making the perfect **Icing for Decorated Cookies**.
Achieving Flood Consistency Icing
Flooding is when you fill in the center of your cookie outlines. For this, we need that perfect flow. If your icing is too thick, it won’t spread; if it’s too thin, it runs right over your outline! The rule I live by is the 10-second rule. To get this **Flood Consistency Icing**, you slowly add water—literally just one teaspoon at a time—and stir until the consistency is right.
When you lift your spoon or spatula, the icing should fall back into the bowl in a smooth ribbon. Then, you watch it. If that ribbon completely disappears back into the main batch within 10 to 15 seconds? Perfection! If it disappears faster, it’s too thin. If it’s still sitting proudly on top after 20 seconds, you need a tiny drop more water. You can check out some other great tips on adjusting icing over at this helpful site, but this rule works every time for me.
Creating Thick Consistency Icing for Outlining
Outlining is for those sharp edges you use to keep the flood icing contained. For this, you want ‘stiff’ icing that holds its shape against gravity. If your icing came out a little too runny right after mixing, don’t panic! Just grab a tablespoon of your sifted confectioners’ sugar and mix it in slowly until you hit the mark.
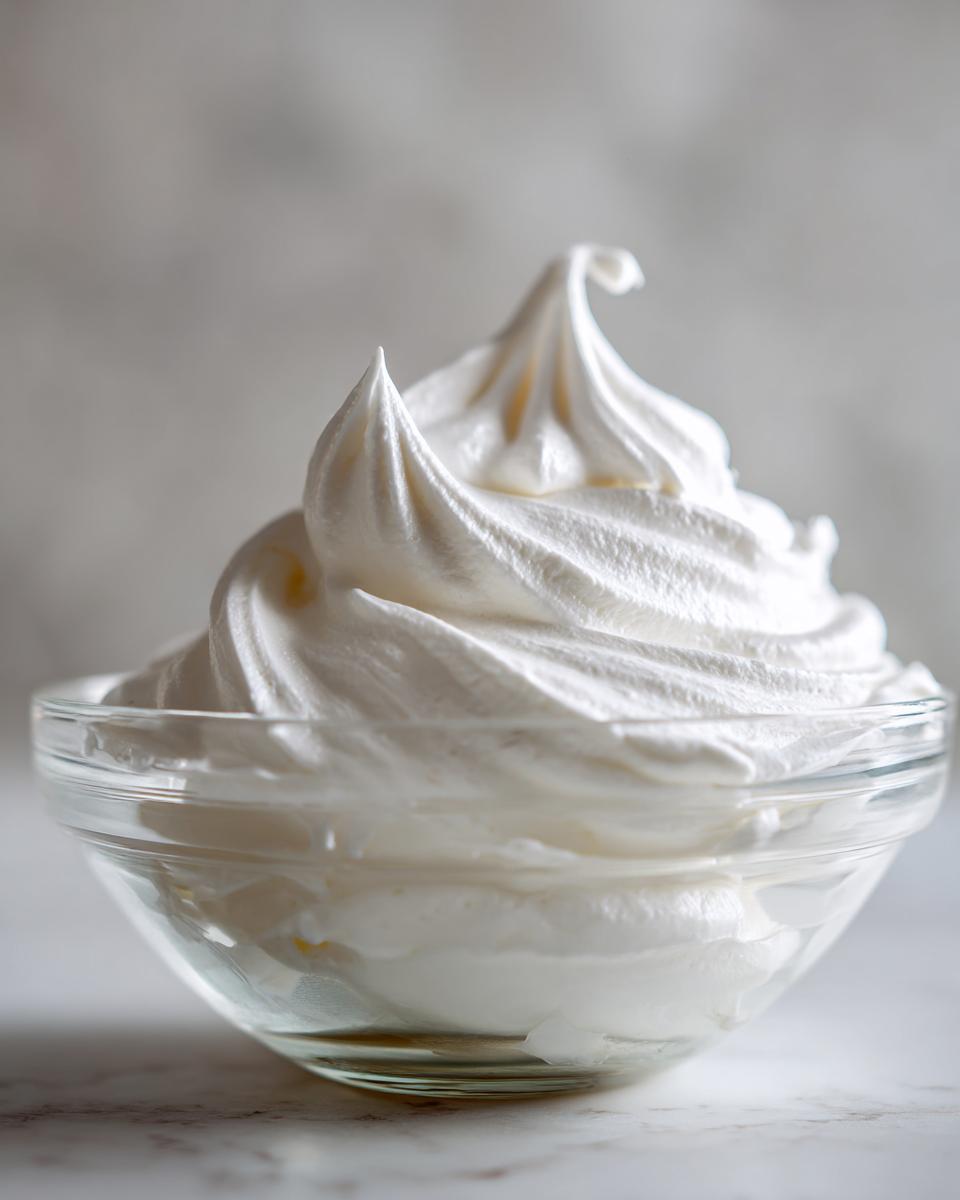
When it’s right for outlining, this **Thick Consistency Icing** should hold a soft peak when you pull your spatula up. If you try to push it over gently with your finger, the little ridge you make should stay put; it shouldn’t melt back down too quickly. If you are making royal icing flowers, you need it even thicker—stiffer than this for outlining. Let me know if you have any questions about this process; you can always reach out to me here!
Tips for a Successful Beginner Royal Icing Project
Even with our super solid **royal icing recipe**, a few little tricks make the difference between good icing and *great* icing. This mixture is powerful, but it can dry out faster than buttercream if you aren’t careful! Think of this section as the finishing secrets—the stuff that keeps your icing fresh and ready to use, even if you don’t use it all right away. Since this is the final mention of our keywords, we’re making sure you feel totally prepped for success!
Preventing Icing Dry-Out and Storage
Royal icing hates the air! It’s basically sugar holding onto liquid magic, and if the air gets to it, that magic turns into a hard, crusty lump that ruins your piping bag tip. Don’t just cover the bowl with a lid—that leaves air space at the top.
Here is the secret that saves batches: take a piece of plastic wrap and physically press it directly onto the surface of the icing in the bowl. Squish it down so there is zero air between the film and the frosting. Seriously, kiss the surface with the plastic wrap! This keeps it perfect for decorating later.
If you have extra icing you aren’t going to use for a day or two, just keep it sealed up in that airtight container at room temperature. Believe it or not, this icing lasts really well—up to two full weeks—which is amazing for batch prepping your colors ahead of holidays.
Techniques for Making Royal Icing Flowers
I know not everyone wants to make little royal icing flowers (though once you try, you might get addicted!), but for those who do, you need to know about consistency adjustments. If you are piping tiny dimensional things like flowers or little dots that need to stand straight up without flopping over, you need to thicken your batch!
You’ll want a consistency that is a noticeable step stiffer than what you’d use for standard piping outlines. If piping consistency feels like thick toothpaste, making royal icing flowers means aiming for something closer to shaving cream—it should barely move or settle at all even after you stop stirring. Check out some advanced techniques for getting those perfect petals over at this excellent resource!
Frequently Asked Questions About This Sugar Cookie Icing Tutorial
I know that even with the best **royal icing recipe**, you might have a few lingering questions! That’s totally fine. When I first started, I felt like I was guessing every time I added a drop of water. That’s why I want to wrap up with a few quick answers to the things I always wondered about when I needed a reliable **Sugar Cookie Icing Tutorial**.
How long does this icing take to dry firm?
This is the million-dollar question, isn’t it? How fast royal icing dries out depends on two things: how thick you made it, and how humid your kitchen is. If you used a thin consistency for flooding larger areas, it might take several hours, maybe even overnight if it’s damp in the house. For thinner flooding jobs, I usually count on at least 6 to 8 hours before I feel comfortable stacking them. If you use that nice stiff consistency for outlining, that layer will harden up much faster, sometimes in just an hour or two!
Can I color this White Royal Icing Recipe?
Absolutely! While I love using this batch as a brilliant white base, you can certainly color it. The trick is to use gel food coloring—never liquid food coloring! Liquid coloring is mostly water, and adding too much water will instantly ruin your consistency. If you are making a huge batch, stir the gel color in slowly while you are whipping the icing on medium speed so it incorporates evenly. If you color it after it’s already stiff, you might need to add a tiny splash of water afterward to bring the stiffness back down a bit.
What is the yield of this batch?
This specific **Basic Royal Icing Formula** is perfect for a standard batch of cookies—not too much waste, but enough to cover a decent number of medium-sized sugar cookies or a whole gingerbread house. You should get about 1.5 cups of icing total from this recipe. Make sure you check our privacy policy if you have questions about how we handle recipe feedback, but trust me, this yield covers most beginner projects perfectly!
Estimated Nutritional Data for Your Icing
Now, I know we aren’t making this icing for health reasons—it’s pure joy and decoration! But just like Grandma Daisy believed in knowing what went into every bite, I like to share the numbers we have. This is based on the basic ingredients listed in the recipe, so keep in mind that any extra vanilla or food coloring you add will change these figures slightly.
This is a general idea for a single tablespoon serving size:
- Serving Size: 1 tablespoon
- Calories: 50
- Sugar: 12g
- Sodium: 5mg
- Fat: 0g
- Saturated Fat: 0g
- Unsaturated Fat: 0g
- Trans Fat: 0g
- Carbohydrates: 12g
- Fiber: 0g
- Protein: 1g
- Cholesterol: 0mg
If you are making a huge batch for decorating gingerbread houses or a massive cookie order, just know these numbers scale up! But for a little dollop, it’s mostly sugar, which is exactly what icing should be. Don’t worry about the details; just worry about making it glossy!
Share Your Cookie Decorating Success
Well, that’s it! You’ve made the best **royal icing recipe** using simple ingredients, you know how to adjust it for outlining, and you know how to keep it fresh under plastic wrap. Now comes the best part: putting it on your fabulous cookies! I honestly can’t wait to see what you create. Remember, this whole recipe—from the time you start mixing until you have workable icing—takes about 10 minutes, and we made sure it’s vegetarian-friendly too, which is just neat!
We pour so much heart into these recipes, just like Amelia tries to honor her grandmother Daisy’s spirit in her own kitchen. So, when you finish decorating your sugar cookies, gingerbread houses, or whatever masterpiece you’re working on, please come back here and tell me how it went!
Did that 10-second flood rule work for you? Did you get that beautiful stiff peak for piping? Drop me a comment below! Seriously, your feedback helps me know which parts of the tutorial landed well and which parts I might need to explain even clearer next time. And if you post a picture of your perfectly shiny, hardened cookies on social media, tag me so I can share the joy!
Happy Decorating, and I truly hope this recipe brings a little bit of that kitchen warmth right into your home!
PrintThe Best Foolproof Royal Icing Recipe Using Meringue Powder
Make smooth, glossy royal icing perfect for decorating sugar cookies, gingerbread houses, and other baked goods. This recipe uses meringue powder for stability and is easy for beginners.
- Prep Time: 10 min
- Cook Time: 0 min
- Total Time: 10 min
- Yield: About 1.5 cups 1x
- Category: Baking
- Method: Mixing
- Cuisine: American
- Diet: Vegetarian
Ingredients
- 4 tablespoons meringue powder
- 1 cup confectioners’ sugar, sifted
- 6 tablespoons warm water
- 1 teaspoon clear vanilla extract (optional)
Instructions
- In a medium bowl, combine the meringue powder and confectioners’ sugar. Whisk them together until fully mixed.
- Add the warm water to the dry ingredients.
- Using an electric mixer with a whisk attachment, start mixing on low speed until the ingredients are just combined.
- Increase the speed to medium-high and beat for 5 to 7 minutes until the icing is thick, glossy, and holds stiff peaks.
- If you need thinner icing for flooding, add water one teaspoon at a time until you reach the desired consistency.
- If you need thicker icing for piping details, add more sifted confectioners’ sugar one tablespoon at a time.
- Use immediately or cover the bowl tightly with plastic wrap pressed directly onto the surface of the icing to prevent drying.
Notes
- For outlining consistency, the icing should hold a soft peak and slowly settle back into the bowl.
- For flood consistency, the icing should flow smoothly off the spoon and disappear back into the bowl within 10 to 15 seconds.
- To make royal icing flowers, use a very stiff consistency, slightly thicker than piping consistency.
- Store unused icing in an airtight container at room temperature for up to two weeks.
Nutrition
- Serving Size: 1 tablespoon
- Calories: 50
- Sugar: 12g
- Sodium: 5mg
- Fat: 0g
- Saturated Fat: 0g
- Unsaturated Fat: 0g
- Trans Fat: 0g
- Carbohydrates: 12g
- Fiber: 0g
- Protein: 1g
- Cholesterol: 0mg